Showing posts with label Part 8. Show all posts

Sunday, 14 December 2025

Dying Dilemma 2025 Part 8

Dying Dilemma 2025 Part 8

Afterall the dismantling I did last time now I have to start to reassemble.

Materials Needed


I have found a Ruler, a pair of Scissors and some of my Cross Stitch Thread. 

14 Cm


I have only limited Thread at present so have to be careful how much I use, Therefore I am going to do some tests.

Thread Coin


I pull the Thread through the Coin and knot it at the Top.

Thread Big Beads


Next I Thread two Silver Big Beads. I did not knot the Thread this time.

Split Thread


The reason I am using this type of Thread rather than ordinary sewing cotton is because I can easily Spit it. I have divided it into two equal parts and placed a Small Bead on each.

Third Bead


Finally I add a Third Small Bead.

Saturday, 19 July 2025

A Twist In The Tail 2025 Part 8

A Twist In The Tail 2025 Part 8

Now I have finished the Tail and broken the back of the project I am quite looking forward to the next Section.

Fin Begins


Here we have yet another Yarn. The Tail Bag had been reasonably muted colour wise. I am going to go all out for the Fin.

Red Start


I had been toying with the idea of picking up the Stitches of the Bag and carrying on. However I have decided against it as it is already so Heavy. Consequently I have Cast on 120 Stitches.

If my memory serves me the Tail was 180 Stitches in total. That makes it 90 each side. These extra Stitches should help create a wave look. This should be accentuated by using a Plain Knit Stitch.

Knit Front and Back


I thought a Bright Yellow would go nice next to the Red. I have Knitted a two Rows. I am Increasing with a Forward and Back at each end.of this next Row.

Which Way


Hell. I had finished the Yellow and started back with the Red when the Stiches came off. I don’t normally just use a Plain only Stitch so not sure which way to Pick them up.

Sneaky Pearl


Lots of rude naughty words!. Now I am in better light I can see that I have Picked up wrongly. A couple of Pearl Stitches have Sneakily snuck into the mix. I need to try and sort this before continuing.

Thursday, 15 May 2025

Crawling Creatures 2025 Part 8

Crawling Creatures 2025 Part 8

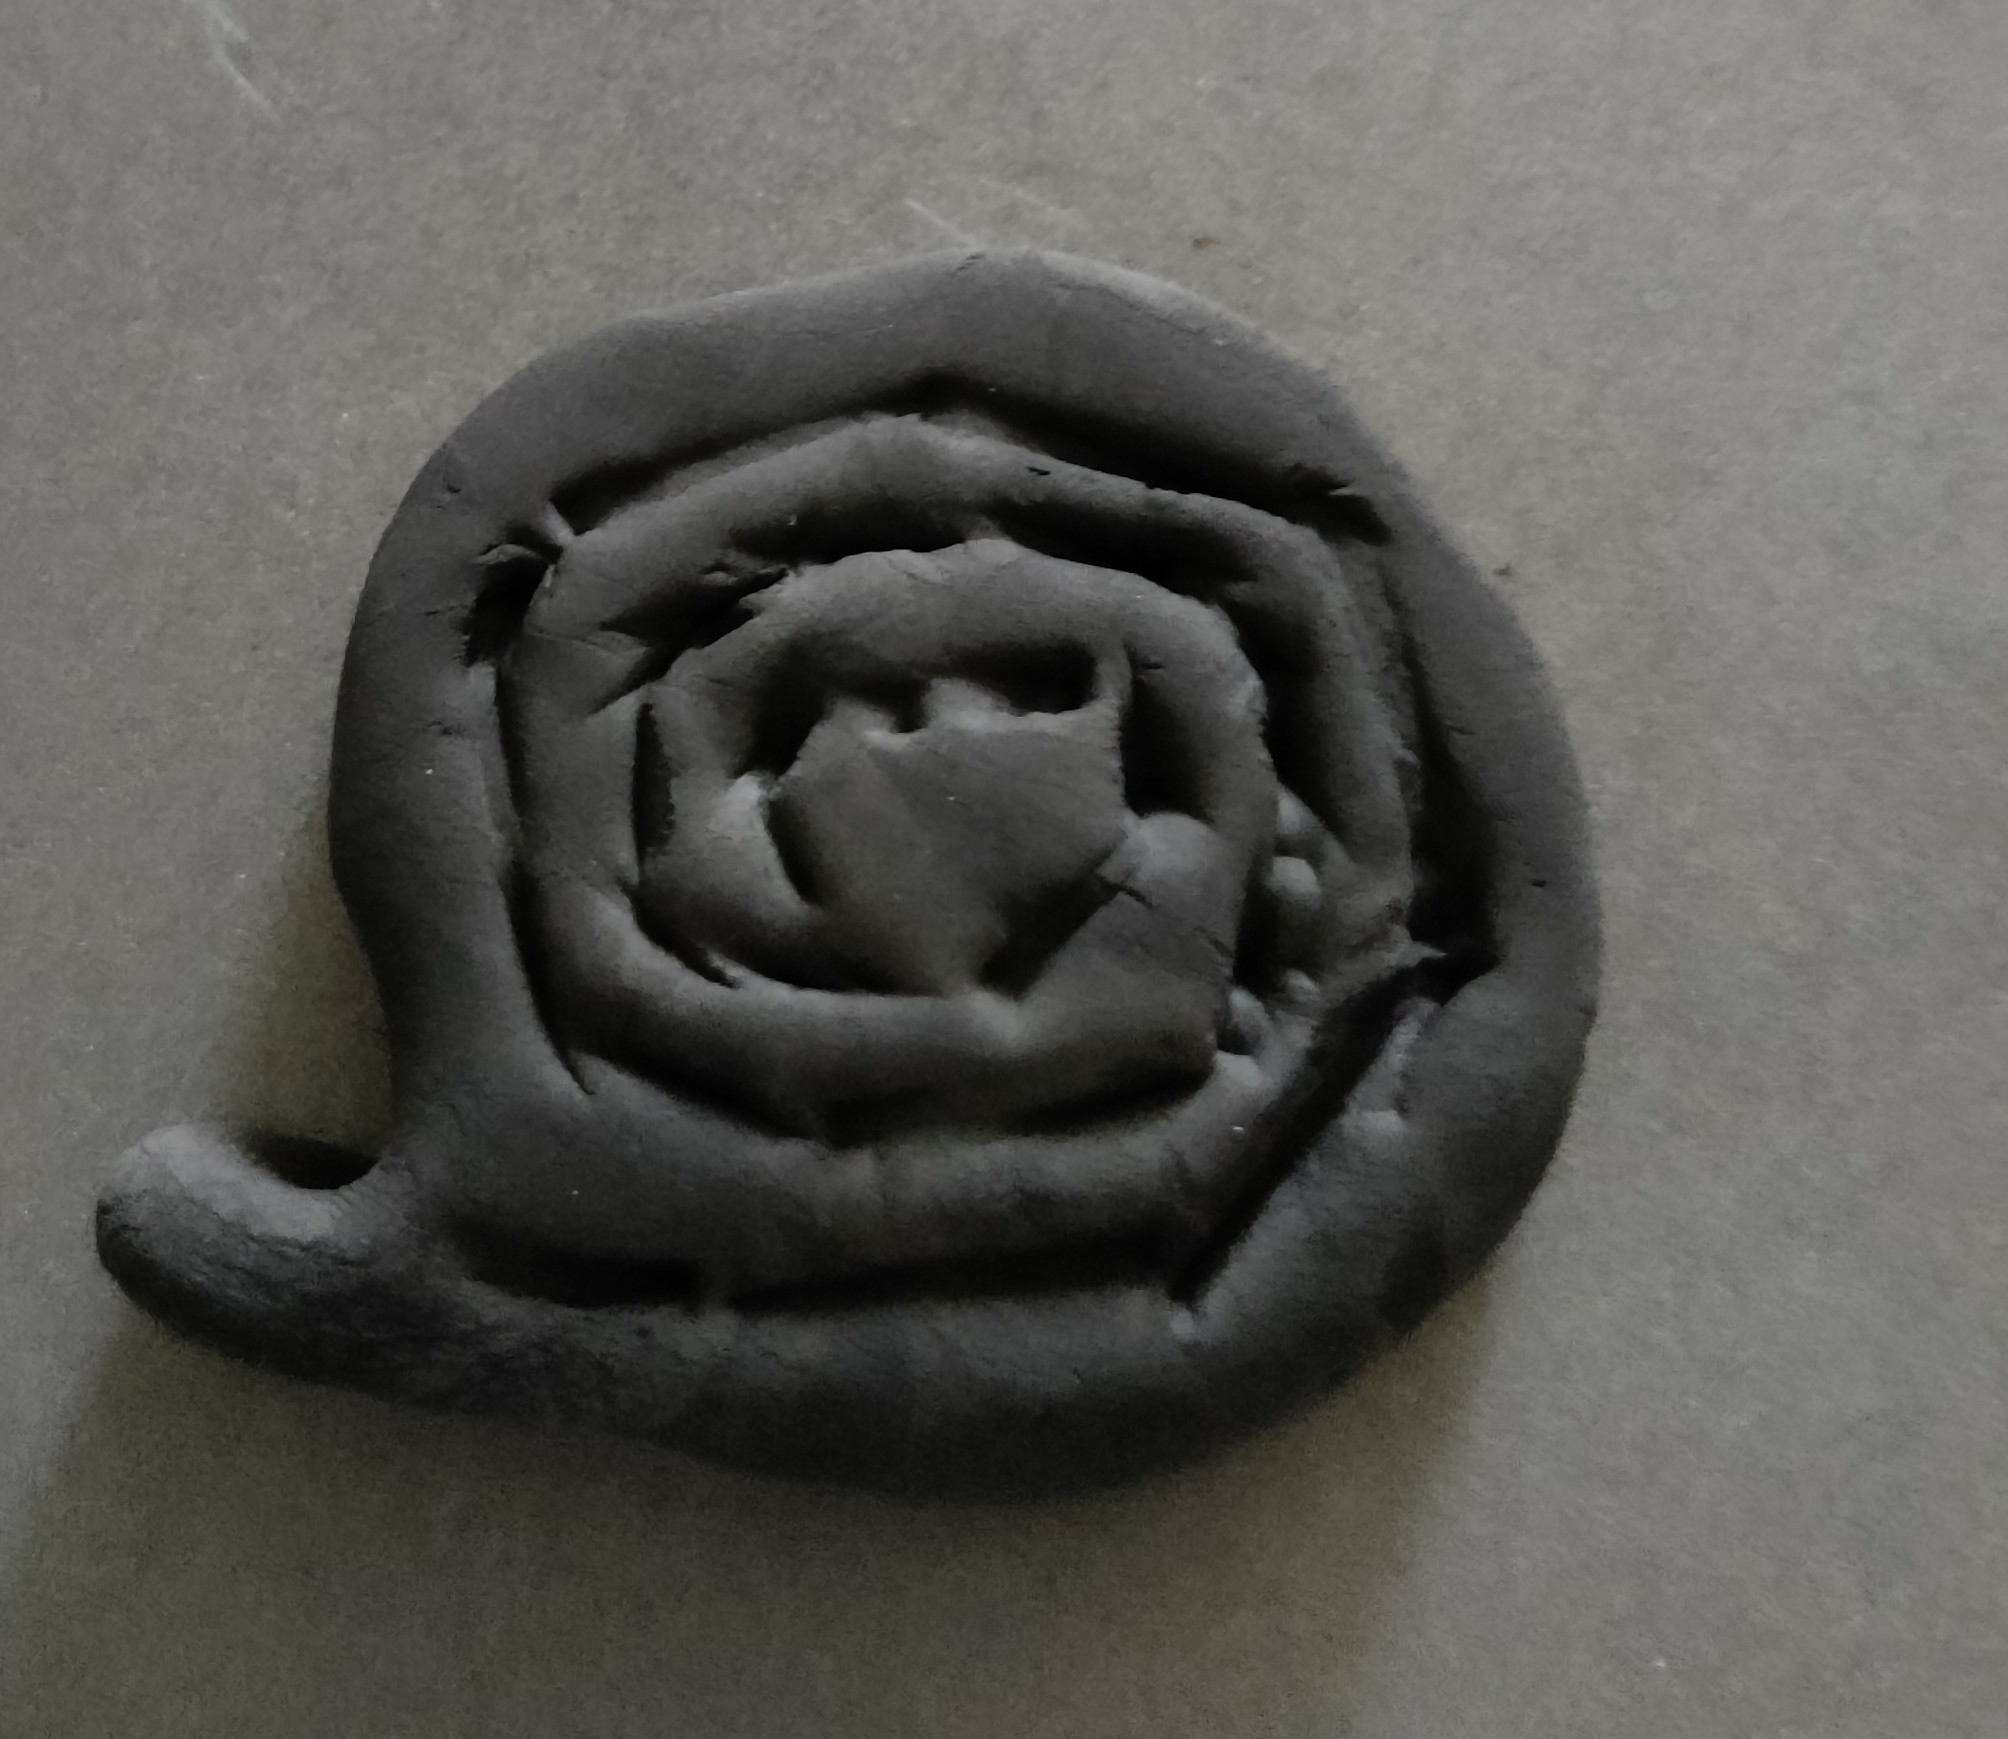
Even with both the Crab and Starfish finished I still have quite a bit of Clay left. Hm playtime I think.

Large Black Ball


I have lots of Black and White Clay left. Therefore I started with a Large Black Ball

Flattened Black


I Flattened the Ball with my Palm to make a Base.

Pull Tail


I tease some of the Black Clay out at the Bottom to make a Tail.

Knife Spiral


Taking a Knife I make a Rough Spiral in the Clay.

White Strip


Next I take some White Clay and make a Thin Strip.

Fill Spiral


I slowly begin to Fill the Spiral. It takes a couple of Strips to do this.

Sunday, 5 January 2025

Mini Pudding Puzzle 2024 Part 8

 Mini Pudding Puzzle 2024 Part 8

The final furlong. The end is in sight.

Long Needle


If you remember that far back this Kit came with a Long Needle. Now I get to use it. The Pattern goes a bit into overkill at this point. 

It says take an ordinary Needle with Double Thread, Secure it, Cut at Needle End and change to Long Needle. Push Needle through Pudding and Back again.

Pull Tight


Pull the Thread Tight and it will Flatten the Bottom. I think I Pulled a bit too hard but it worked. I then Secured it at the Topside and Cut the Thread

Stitch Leaves


With the Base Finished I could add the Leaves. I am not sure if they were supposed to be in two pieces or whether they had got ripped. I Sewed the Leaves on using a Backstitch which gave the impression of a Stalk.

Yummy


I added the other Leaf and then Sewed the Berries in place. It is so realistic that all that is missing is the Cream or Custard. Yummy.

Bakewell Museum Link

https://www.oldhousemuseum.org.uk/


Thursday, 19 September 2024

Boxing Clever 2024 Part 8

 Boxing Clever 2024 Part 8

I am getting there. Just a few bits to finish the back.

A Bit of Black


Okay you should now be able to to tell what it is supposed to be. I have added pieces of Black to make Ears, Legs and a Tail. I have also added some Strips of Green to as Grass.

Why the Long Face?


I have to confess that trying to Line Up the Face in the right place so it appears to be eating Grass was a real pain. Indeed I think I have had to Elongate the Material so it reaches it.

Wispy Sky


Thankfully the Sky was easy. I added a Band of Light Blue. I made the Wispy Clouds from the Offcuts from the Band Edge. I had to Curve the Ends slightly to give that Puffy effect.

Definitely Not Shaun 


I have added to the Background by placing a couple of Hills. I have also extended the Marshy Ground.

I am short of the right Materials to add any more features to my Sheep. It seems more Forlorn than Shaun The Sheep. Not one of my best but it is on the Back.

Thursday, 9 March 2023

Autumn Cape Bag 2022 Part 8


Autumn Cape Bag 2022 Part 8

Apologies for the slow going but unfortunately I am still ill. So it is going to be another short blog. I guess it makes it easy to follow though.

Knit off Stitch Holder


I am finally at the point where I can Knit off the Stitch Holder. To match the rest of the Bag I am using Plain Stitch

2 Rows


After the Plain Row I add a Purl one. Now I have 2 Rows with 30 Stitches on it. The fun part will be tackling the other side. If it was anything like this side it is going to take some doing. I may have to come up with another way of doing it.

10 Stitch Interval


Before I can do anymore Knitting I have to find the correct spot to start from. I decided that the best way to find this is to use Stitch Markers. If you remember I had left a long Tail in the middle of my 30 Stitches. I was going to use this as my starting point.

I counted 10 Stitches to the Right and put a Stitch Marker in. I did the same with the Left. I continued counting and Marking until I got to the other side.  I found that I was one Stitch out. I would have to put up with that.

Thursday, 2 June 2022

Crikey Not Christmas 2022 Part 8

 Crikey Not Christmas 2022 Part 8

In the last Blog I had realised that the way I was going to Embroider the Yellow wouldn’t work. It would take far too much Thread

Spreading the Yellow


I decided to Unpick and Start again. This time I would only Embroider right at the Edge. I simply did this by putting my Needle through again and again. It is like Blanket Stitch but without crossing the Thread.

Bottom Right Side


After I had thought I had done them all I found one lurking down the side. Typical! However I decided to do this one slightly differently.

I was quite anxious regarding the amount of Thread I had left. I only had 2 Skeins of this and it was so old I wasn’t sure that I would get a good match even with the same number.

Bottom Left Side


I had completed the Right Side and now started on the Left Side at the Bottom. This is slightly different to how I had done the others as they were being Embroidered up the Sides at the same time.

Top Left


I could now Gauge how much I Thread I had used for the Bottom in total. I decided the best process was to now move to the Top. I began on the Left.

Double Top


Once I had finished the Left I changed to the Right Hand Top Side. I was Embroidering this Leaf far more Densely than I had the ones I had put to one side.

Yellow Trimmed Ivy


The tails were beginning to annoy me so I decided to Cut them off. I then added a few more little bits of Embroidery. As you can see in the above photograph the Yellow does not go entirely around the Leaf. This is because it doesn’t in reality.

Ivy Leaf Collection


After finishing the Single Ivy Leaf I now had an example of how to continue with the other Leaves. I Embroidered the Tops and Sides. Then I added little touches of Yellow ad hoc.

I also went over areas that I had already done and increased the Density of the Yellow Edging. I just managed to finish the last one when the 2nd Skein ran out. Phew that was a close call.


Thursday, 22 July 2021

Cooper Concoctions 2021 Part 8

 Cooper Concoctions 2021 Part 8

I have now Hemmed the Bottom of the Bag.

Carpet Thread


As this Bag needs to take Weight I have decided to Blanket Stitch along the Bottom using a strong Carpet Thread.

Hem Top of Bag


With the Bag still inside out I do a quick Hem cross the Top of the Bag all the way around.

Place Cord


This is where I had a bit of luck. Instead of using an ordinary piece of Cord I found that I had an old Toggle and Cord that I had taken off the Bottom of a Coat. I placed it along the Length of the Hem.

Pin Cord


So it didn’t move whilst I was trying to Sew I Pinned it Section by Section.

Back Stitch over Cord


To make it both Stronger and Neater I used a Back Stitch over the Cord.

Laundry Bag


Here we have it one nice new Laundry Bag

Thursday, 22 November 2018

Mademoiselle Marionette 2018 Part 8

Mademoiselle Marionette 2018 Part 8

It is time to sort out the Arms and Legs. I started with the Legs as I thought they would be easier to do as they wouldn’t get in the way.

Leg Sewn


I took one of the Legs and began to sew part way up. I thought doing it a bit at a time would make it easier to stuff.

Leg Part Stuffed


Once I had sewn as far as I wanted I began to add stuffing. I poked it down with a pencil. I did this very gently as I did not want to tear the stitching I had just done.

I continued sewing and stuffing the Leg until I was nearly at the top. The reason for this is so that I wouldn’t be trying to sew through the stuffing when I attached it to the body. I then repeated the process with the other Leg.

Arm Sewn


I began sewing and stuffing the Arm in the same way as I had made the Legs. The difference in this case was when I was part way up the upper half I sewed across. 

If you look at the photo above you can see this line marked with a pin. There is quite a bit of material left above the line. This is essential for later on.

Rough Body Appendages


After sewing and stuffing the second Arm I pinned the parts roughly in the places. Readers with eagle eyes may have noticed that in this picture the Neck featured in the last blog had yet to be made. Hence the fact that I jumped ahead to make it easier to follow.

Legs Attached


I tweaked the position slightly and then sewed the spare cloth at the top of the Legs to the Back piece of the Body.

Arms On Wrong


I could now move on to the Arms. This part was quite difficult in comparison. It took me ages to try and get the shoulders (aka the spare material) pinned in the right place.

The reason for this was because I need to make sure that the Arms would be able to move once the Body had been stuffed. I kept pinning and unpinning the material. When I thought I had got it right I trimmed the excess and sewed in place.

This time I attached the Arms to the Front part of the Body. I thought this was best because then the Shoulders only had to bend over one set of material.

Arms on Right


Grr I had been so concerned that I had the Arms in the right place that I had inadvertently sewed one of the Arms on wrong. 

My Marionette would have ended up with Elbows facing both the same way. I therefore had to unpick one of the shoulders and then resew the correct way around.

String Through


After the problems with the Arms I decided that I would have a change. I parted the Hair until I found the Centre which was bare.

I then took a piece of string (my arm’s length) and knotted at one end. I then threaded a thick needle which apparently mum said was called a bodkin. I sewed through from the inside then made a small tack on top. I then passed the needle underneath the tack to secure it in place.

String Hidden


When I had finished with the string I then pulled down the Hair from the top of the Head and swept it over it. This is why I had made the locks at the top quite long.

Head Stuffed


As I didn’t want the string to get in the way I folded and tied it up at the Back of the Head. I then proceeded to re-stuff the Head of the Marionette.

Body Sides Folded


My next task was to sort out the rest of the Body. The Marionette needs to be proportional so I wanted to make the Body thinner.

I folded the Front Body piece until it was in line with that of the Inner Shoulder. I then sewed along the Body thus making the folded part into another hem.

Large Back Fold


I folded the Back material as I had for the Front of the Body. However I made a larger fold. This decreased the size of the Back material when sewn to the Front piece. This would pull in the shoulder material tight.

Body Sides Sewn


As you can see in the above photograph now everything is sewn in place the Front of the Body is bowing outward somewhat. 

This is not an accident. Since the Marionette is supposed to be female I am hoping that I will be able to with a few tucks here and there be able to give a more feminine shape.

If you remember back to Part 2 I had tried to do this when I first cut out the rough Body Shape.