Showing posts with label Beads. Show all posts

Tuesday, 5 May 2026

Dying Dilemma 2025 Part 16

Dying Dilemma 2025 Part 16

After finishing off adding the Beads and Sewing them on. I came across another problem.

6mm Gold Beads


I was running Low on Beads therefore I went on Bead hunt. Unfortunately the only ones that I could find in Gold were 6mm.

Sorting Beads 


Before I can continue I need to see exactly how many Beads of which Size I have.

2 Large Gold Beads


Since I have so many packs I decided to make some that had 2 Large Gold Beads.

3 Gold Beads


After a trip to my friend the lovely Laura she told me that if I put a Large Bead on the Bottom then a smaller one above it will look like a Teardrop at a distance. With this information I began to add 3 Gold Beads all of different sizes.

Back of Belly Dancing Skirt


With all the Beads and Coins Sewn on this is how the Skirt now looks.

Front of Belly Dancing Skirt


Here is the Front of the Belly Dancing Skirt. I am so proud of what it looks like now compared to how it started. Of course it isn’t perfect. I got reminded of this when I wore it and realised I had forgotten to cut off the Tails from the new additions.

Monday, 26 January 2026

Dying Dilemma 2025 Part 13

Dying Dilemma 2025 Part 13

Time to crack on adding Coins

Upper and Lower Done


I have finally got all the Coins added to the Lower Tier of the Skirt. It is definitely looking a bit more fancy.

Gold Beads


I have purchased some Gold Beads  off our local market to go with the ones I already have at home.

Choice of Colours


I have a Choice of Colours to use. I can either continue using Black or I can use the Yellow to go with the Gold Beads.

Thread Teardrop


I have decided to go with the Black Thread as it is more forgiving. I make a Knot in one end then Thread the Teardrop on to it. I then add two small Gold Beads.

Ready to Sew


I have made a group and am now Ready to Sew.

Sunday, 14 December 2025

Dying Dilemma 2025 Part 8

Dying Dilemma 2025 Part 8

Afterall the dismantling I did last time now I have to start to reassemble.

Materials Needed


I have found a Ruler, a pair of Scissors and some of my Cross Stitch Thread. 

14 Cm


I have only limited Thread at present so have to be careful how much I use, Therefore I am going to do some tests.

Thread Coin


I pull the Thread through the Coin and knot it at the Top.

Thread Big Beads


Next I Thread two Silver Big Beads. I did not knot the Thread this time.

Split Thread


The reason I am using this type of Thread rather than ordinary sewing cotton is because I can easily Spit it. I have divided it into two equal parts and placed a Small Bead on each.

Third Bead


Finally I add a Third Small Bead.

Thursday, 18 February 2021

Out of Zone Mask 2020 Part 3

 Out of Zone Mask 2020 Part 3

As I stated previously I am Out of my Comfort Zone with this Mask. Time to consult an expert a.k.a. my friend Laura https://www.alyssa-rose.co.uk/

We had quite a discussion, I told her my ideas and she told me mine plus a quick raid of her Steam Punk items. (A later blog)

Need Chain


I wanted to Frame the work that I had done so far but I was unfortunately out of Chain. So after a trawl around the Charity Shops and Flea market I got this for a pound. 

Pin Silver Chain


I cut off both sections of the Chain and trimmed to size. I have kept the Beads. I try never to throw anything useful away. I then began to pin the first section in place.

Sew Silver Chain


I Sewed the Silver Chain in Place using a simple Tacking Stitch through the Loops.

Silver Square


I now had a Silver Square or more accurately a Silver Rectangle around one of the Clock Faces. I was very happy with the result.

The next blog will deal with the other part of the Mask.


Thursday, 17 December 2020

Another Evening - Another Mask 2020

 Another Evening - Another Mask 2020

One Evening Mask is not enough so here is another one.

Pin Original Mask


I am using the Original Evening Mask as a Template. I Cut around it giving it extra room for Hemming.

Hem Evening Mask

I Hem the Mask. It seems larger than I thought. I may have to reduce it later.

Ribbon Added

I Fold a Ribbon over the Edge of the Mask and Sew to make the Straps.

Pin and Reduce

As I mentioned previously I thought the Mask looked a little large. When I tried it on it drowned me. Therefore I decided to Fold the Top of the Mask over on itself to Reduce it. I then simply Sewed across.

Pin in Place

I could now start adding the Embellishments. These are the Ovals that Beads from the last Mask came from. I started Pinning in place. I wanted to make sure they were evenly spaced.

Gold Oval Sewn

After I Pinned the first three Gold Ovals I Sewed them in place. I then added some more to the Ends.

Thursday, 10 December 2020

Evening Masks 2020 Part 3

Evening Masks 2020 Part 3

With the Ribbon added I can continue with the Embellishments.

Dismantle Earrings


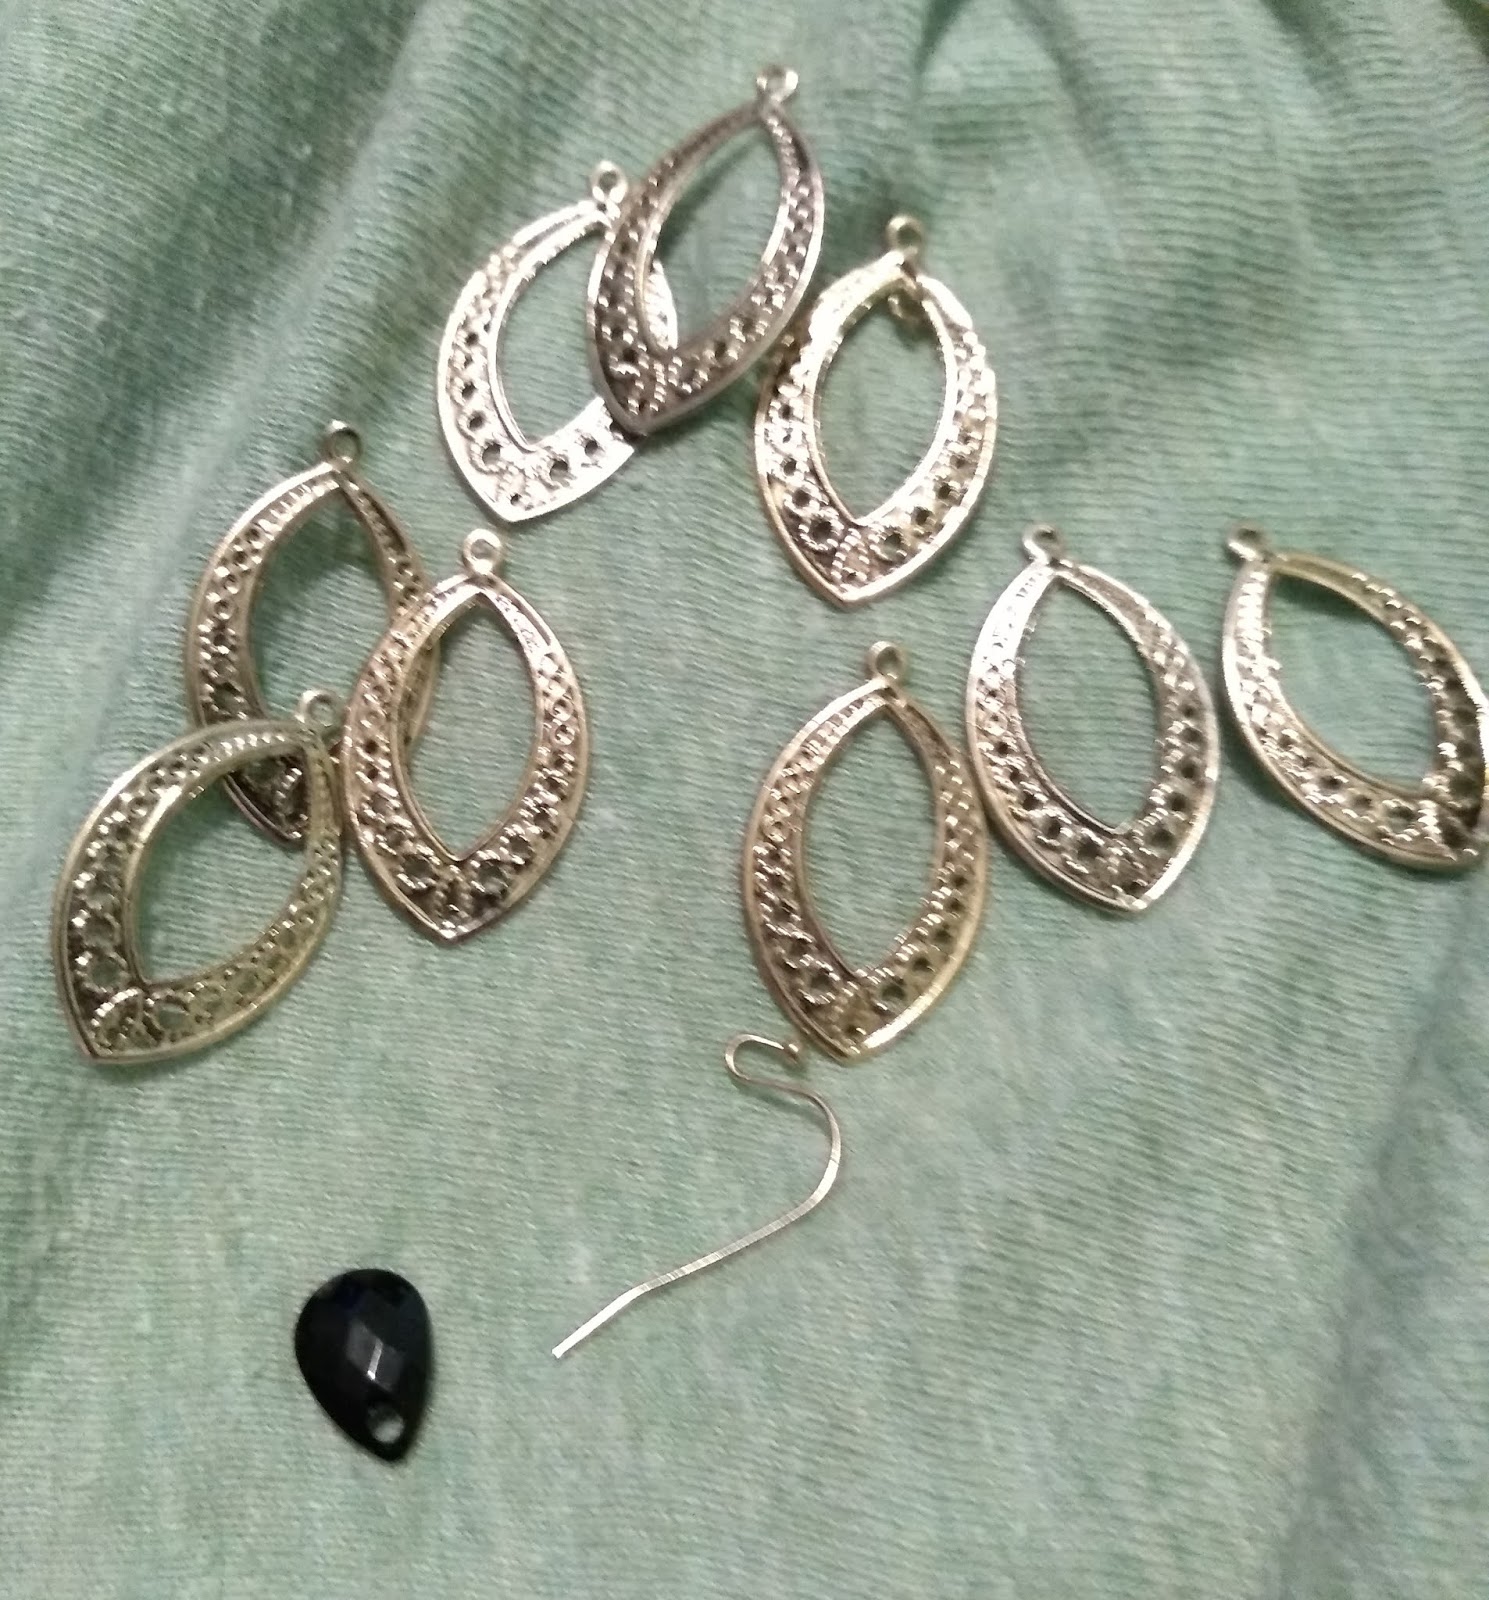
I bought some Earrings but lost one of the Beads. Therefore I have decided to Dismantle them and use them on the Mask.

Single Strung Bead


I take a Single Thread, double it and Knot it through the Bead leaving a long double strand.

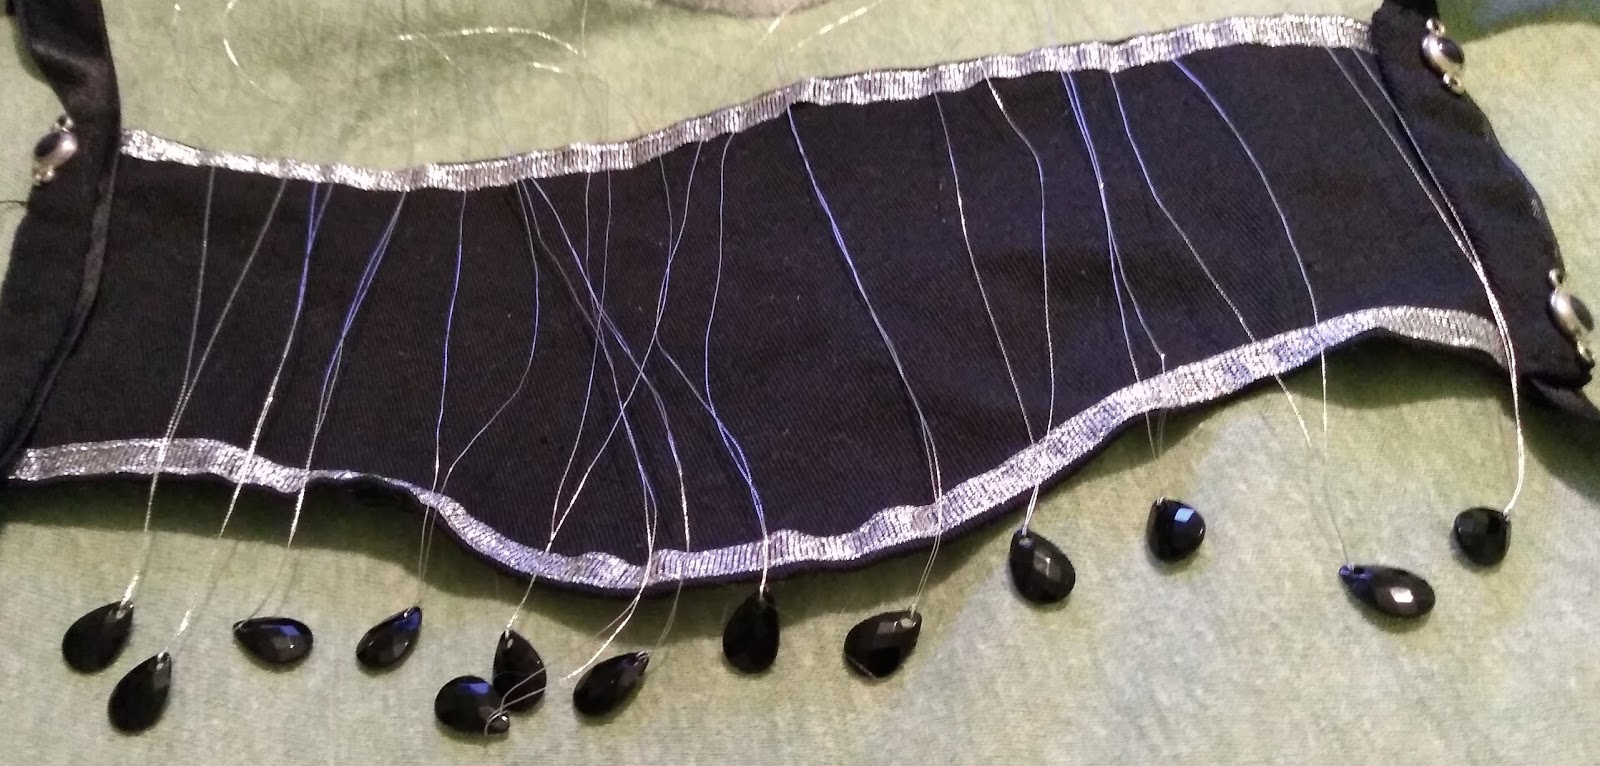
Strung Beads


I then continue to Thread the rest of the Beads.

Sewn Beads


I Sewn the Beads on starting at the Centre and the Two Edges. This will help me check the spacing.

Matching Earrings


I found that I had some spare Beads. I removed the Thread and slipped them onto the Hooks that I had fortunately saved.

Front Mask View


The above photograph shows the Mask along with the outfit I wore for my Birthday.

Side Mask View


Here is the Mask viewed from the Side. As well as being nicely shaped it is quite comfortable. It certainly made an impression on the Manager of the Mount Gurkha Restaurant.

When he found out that I had actually made it he asked if I had a shop. I think he was hoping to buy some for the ladies of his family. I was so proud. In all it was a wonderful Birthday.


Thursday, 12 April 2018

Wrap Up Winter! It is now Spring 2018 Part 3


Wrap Up Winter! It is now Spring 2018 Part 3

First on all I apologise for cutting the last blog short. It is the first time I have had to do that. In the last blog I had just reached talking about the Brooches.

Aran Beret and Brooch


After knitting the Aran Brooch it was time to add a bit of bling. All the Brooches I have made are slightly different. However this one is unusual because as well as the normal beads I add I found a sparkle and I couldn’t resist putting it in the centre.

Black Beret and Brooch


In order to cut down on endless photographs I haven’t taken a picture with the measurements but I can state that the Black Beret is the same height and width as the Aran.

As to the Brooch I am not sure what planet I was on whilst knitting it but as well as the mistake regarding the missing stitches I made another blunder. This time I got the correct amount of stitches but I did a purl row instead of a knit and I didn’t realise until I was about to cast off. Therefore I had to undo the whole lot and start again.

Scarf Mistake


I am not sure if it was the colour that was throwing me out but I also messed up knitting the Scarf. Somehow I managed to gain another stitch. Normally this doesn’t matter in stocking stitch and I can usually quickly adjust it.

However since I was knitting Rib it caused the pattern to go out of line. It was lucky that I spotted it before I did too many rows.

Black Glove


After all the problems I had it was nice that the Gloves went according to plan and though the numbers aren’t showing up very well in the photograph the sizing is correct.

Beret Collection


So to wrap up this blog (yes the pun was intended) I thought I would show you my entire winter collection. Of course the Brown Beret decided to disappear but you get the general idea.

Therefore apart from a couple of tweaks (I am still looking for some dark green wool to extend the Green Scarf).that is the end of knitting Wool Berets for now. I do have some other colours in mind but I want to concentrate on different projects.

Besides people keep asking me about my long term project and I really need to keep working on that in addition to my Summer Projects.


Thursday, 29 March 2018

Wrap Up Winter! It is now Spring 2018 Part 1


Wrap Up Winter! It is now Spring 2018 Part 1

We changed the clocks at the weekend and it is Good Friday tomorrow. Therefore I thought I would write a blog wrapping up a few winter projects.

Two Tone Scarf Extension


In the link above I was discussing my attempt at making a Two Tone Set. As you may recall I ran out of wool knitting the Scarf. Unfortunately I couldn’t get the Kingfisher Blue as it was discontinued so here is the finished item extended with the Petrol Blue Wool.

Merino Wool

I realised whilst finishing the Blue Scarf that I have difficulty remembering how much wool to buy. One of the reasons is because I have never really sat down and worked it out. Yes I am using a pattern but I am not using the yarn stated plus I have also adjusted it.

Therefore I thought I would measure and note as I go. The yarn I am using is King Cole Merino Blend DK super-wash wool. It is Shade 46 Aran 50g and approximately 115 yards in length.

Aran Beret

I am using 4mm needles and when finished the Rib measures approximately 7 inches wide when flat.  The height from Rib to apex is 6 Inches. This is when following the pattern correctly and using my usual tension.

Aran Gloves

The Gloves are made with the correct cast on and needles. However I tend to adjust the pattern by eye towards the finger tips. I usually deduct approximately 2 rows stocking stitch per finger depending on my tension. The end result is 9 inches from Rib to end of Little Finger. The Cuff is approximately 2.5-3 Inches across.

Aran Scarf Width

It is always when it comes to the Scarf that I get really lost trying to work out how much yarn is required. This is due to the fact that although I use the correct size needles (4mm) I don’t cast on the same amount of stitches each time.

The cast on amount is always divisible by 4. In this case 44 stitches and it has in this case resulted in a 3 Inch Rib.

Aran Scarf Length

Once I change the number of stitches it will affect the width. The pattern states that I should cast on 60 stitches. I found that far too wide when knitted so I reduced it. The length when knitting up one ball works out at 18.5 Inches *

So by removing 16 stitches I automatically increase the length. This means I need to buy fewer balls of wool. Increasing the cast on results on requires more balls.

Aran Brooch


The Brooch was knitted using 4mm needles. It measures approximately 2 Inches in diameter. I made a bit of a mess when sewing this up and it didn’t sit right. Therefore I had to unpick the fastening stitches, readjust the position and resew.

Aran Brooch Finished


After resewing I found a nice sparkly gem for the centre and proceeded to add Black Beads around it. Then all it needed was the safety pin added.

Comparison Results In Part 2

*
REMEMBER THESE NUMBERS ONLY WORK WHEN USING THE SAME TYPE OF WOOL AND YARDAGE!


Thursday, 28 December 2017

Autumn Cape: A Stitch in Time Saves 9 – Part 2

Autumn Cape: A Stitch in Time Saves 9 – Part 2

If you are wondering if you have missed a blog you haven’t. The 1st Part was written in 2016. I have pasted the link at the end.* It might make more sense if you read that blog first.

With this the last blog of 2017 I thought it would be useful to touch on that sore subject – lack of money. Most people have spent a fortune over the Yuletide and will be cutting back in the New Year. Here is one way you can save money. Repair and modify old items.

Green Cape – Top Holes


The Green Cape I made has not been able to be worn of late as I noticed threads coming away in places. It needed mending – Again!

Green Cape - Middle Holes


Last time I simply did a quick darn with sewing in loose ends where I found them. This time I would have to find a better solution.

Green Cape – Top Centre Flower


In order to strength the whole area around where it is coming away or fraying I decided to do a spot of embroidery. Fortunately I had several balls of yarn of different colours left over from both the Green Cape project and others.

Green Cape – Top Right Flower

The small holes could be covered by small flowers. However some areas had several holes too close together to do small flowers singularly. Therefore I did a larger flower complete with leaves.

Green Cape – Lower Top Flowers 


The more flowers I embroidered the more holes I seemed to find. In order to spread out the colours I alternated between white, brown and purple flowers.

Green Cape – Middle Back Flowers


Some areas seemed to be fine until closer inspection. This is because the unravelling was showing on the underside rather than the right side.

Green Cape - Bottom Left Flower


This little hole nearly escaped my notice. It was the constant turning whilst embroidering the other flowers that loosened the threads enough to spot. I have more to repair on other parts of the Cape but until I have done that I will move on.

Other Money Saving Ideas
A kind friend - Laura of Alyssa Rose Boutique recently renovating her shop and saved lots of things for me that she thought I might like.(https://www.facebook.com/Alyssa.Rose.Boutique)

Old Chocolate Tin


Chocolate Tins and Tubs are in abundance around Yuletide. This particular one is very old and I had to look it up to find that it was made by Cadbury’s in the 1930’s.

Bead Tin


Inside the Tin was a collection of small bottles. Apparently Laura’s Grandmother used them to put beads in. So who am I to break with tradition?

More Beads 


I sorted all the loose beads I could find and put them into the bottles. I wish I had thought of this idea years ago as it not only gave me more room in my sewing box but I also found more that I had forgotten I had. It was certainly put to good use as I used some of the beads on the Flower Brooches from last week’s blog.

Another Needle Notion


Amongst the items given to me were knitting needles galore. It took me ages to sort them and when I did I found a few odd needles and a couple of broken ones. Rather than throwing them away I decided to use them as supports for my tomato seedlings.

I am still sorting through all the goodies so I may find other items that give me money saving ideas.
*