Showing posts with label Autumn. Show all posts

Thursday, 9 May 2024

Autumn Cape Bag 2022 Part 65

Autumn Cape Bag 2022 Part 65

Eureka! This is the final blog for this project. It has taken me far longer than I thought due to ill health. I am so happy that now I can move on to other projects.

Press Stud Leaves


I Sewed the Leaves above the Pocket. It took a while to get them placed. I needed to Cover enough of the Rat without messing up the way I had arranged the Leaves to compliment the rest of the Bags Colours.

I have matched up the Press Studs Sewn on the Pocket with the Leaves and Sewn on the other Halves. This was far trickier. I needed to Sew them on firmly but without coming through the other side.

Hidden Rat


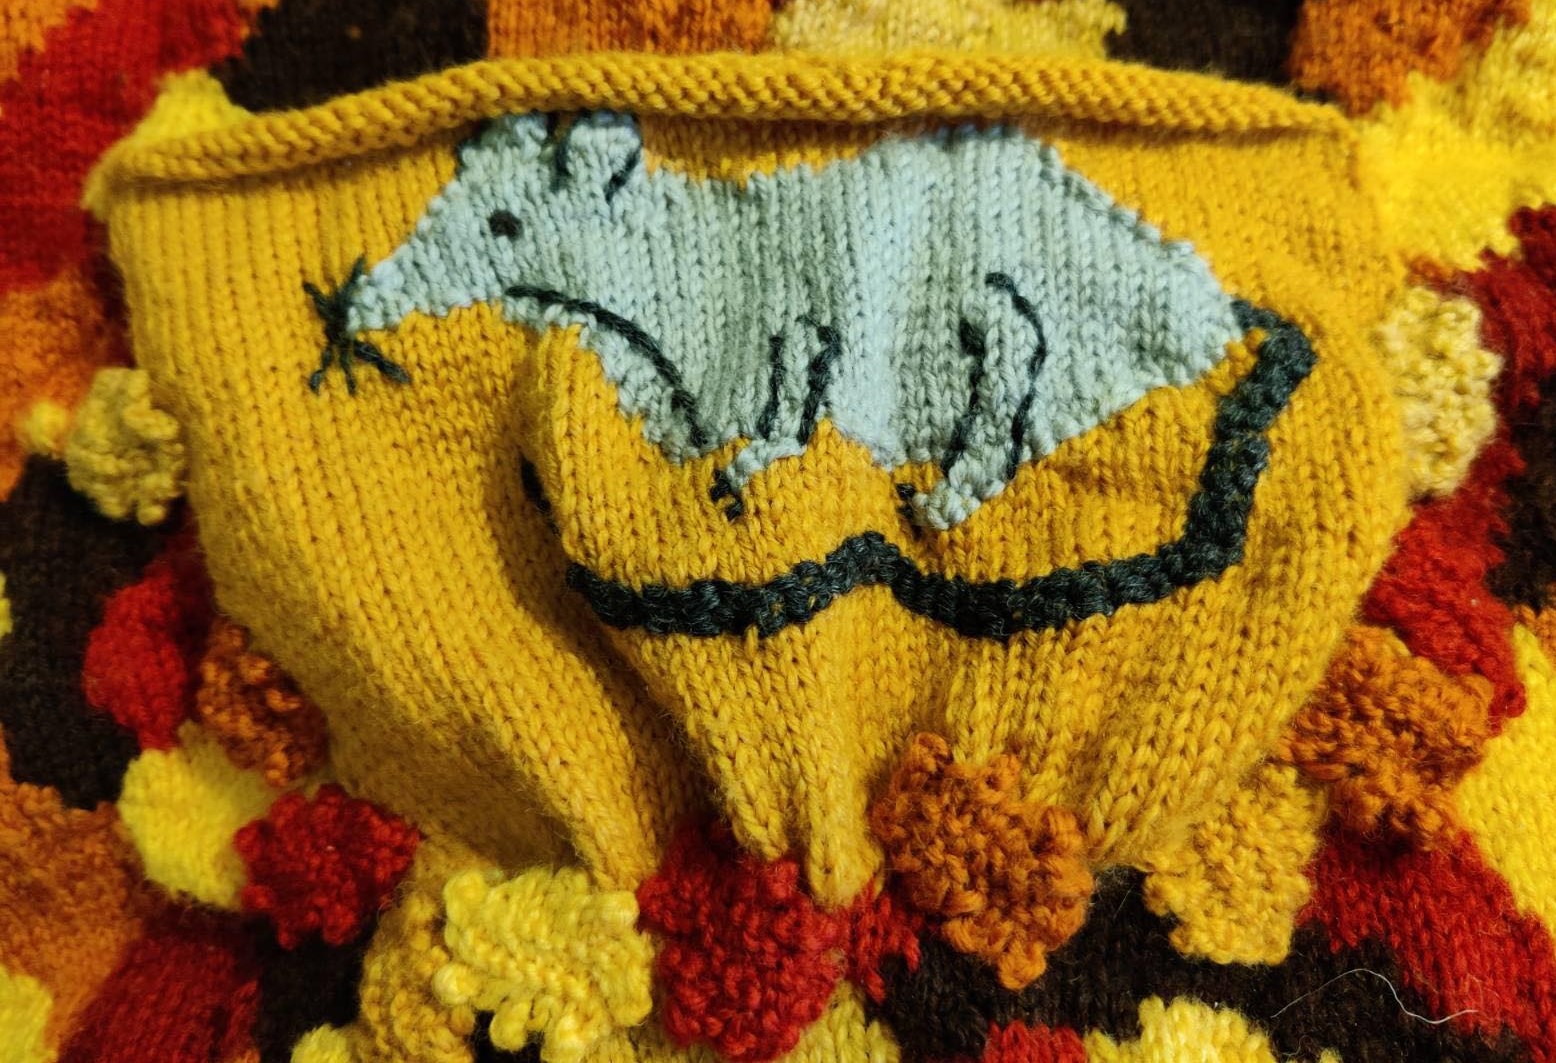
As you can see in the above photograph, I managed to avoid Sewing through the Leaves. To make it easier I had used Thread rather than Wool. Since it was underneath, I did not chop and change Colours but used a simple Beige Colour.

Finished Front


Voila! One Autumn Cape Bag Front Side completely Finished.

Finished Back


Here is the Back. I love the little Rat Tail tantalisingly poking out from underneath the Leaves. I took it out yesterday for a test run and it worked beautifully.

It was a very long project but I am very happy with the result.

Friday, 3 May 2024

Autumn Cape Bag 2022 Part 64

Autumn Cape Bag 2022 Part 64

I finally feel like I am getting to see the light at the end of the Tunnel

Sew Pair


Naturally, all the Pins came out of the Leaves so I had to sort them all out again. Starting at one End I began to Sew a Pair of Leaves together. I did this by Partially Overlapping. I then Sewed with Yellow Wool down the Inner Edge of the Yellow Leaf.

All Sewn


As you can imagine it has taken quite a while to Sew All of the leaves together. I kept having to Swap Coloured Wool.

Curled Top


One of the main problems with Stocking Stitch is it tends to Curl. I am going to have to do something with the Top of the Pocket. It not only looks bad but also is slightly obscuring the Rat’s Ears.

Fold and Sew


I have Folded and Sewn the Top with a Backstitch. I am going to go across again with a Tacking Stitch to bring it together more.

Press Stud Pocket


I have a small collection of Press Studs. I selected the best size and Sewed them on to the Pocket. I put three on so as to spread the wear on the Top when Opening.

Sunday, 28 April 2024

Autumn Cape Bag 2022 Part 63

Autumn Cape Bag 2022 Part 63

Continuing with the Bag for the Pocket.

Nearly Cut


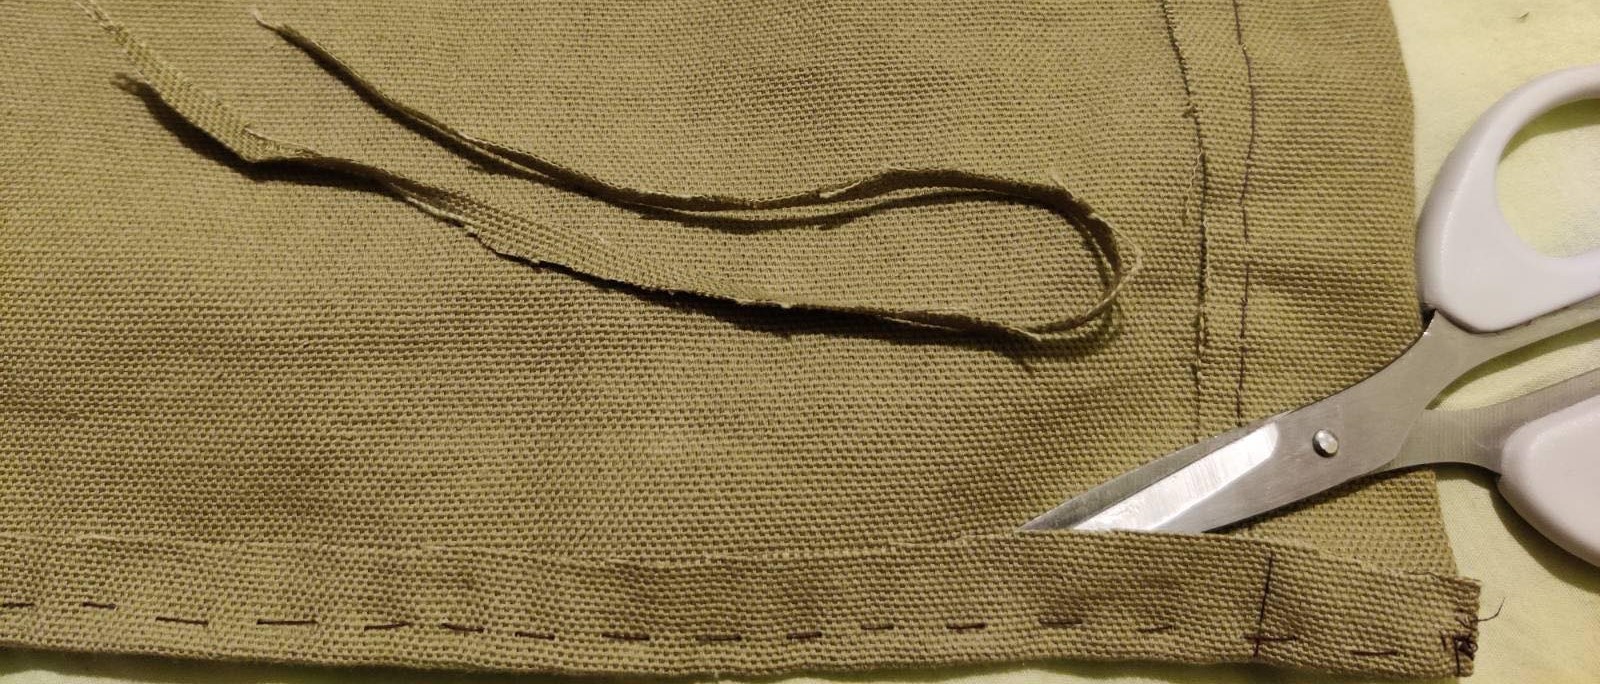
Whoops! I am trimming the Excess off and Nearly Cut the Hem. I hope it does not Fray.

Green Blanket Stitch


I have now Blanket Stitched the two Side Edges of the Green Material. I hope it fits, as the Wool is a bit Stretchy.

Inside Pocket


As I anticipated, the Green Bag was a little Long so I have Folded the Top over. Now it fits nicely.

Leaf Layout


I am trying to work out what order to Layout the Leaves. It has taken me about half an hour to do this. I have Pinned together for later. Now I need a break.

Sunday, 21 April 2024

Autumn Cape Bag 2022 Part 62

Autumn Cape Bag 2022 Part 62

I am continuing to add Leaves to the Pocket.

More Orange


If course once I started adding the Leaves I found out that I did not have the correct Colours. Once again, I have to stop to make More Orange Leaves.

Full of Leaves


I have now finished adding the Leaves to cover the Bottom and the Sides of the Pocket. This made it look a little better by covering up some of the bunching. It has also added to the Strength of the Pocket.

Measure Pocket Depth


I had saved some of the Green Material. I have rewashed and pressed it as it had got a little dishevelled during storage. I now need to Measure it against the Pocket. I started with the Depth.

Measure Pocket Width


The reason that I started with the Depth of the Pocket is because I am going to Fold the Material. This will save on me having to do additional Sewing. Once I have the Width I can cut out the required amount. As usual, I have taken into account the need for Hemming.

Double Tack


You cannot tell in the photograph above but one side end of the Material is already Hemmed. I have therefore matched it with the other side. I am now Sewing the Large Hem. I am using a simple Tacking Stitch. I have Tacked one way and I am Doubling Back to make it stronger.

Friday, 12 April 2024

Autumn Cape Bag 2022 Part 61

 Autumn Cape Bag 2022 Part 61

I have now finished the Ears. I decided against any further decoration as I wanted to move on.

Gone Sideways


Nope you are not looking at the above photograph wrong. This is what really happened. This is a far more complicated process than I realised. First, I have to remove the Green Inner Bag. Then I Flip the Flap so not in the way.

Next, I have to put my hand inside the Bag. I have to take the Pocket on the outside with my other hand. I try to place it in position. Then I have to take a Needle with the Wool push through both the Bag Layer and that of the Pocket. Conclusion. I do not have enough hands.

This Time Pin


One of the major problems is that I cannot see what I am doing. I am either looking at where I am putting the Needle through or where I am holding the Pocket.

This Time I have Pinned the Pocket roughly in place so I can concentrate on what I am doing with the Needle.

Got it Straight


Got it Straight. Hmm. Well not exactly Straight as the Pocket is more Bowl shaped than Rectangle. That is due to the way I picked up the Stitches and how it has Stretched during Sewing. At least it is Vertical and not Sideways this time.

To give the Pocket plenty of Strength I Sewed it using a Backstitch. Then when I got to the Top, I turned and went over the Stitches I had already done.

Start Bright Red


With the Pocket now Sewn in place I can continue. My next step is to add Leaves. I have started with a Bright Red one. This shows up nicely against the Golden Yellow of the Pocket.

Friday, 5 April 2024

Autumn Cape Bag 2022 Part 60

 Autumn Cape Bag 2022 Part 60

I have finished the main Embroidery. I now can move on to the next part.

Add Detail


I have decided to tackle the Legs Area first. I need to Add Detail to both the Legs and Feet to make them more defined.

Ears


From the Bottom to the Top of the Pocket. Here I can give definition to the Ears. After that, I will have to fill them in at some point.

Whiskers


A Rat would not be a Rat if it did not have Whiskers. I decided that three on each Side of the Nose looked about the right amount.

Extra Detail


Time to Add a little Extra Detail. I want to the Outline the Breast area to give the Rat more Depth. I may want to give it some more Colour too. I will have a think and decide later.

Saturday, 30 March 2024

Autumn Cape Bag 2022 Part 59

Autumn Cape Bag 2022 Part 59

Now the Pocket is Cast Off I can start Embroidering the Details.

Tidy the Grey


Before I can start adding Detail, I need to do the usual boring Tidying up. I begin Sewing in the loose Ends. Some of the Ends are long enough to Straighten Up some of the Grey Outline.

Eye


I have added the Eye. This is so I can use it as an Anchor Point. If I know where the Eye is, I can better work out where to place the rest of the Embellishments.

If you look carefully at the above photograph near the Eye, you might spot a divot in the Nose. It is the result of changing a round drawing to a chart. I have to change it back again.

Secure Tail


I Secure the Wool for the Tail at the back. I have chosen a Dark Grey colour. I will be doing a small part of the Tail before I continue with the Light Grey.

Add Legs


I have Embroidered enough of the Tail to work out how far it will go down the Pocket. I can now add the Legs knowing that they will not be interfered with by the Tail.

Rat Tail


That is the Tail finished. I have also been around and completed the Outline of the Light Grey.

Friday, 22 March 2024

Autumn Cape Bag 2022 Part 58

 Autumn Cape Bag 2022 Part 58

I have reached the part where I need to start really concentrating.

Begin Grey


I Begin to add the Grey Wool that will form the Basis for the Rat.

Shorten Rat


As soon as I started to add the Grey Wool, I could see that the Pattern needed to be Altered. I am having to Remove a good five Stitches from the Chart. I note this in Ink so I will not make a mistake in Counting.

More Shortening


After Removing five Stitches towards the Rear of the Rat, I realise that I am also going to have to Remove some towards the Head. Again, I highlight this in Ink.

It is getting very complicated to keep track of the number of Stitches to be Knitted in which Colour. I may have to do some adjusting by eye as well as using the Chart.

Cast Off Pocket


I have finally managed to finish the Chart and Cast off the Pocket. How well I have done will be discovered when I start adding the details.

Friday, 15 March 2024

Autumn Cape Bag 2022 Part 57

 Autumn Cape Bag 2022 Part 57

Now I have Picked Up all the Stitches I can begin Knitting.

First Row


Knitting the First Row was difficult as the Stitches were very Tight. I found that sometimes I had to Tug to get the Needle through.

Loose Yarn


All that Tugging has loosened some of the Yarn that was Sewn in. If I do not sort this, first it is possible that it will Unravel.

Colour Rat


As I am Knitting, I am Colouring in the Rows on my Rat Chart. It does not really matter what Colour I use as long as I can see what I have already done.

Rat Bottom


In the above photograph, you can see how the Knitting Compares to the Bottom of the Rat Chart. In addition, if you look carefully you will observe a curious Fan Shape where I Picked Up. This is a problem I will have to sort out later.

Green Cut Out


After Checking my Knitting against the Chart, I have decided that as it stands the Pocket will be too High. Therefore, I am Cutting Out some Rows. I have highlighted this in Green.

Friday, 8 March 2024

Autumn Cape Bag 2022 Part 56

 Autumn Cape Bag 2022 Part 56

Still not sure, what is up with my phone/laptop. At present, I am having to message my boyfriend and he sends them back to me so I can edit them. This is going to slow down things considerably. In addition, there is the risk that one or other may die.

Bag Width


Before I can do anything, I need to check the Bag Width. I want to make sure that I start Picking Up in the Centre.

First Pick Up


Having measured and found the Centre point. I needed to work out how High up the Bag to start. I need the Pocket to be a reasonable Size. What I do not want is it to fail to leave room for the Flap

Tough Work


Picking Up is far Tougher Work than I anticipated. The fact that all the Colour Changing I have done has made the Stitches very Tight. I am really struggling to try and Pick Up any Stitches.

Wonky


As predicted things did not go well. If you look at the above photograph, you will see a distinct Slope in the Stitches I have picked up. This means I will have to start again.

Half Stitches


I have redone what I had originally Picked Up. There is still a slight Slope but I feel that it is the best I am likely to get. Now I have to add the other Half of the Stitches.