Showing posts with label White. Show all posts

Sunday, 21 September 2025

Carnival Calamity 2025 Part 6

 Carnival Calamity 2025 Part 6

I have Cut Out one set of Brown Triangles. Now I need to do the same with the Grey.

Grey Triangles


Instead of Measuring and Cutting into Sections I am trying a different method. I have tried to draw the Triangles from the Marks so I get more out. Trouble is it made it very difficult to see what I was trying to Cut Out.

Line them Up

l


Starting with the Grey Triangles I placed them at the Bottom in an alternative pattern across the Board leaving a gap in the Middle.

Unfortunately the Triangles were very uneven as I had shaky hands whilst Cutting Out. Once the configuration was correct I glued them in place.

Down the Centre 


I place a Black piece of Felt down the Centre of the Board then proceed add more Triangles. The Triangles on the other side are directly across from the original Set. However the Colour Scheme is opposite. I made sure they were correct before gluing.

Mini Circles


Taking a small piece of White Felt which was an Off Cut I began to draw some Mini Circles.

White Set


I Cut Out the White Circles which I will call the White Set. I haven’t got quite enough so need to Cut Out some more. After I have fifteen Circles in my Set I shall do the same thing with Red Felt. This will give me thirty Circles or should I say Counters in total.

Thursday, 15 May 2025

Crawling Creatures 2025 Part 8

Crawling Creatures 2025 Part 8

Even with both the Crab and Starfish finished I still have quite a bit of Clay left. Hm playtime I think.

Large Black Ball


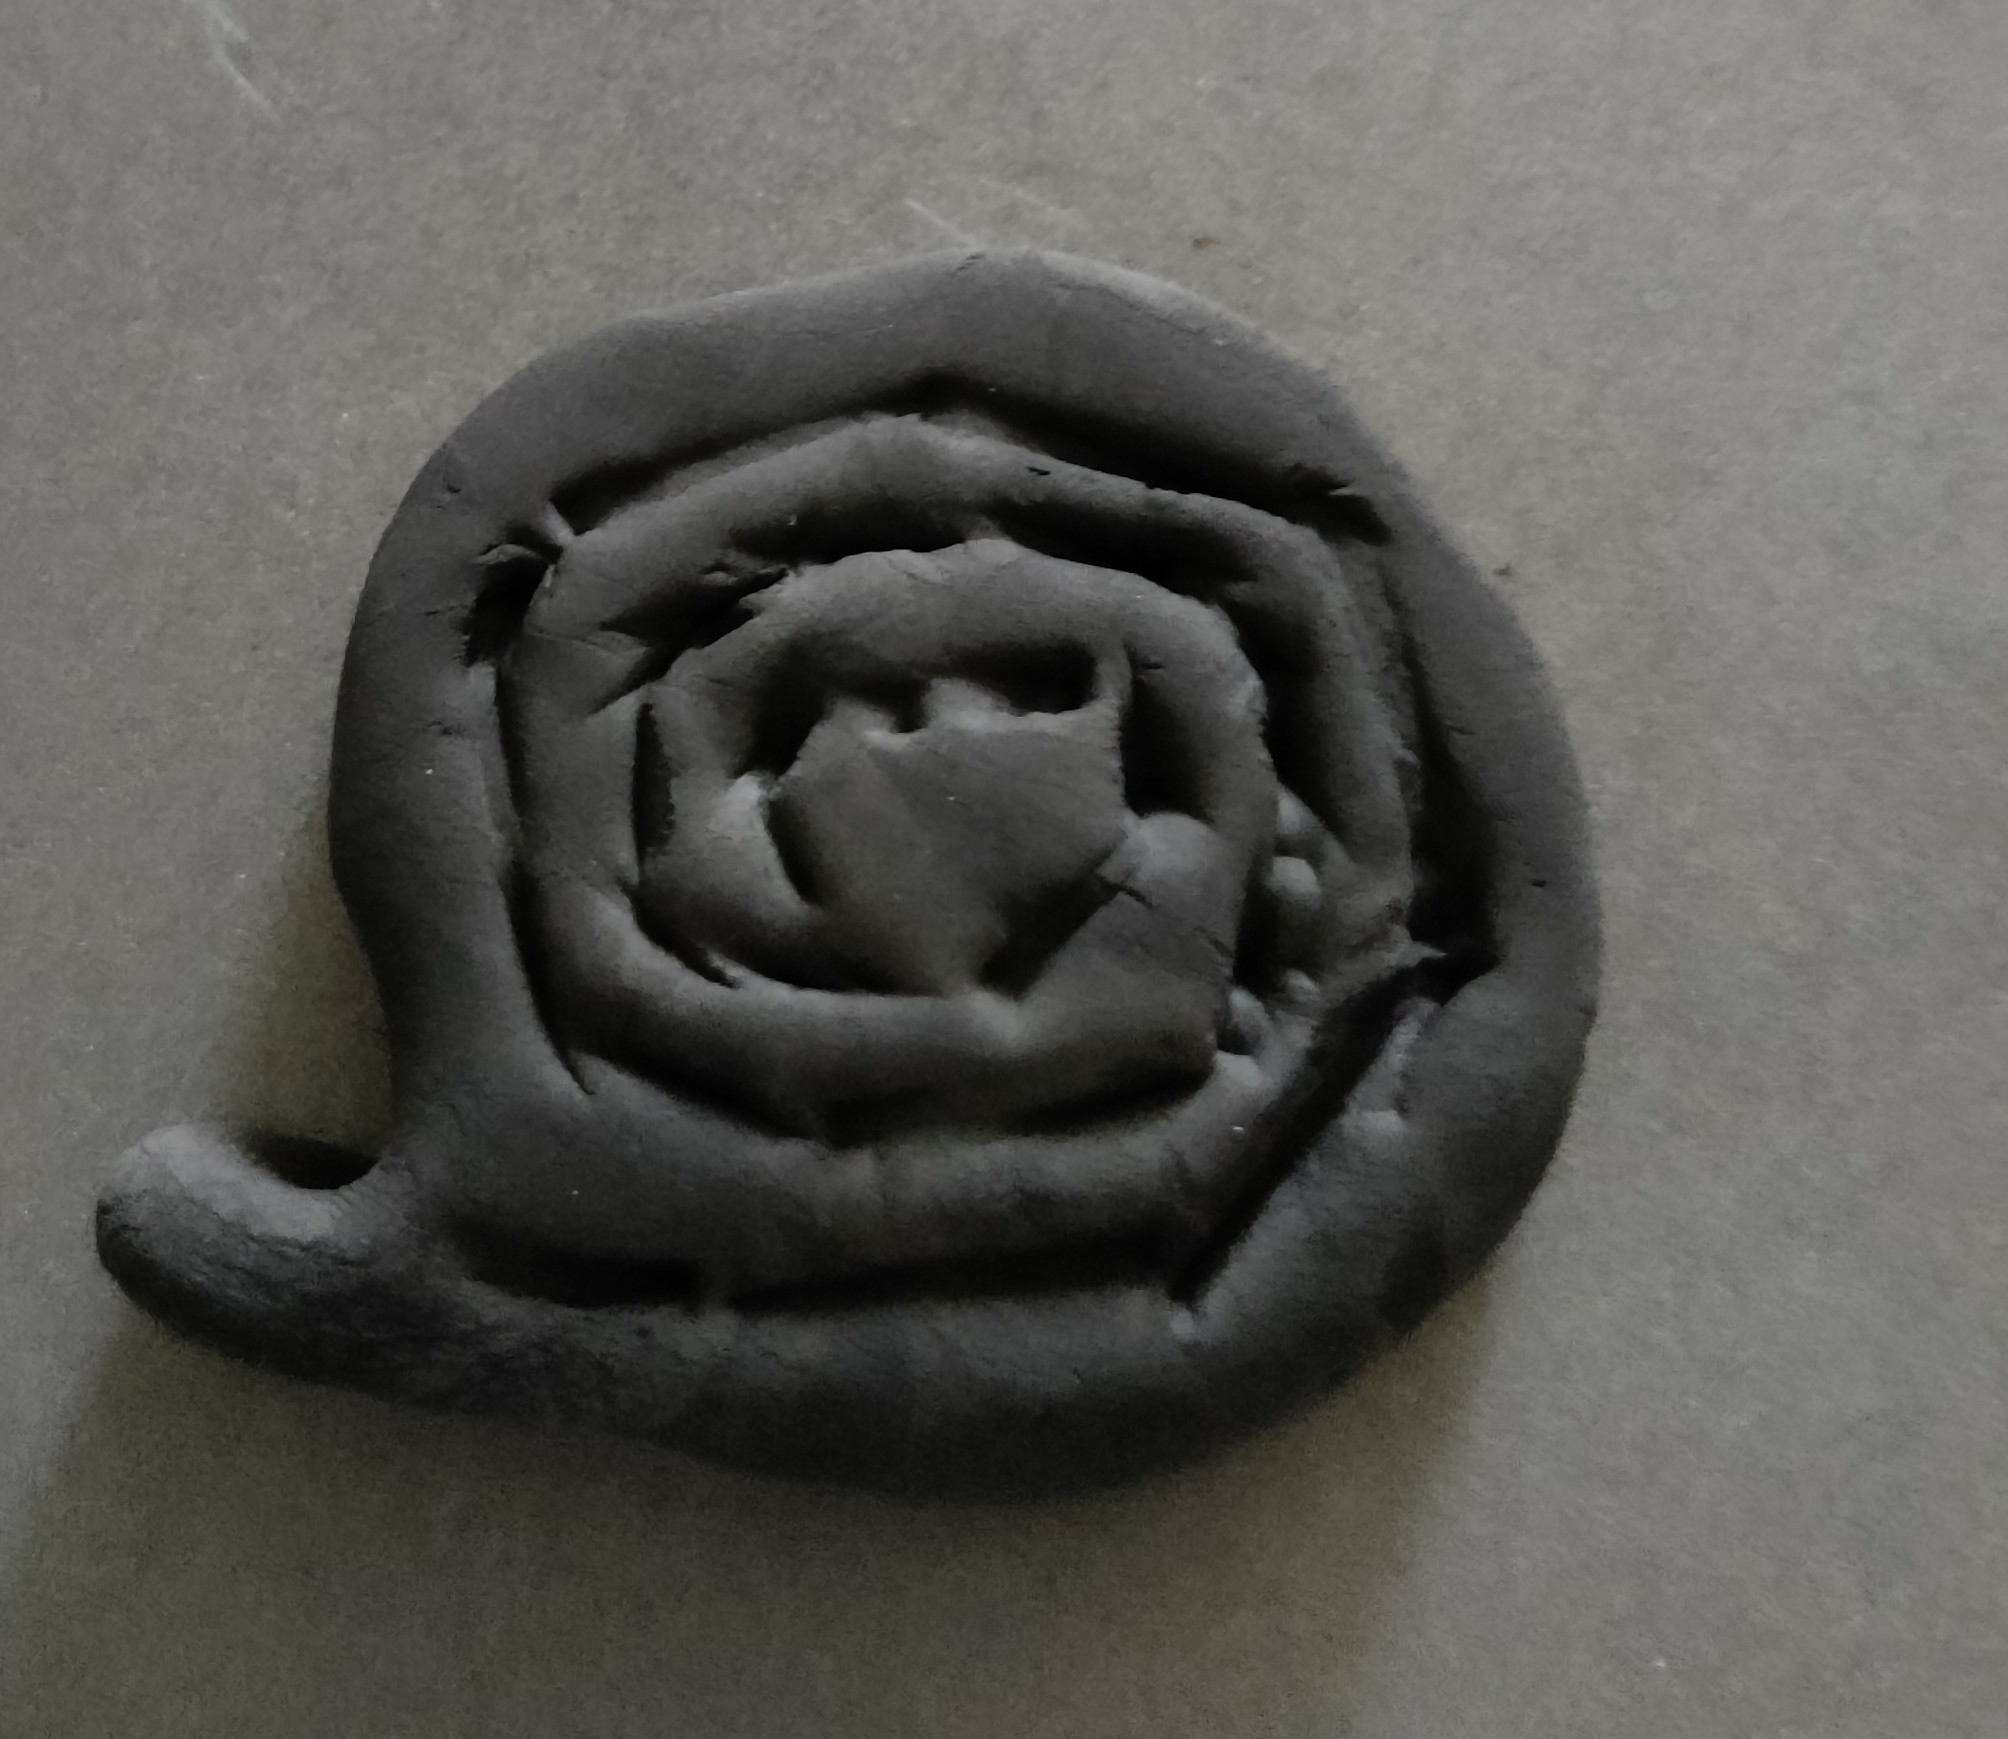
I have lots of Black and White Clay left. Therefore I started with a Large Black Ball

Flattened Black


I Flattened the Ball with my Palm to make a Base.

Pull Tail


I tease some of the Black Clay out at the Bottom to make a Tail.

Knife Spiral


Taking a Knife I make a Rough Spiral in the Clay.

White Strip


Next I take some White Clay and make a Thin Strip.

Fill Spiral


I slowly begin to Fill the Spiral. It takes a couple of Strips to do this.

Thursday, 1 May 2025

Crawling Creatures 2025 Part 7

Crawling Creatures 2025 Part 7

Continuing with my Star Project

Fill White


Taking some White Clay I fill in the Depression.

Black Balls


I Roll some Black Balls

Eye Eye


I pop the Balls on to make the Eyes for the Starfish.

Add Smile


I have Rolled a little piece of Orange to make a Smile as I want a happy Starfish

Dash of White


Again I am adding White Highlights to the Eyes.

Sort Red


Now I am going to Sort that pesky Red Mark. This was a bit tricky to remove without making a Mess. So I hit upon the idea of accentuating the Arms by Scouring them with a Knife.

Sunday, 13 April 2025

Crawling Creatures 2025 Part 4

 Crawling Creatures 2025 Part 4

Need to continue with next part. Legs go. Get it?

Lift Legs


I have noticed that the Crab seems to be starting to Stick to the pan. I decided to Lift it to a new place before continuing.

Mould Legs


The Legs got a little damaged whilst Lifting so I have had to Mould them again.

White Ball


Change of Colour. I need to make a White Ball. Like before I will divide it in half.

Roll Eyes


Now I have two parts I have Rolled them into Small Balls. These will become the base for the Eyes.

Grr Wrong Place


Grr I dropped it on the Wrong Spot. I have taken it off but of course some residue has stuck fast.

Friday, 29 November 2024

Mini Pudding Puzzle 2024 Part 3

Mini Pudding Puzzle 2024 Part 3

With all the White Hexagons Finished I could move on to the Pentagons.

Not Happy


I am really Not Happy with the way this Pentagon has bee cut out. No matter how I turn the Hexiform I cannot get a true match. I am going to have to see if I can try and Fix it during Sewing. I hope the others aren’t like this.

First Pentagon


With what I had to work with I think that this First Pentagon hasn’t turned out too badly. On with the rest.


Speckled Brown


The White is all finished so I can turn my hand to the Brown. Again I am Not Happy. At first glance when I was sorting these out I thought they went near the Top. I thought the Speckled Colour was supposed to be Icing Sugar.

However when I looked through the rest they are all like this. I termed this Speckled Brown - I have been watching a lot of Sherlock Holmes lately.

Add to the Brown


First port of call was to add the Hexiform. Since no thread has been provided I have to search my supplies for some Brown Thread.

Good Colour Match


I am lucky that I have quite a good collection of threads. I have found a Good Colour Match to the Brown Material.

Brown Hexagons


I have finished the Hexagons.

Brown Pentagons


I have Finished the Pentagons. They are not quite the right Shape in places. My fingers were beginning to get sore. I should have rested but that is me all over.

Bakewell Museum Link

https://www.oldhousemuseum.org.uk/

Thursday, 21 November 2024

Mini Pudding Puzzle 2024 Part 2

 Mini Pudding Puzzle 2024 Part 2

I can now start Sewing.

White Set


I thought that I would start with the White Set as there was less of them to do.

White Hexiform


I took the Hexagons out from the Pattern. I placed the Hexiform into the Centre of each one. The Woven Side needed to be facing me. I added a Pin to the one I was going to start first to stop it moving.

First Fold


With the Pin holding the Hexiform in place I could easily make the first Fold. It only took a couple of small stitches to keep the Fold in place.

First Corner


With the First Fold done I turned the Hexagon and made the Second Fold. Sewing this in place created the First Corner.

Completed Hexagon


I kept Folding, Sewing and Turning until I had Completed all the White Hexagons.

4 Hexagons


I completed all 4 Hexagons then I returned them to their Place in the Pattern.

Bakewell Museum Link

https://www.oldhousemuseum.org.uk/

Saturday, 28 September 2024

Boxing Clever 2024 Part 9

Boxing Clever 2024 Part 9

Back to the Box Lid

Look Here


I left at the point where I was unhappy with the Red. Therefore I have had an Idea. I needed to add some Windows. However what I have decided to do is to add some White Shutters.

Mind the Door


I Glued the Shutters in place on top of the Red. It looks much better now. I have also added a door.

Pathway


Using White Ribbon and bits of Off Cuts I have created a Pathway. I toyed with the idea of adding a gate but decided that was going to make it look clumsy. Therefore I changed the gate to a Stile.

Starry Night


I really struggled to get the Sky right. I tried adding storm clouds but it didn’t look right and after asking for opinions I tried again. This time instead of a Full Moon I changed it to a Crescent 


The addition of Stars was really hard work. No matter what I tried they looked terrible. I decided that there was no way I could make Stars out of Material. I had some tiny Sticky Coloured Glass. I trawled through to find White ones and dotted them around.

All Packed


Finally it was ready for me to put my Tarot and Oracle Cards in. I am really pleased with the over all result.

Thursday, 29 December 2022

Footy Fun 2022 Part 2

 Footy Fun 2022 Part 2

Short blog this week as not well.

Ironing Felt


I am going to use Felt to Cover the Box. However before I can do so I am going to have to Iron it. I have quite a pile to do and am also Ironing some scraps which I will use later.

Add Glue


I am going to use ordinary PVA Glue rather than fabric as I am a little low. Unfortunately the photograph of the Side didn’t come out so using a different one. The important thing is to make sure that the whole area is Covered or it will lift in the corners.

Overlap


I am putting White Felt all the way around the Sides of the Box. I have left a slight Overlap on the Front. This is so I can Trim the exact Shape.

Paint Edges


I could have Cut the Felt long enough to go over the Edge and down the other side. However I felt that this would impede the Lid from shutting. Therefore I decided to Paint the Edges White. I now need everything to dry before I carry on.

Thursday, 21 April 2022

Crikey Not Christmas 2022 Part 2

 Crikey Not Christmas 2022 Part 2

Did you work it out? I am going to make a Christmas Wreath.

White Strips


After sorting through my Hoard I decided on using White Strips of Material. Most of these are Offcuts from Pattern. Since quite a few have writing on they aren’t much use for other things.

Smaller White Strips


Now I have my Material I need to Cut it into Finer Smaller White Strips. Otherwise it is going to make the Process bulky and difficult to do.

Begin Wrap


Taking the Largest of the Three Rings I begin to Wrap. I am not bothering with using special Fabric Glue at this point. I Wrap all the way around at a slight Angle.

First Layer Complete


Here is the First Complete Layer. When I say Complete Layer I am not referring to once around the Ring. As you can see in the above photograph it has grown quite a bit in Girth.

This took several times around the Ring with gradually using Thicker Strips of Material. It is quite Time Consuming as you have to wait for the Glue to Dry. Therefore Layer in this case refers to the Finish of one Selection of Material


Thursday, 24 March 2022

Nott’s County Hat 2022

 Nott’s County Hat 2022

This blog is a follow on from the Nott’s County Scarf 2022

Black and White


I have a habit of over buying Yarn. My principle is I would rather have too much than too little. There is nothing worse than running out and not to be able to match the dye lot.

Hat Pattern


Since Covid hit we are unable to return unused Yarn. Therefore I asked Danny if he would like a Hat to go with his Scarf. He replied in the affirmative and therefore we went Pattern hunting.

It was amazing how difficult it was to find a simple Mans Beanie Pattern. In the end I bought a ladies one and would have to adjust as I went along.

Ribbed Stripe


My first adjustment was the Needle Size. I needed to make the Hat big enough for a Man. Since I didn’t want to muck about with the Stitches as it was a Ribbed Pattern I went up a Size and Knitted quite Loosely.

I was so intent on adding the first Stripe that I forgot to change Needles again. I didn’t realise until I had done that until the second Stripe. With this in mind I decided the best thing to do was to keep trying it against my boyfriend’s head.

Decreasing


I tried to keep the Stripes equal in Width whilst Decreasing. I decided to end with a Black Stripe to match the Bottom.

Hat Knitted


Once Knitted I had to Sew it up. I made a slight mistake Sewing up as I forgot to Reverse it on the Bottom for when it is Folded. Now I had to make a Pom-Pom. That is another story.

Pattern and Wool from Button Moon

https://www.facebook.com/buttonmoonarnold