Showing posts with label Leg. Show all posts

Thursday, 15 July 2021

Cooper Concoctions 2021 Part 7

 Cooper Concoctions 2021 Part 7 

We are now on to the last Legs of this project if you will forgive the pun.

Leg Material


I have a great deal of Material left from the Legs.
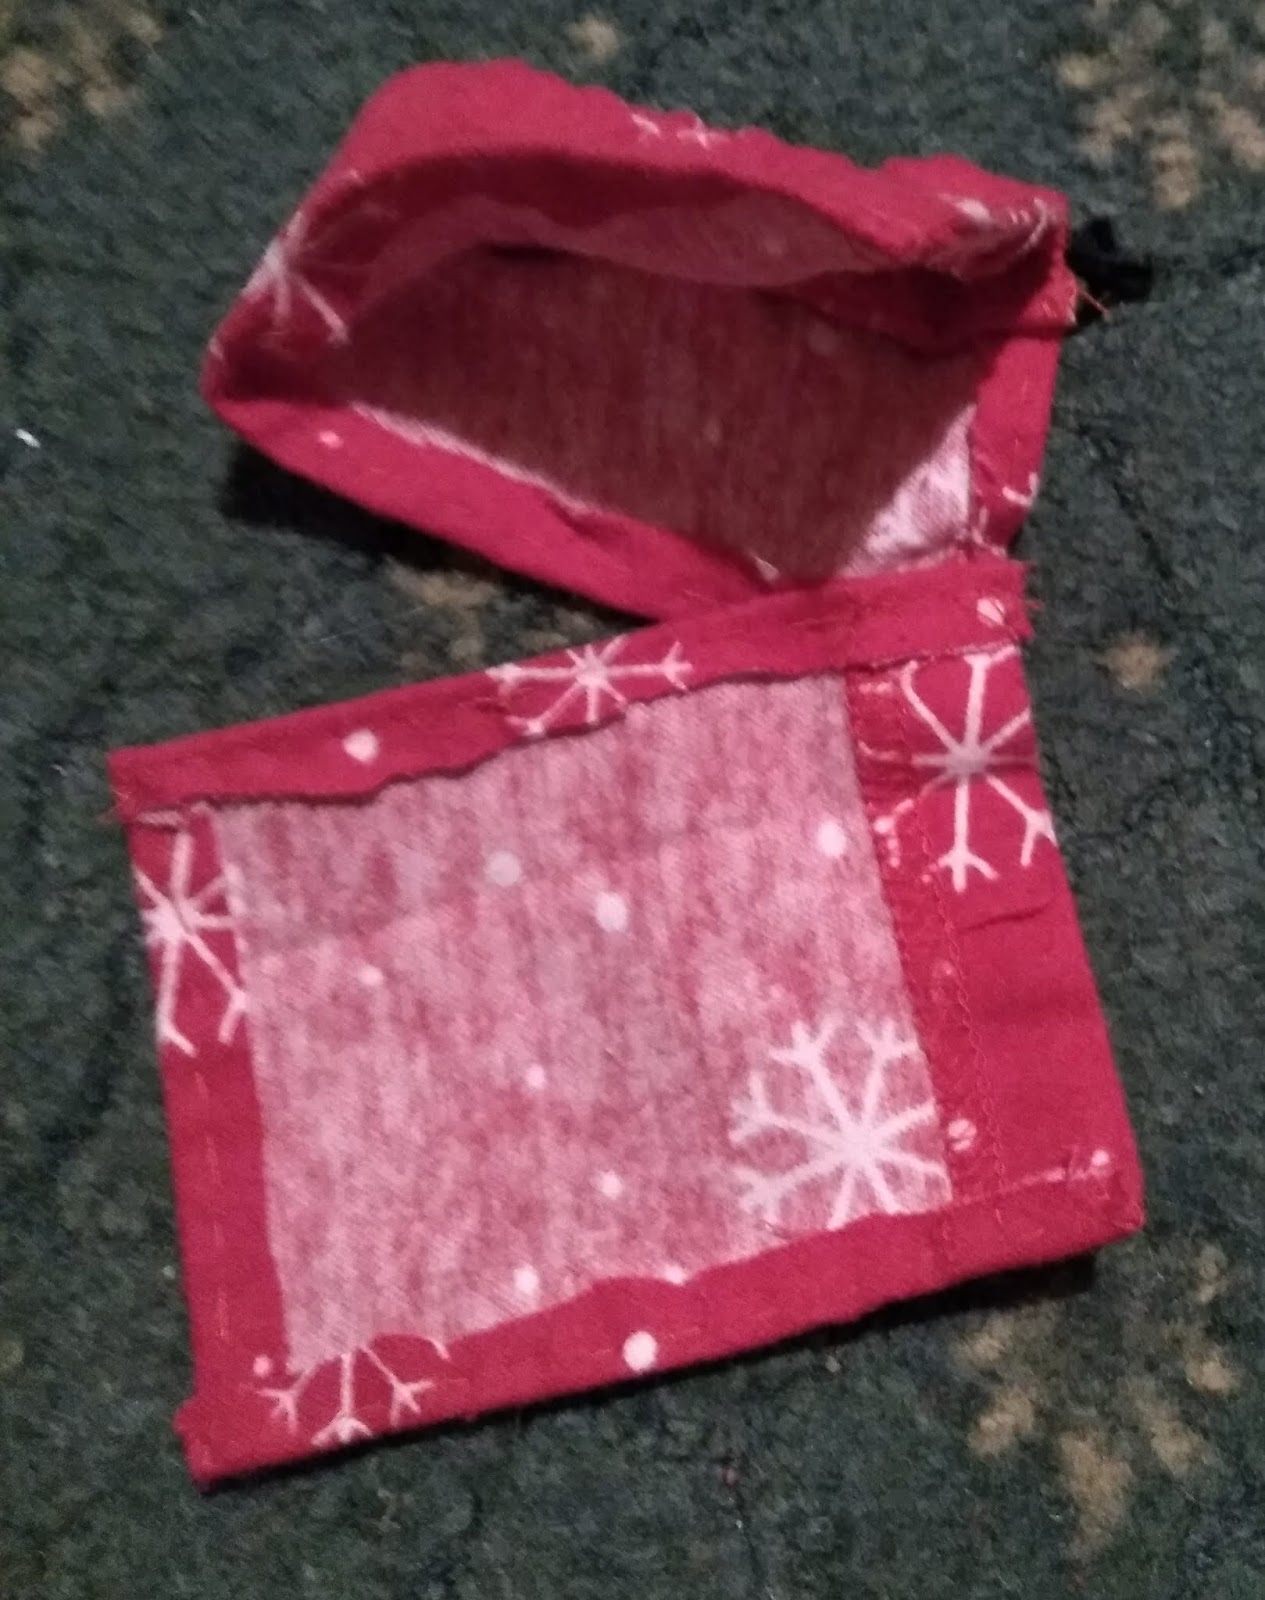
Leg Material Inverted


The above photograph shows the other Leg. I felt that it was easier to do this Upside Down hence the inverted look. (Please note that sometimes I reverse the order to make it more intelligible so photographs may show some discrepancies).

Pin Sides


To make life easier Pin the Sides of the Material together along the Length. Then you can get a more accurate cut across the Bottom.

This saves you from mucking about with part Sewing like I did.

Secure Fold


I turned the Material back to back and Secured the Fold at the Top of the Hem. Remember that I have inverted this so we are in fact working from the Bottom Hem of the Cooper Jeans.

Blanket Stitch


Once the Fold is Secured I can Blanket Stitch nearly to the Bottom on both sides. I left a couple of Inches Unsewn.

Pin Bottom Hem


I can now Pin the Bottom Hem ready for Sewing.

Thursday, 3 June 2021

Cooper Concoctions 2021

 Cooper Concoctions 2021

I am often given material in various forms by people as they know I do a great deal of Crafting. On this occasion it was a pair of Cooper Jeans. So what to do with them. 

Cooper Front


The Jeans looked pretty much okay from the Front. There only seemed to be a few marks here and there.

Cooper Back


Ah I have got to the Bottom of the problem. This was obviously a tear that couldn’t be patched.

Thick Needle


The first thing I did was to Cut off the Legs as they would only get in the way. I then found a Thick Needle as I knew that going through Denim would be hard work. I also sorted through my Cottons for some Threads of a decent Colour.

Unpick Cooper


I Unpicked all the Seams. As you can imagine this took some time. Unfortunately also whilst doing this the Unpicker occasionally slipped and torn the material.

I carried on Unpicking but I would have to sort these Tears out or they might end up running and making the material unusable.

Thursday, 29 October 2020

Mademoiselle Marionette’s Comfy Christmas 2019 Part 4

Mademoiselle Marionette’s Comfy Christmas 2019 Part 4

With the Pyjama Top finished I can now move onto the Bottoms.

Waistband


As always the problem with clothes for Mademoiselle is that they have to be able to put on without disrupting the String movement.

Since Pyjama Bottoms are often Elasticated I decided to use that as a basis. I Hemmed some material. I then added an Open Ended Hem and threaded through some Elastic creating a Waistband.

Waistband and Leg


I took a piece of material and wrapped around my thumb to give me an approximate size of the Marionettes Leg and then Hemmed it. I repeated this so I had two Leg pieces.

Legs with Press Studs


I then added a Press Stud on each end of the Material roughly in the middle of the Width edge. The tricky bit was now to add them in the right place on the Waistband Bottom.

I Pressed the Studs together on the Legs. I made sure that the Studs would open up on the outside of the Marionette’s Thigh when Sewn. I then flattened the Waistband and Pinned the Legs in place. I wanted to double check the position.

Complete Pyjama Set


Once satisfied I Sewed ONE SIDE of the Pyjama Legs onto the Back of the Waistband Bottoms. I repeated this with the other one and there we have it a Comfy Pyjama Set.

Thursday, 23 April 2020

Cat Before Bunny 2020 Part 3


Cat Before Bunny 2020 Part 3

Now I have had a break I can continue repairing the Leg

Top Edge Sewn


I Sew the Top Edge of the Thigh in Blanket Stitch.

Inside Out Curve


I have turned the material Inside Out. I Sew across the Corner of the Thigh with a simple Backstitch. This is not a straight line but a Curved one.

Cut Curve


Once the Curve is Sewn I cut off the excess. I then strengthen it with a Blanket Stitch.

Thigh Curved


I make another Curve at the other side of the Thigh. I then repeat the process at the end of the Leg. However before Cutting I slip the Case over the stuffed Leg to check it is correct. Once finished I turn the material the right way.

All sewn up


I put the Stuffed Leg into the material and Sew up. I use Blanket Stitch to seal it. It isn’t as neat as the original but repairs never are.

Leg Re-attached


All that is left to do now is to Re-attach the Leg to the Body.

Seam Problems


Unfortunately for me Cats tend to have more than one leg. This Leg has to be repaired.

Double Split


This one has a Double Split.

Bursting at the Seams


And finally this Leg is beginning to burst at the Seams. It might be at the end of the blog but work still goes on behind the scenes – or should that be behind the Seams?


Thursday, 16 April 2020

Cat Before Bunny 2020 Part 2


Cat Before Bunny 2020 Part 2

Hello all. I hope you enjoyed the Corona Virus Challenge in my last blog. Now back to my normal crafting.

Connection Problems


I have numerous repairs to do. Most of the Legs are coming away.

Detached Leg


I have detached the Leg so it will be easier to work on then I can reattach it once finished.

4 Hemmed Single


I measured the Length of the Leg and cut a piece of cloth. I then Hemmed a Single Side. This is the Edge where the Thigh would be. Since there are 4 Legs I decided to repeat the process there and then.

Pin in Middle


In the above photograph you can see better which is the Hemmed Edge. I have secured it with a Pin for a moment whilst I double check that I have picked up the correct cloth.

Pin to Cut


I removed the other Pin so I could move the cloth up so both sides were covered. I then secured it at the Bottom with that Pin. I then Pinned the Outline of where I needed to Cut.

Pin Hem Top


I cut the Top to size. I then Hem it. I double check the Outline and secure with a Pin at the Top before Cutting.

Hemmed All Around


Once I had the shape I could then Hem all the way around.

Hem Side


I have finished Hemming the Side of Thigh. Time for a break


Thursday, 12 March 2020

Dionne’s Draught Excluder 2019 - Part 16

Dionne’s Draught Excluder 2019 - Part 16

Finally I am on the last section of making the Rabbit’s Paws.

Simple Paws


The above photograph shows the Paws as they are now. As you can see that they are Curved. However they have all ended up with slightly different shapes. I decided that this simply will not do.

Start at Side


I have found some material and though not ideally what I would like it will have to do. Laying the Paw flat I start at the Leg End and secure the Thread. I will work from this point all the way around to the other side adding the material.


Fluffy Paw Edging


I couldn’t find any Furry material to go around the Paws. Therefore I have reluctantly had to use Fluffy Feathers. Henceforth I am now not making a Rabbit. It is an Easter Bunny!

Nice Fluffy Paws


I have finished making the Fluffy Paws. I have some Feathered material left so I am going to continue the theme with the Ears.

Crushed Fluff


I am starting at the Sides and making my way around the Ear with the material. One thing I did not mention when doing the Paws was the Stitch I was using to Sew the Fluffy material to the Paw.

I am using a simple Looping Stitch. I am not sure if there is a technical name for this. I am putting the needle through 1 Side and then repeating on the same Side. I have not used Blanket Stitch as this would Crush the Feathers even more.

Ear We Go


Once the Feathery material was added all the way around I began to De-Crush it. Using a needle I gently teased out the Crushed Feathers.

You can see the difference between the last two photographs. So Ear we go. Four Fluffy Paws and a Pair of Fluffy Ears for our Easter Bunny.