Showing posts with label Stitch. Show all posts

Sunday, 14 July 2024

Test Trouble 2024 Part 3

Test Trouble 2024 Part 3

Time to deal with those pesky Holes.

Blanket Stitch


To Strengthen the Material where the Holes are I decided to Fold the Material Lengthways and Blanket-Stitch. That solved one problem but created another.

To make a Scrunchie I needed to create a Tube for the Elastic. However I realised that would mean Folding the Material Widthways and that would make it quite thin. It also meant that it would be thicker.

Button


I tried a couple of different Needles. The thin ones would break and the thick ones would make big Holes in the already damaged material. I had to have a rethink.

I decided to forget the Scrunchie idea and change to a Headband. I Sewed Buttons on where I could see Holes and where the Material was thin.

Hem Elastic


I was still going to need to use Elastic so I took a small piece and Hemmed both Ends.

Attach at Back


I took the Hemmed Elastic and placed it face down at the Back of the Material and Sewed in place.  I did the same with the other End.

Headband


Well the Scrunchie did not go as planned but at least now I have a funky new Headband to keep my hair out of my eyes. 

Thursday, 30 May 2024

Tartan Tidy 2023

 Tartan Tidy 2023

 This was a quick off the cuff project.

 Tartan Waistband


Quite some time ago, I had to have a Tartan Skirt altered. I had the Waistband Removed and elastic put in. Being me, I had decided to keep the Waistband in case it came in useful.

 Remove Threads and Open


First, I had to Open up the Waistband and Remove all the loose Threads.

 Pin Tartan


I reversed the Tartan and Pinned in place ready to Sew.

Tartan Blanket


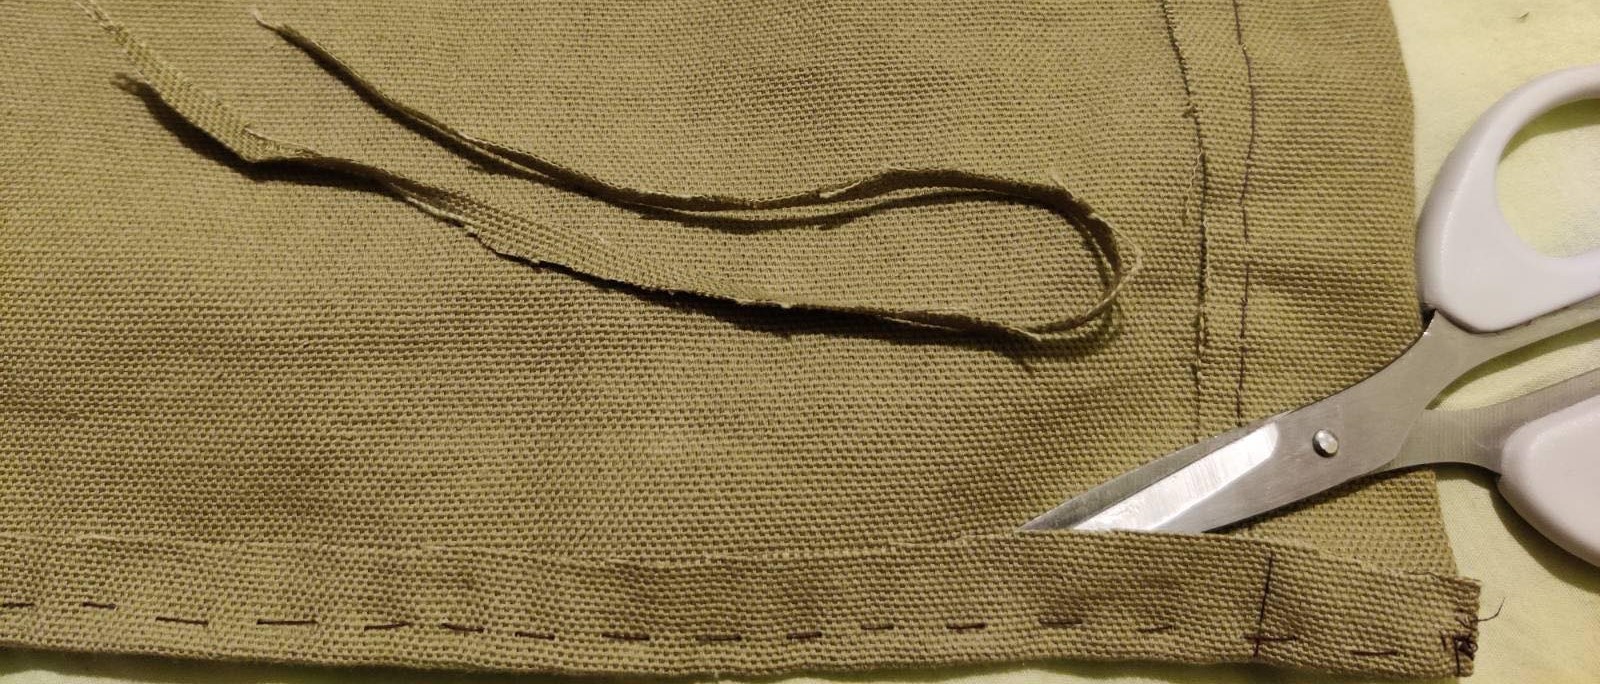
I used my favourite Stitch, Blanket and Sewed up the sides. I stopped Sewing roughly a quarter of the way from the End.

Blanket Buttonhole


I then turned my attention to the Buttonhole End. This area was quite frayed so I had to tidy up before sewing. Time for a break.

Sunday, 28 April 2024

Autumn Cape Bag 2022 Part 63

Autumn Cape Bag 2022 Part 63

Continuing with the Bag for the Pocket.

Nearly Cut


Whoops! I am trimming the Excess off and Nearly Cut the Hem. I hope it does not Fray.

Green Blanket Stitch


I have now Blanket Stitched the two Side Edges of the Green Material. I hope it fits, as the Wool is a bit Stretchy.

Inside Pocket


As I anticipated, the Green Bag was a little Long so I have Folded the Top over. Now it fits nicely.

Leaf Layout


I am trying to work out what order to Layout the Leaves. It has taken me about half an hour to do this. I have Pinned together for later. Now I need a break.

Friday, 26 January 2024

Autumn Cape Bag 2022 Part 54

Autumn Cape Bag 2022 Part 54

The final furlough of this part.

One Edge


Since the Blanket Stitching I had already done was questionable and with the added possibility of Fraying I decided to Reinforce the Stitching. I was originally going to Blanket Stitch with Brown Wool but I realised that I had quite a few strands of Red Wool. I thought this would be nice, bright, and therefore easy to see.

One Complete Side


After going along One edge and was satisfied, I continued all the way around. This Completed One Side of the Bag.

Both Done


Now that One Side was Completed, I could continue with the other Side. They are now Both Done. On to the final test.

Success


Well it was a lot of Blood, Sweat and Tears not to mention a choice selection of Expletives at times. I Slipped a Baking Tray inside to check for Size. Eureka! It fitted so I declare Success. However, I still have a few more bits to finish it off.

Thursday, 11 January 2024

Autumn Cape Bag 2022 Part 52

Autumn Cape Bag 2022 Part 52

Here we are folks Part 52. That is a full year’s worth of blogging on this project and it is not over yet.

Blanket Stitch Side


After attaching it at the Top I Blanket Stitch along the Side of the Bag.

Difference in Stitching


The reason there is so many blogs on this project is due to the amount of mistakes I keep making. This time it is loose Stitching whilst Sewing whilst ill. This is going to have to be rectified.

Smaller Stitches


I have gone over the Loose Stitching again. I have Blanket Stitched in-between the ones already there. I will have to do this on the other Side too. However, I am going to Pin it first.

Pin to Side


I have Pinned the Insert to the Other Side of the Bag. If you notice in the photograph above, I have not Sewn all the way down. This is deliberate and will explain in next blog.

Friday, 29 September 2023

Autumn Cape Bag 2022 Part 37

Autumn Cape Bag 2022 Part 37

This week I am struggling with a wracking cough and cold. However, I have managed to get some work done on the Flap.

First Strengthener


In the last blog, I had completed my first Strengthener, which by the red lines I am getting in the text leads me to believe that I have invented a new word.

Part Hemmed


I have Part Hemmed the second piece of Material. I have left one side Unhemmed.

Double Thread


To make it a stronger bond I used Double the Thread. I started to attach the Material with a Blanket Stitch. I know I used a temporary Tacking Stitch on the other piece but I simply forgot.

Excess Amount


I have completed Sewing one Side. As you can see in the above photograph, there is quite an Amount of Excess Material.

Friday, 11 August 2023

Autumn Cape Bag 2022 Part 30

Autumn Cape Bag 2022 Part 30

A Tail of Two Stitches.

More Tails


The problem with this kind of Colour Change is it leaves dozens of Tails. Not only is this laborious but also does not give me much to blog about either.

 Flap Join


I have decided before I go out of my mind with boredom to shake it up a little bit. I have therefore left the Tails for a bit and moved on to the Flap Join.

Wool Secure


I get out a Leaf that I had Knitted earlier and begin to use the Wool Tail to Secure it. However, I do not have enough to go around the edge so I need to get some more Wool.

Crivens!


How this has happened I have no idea. I cannot find Wool of the same colour. I have the Bright Yellow and the Golden Yellow but not the same colour of the Leaf. I can only think that somehow that the Wool has faded or that I went completely Colour Blind when buying the last lot of Wool.

Thursday, 3 August 2023

Autumn Cape Bag 2022 Part 29

Autumn Cape Bag 2022 Part 29 

Nice to be doing something different.

New Part


I am now moving on to one of the Side Pieces. What I am going to do is make a Flap

Adding Colours


I am continuing with the Colour Leaf Pattern. I simply add a few Colours at a time Knitting in Stocking Stitch.

Tail Mess


As I have done several inches, I am finding it hard to work out what is current and what are Tails. I need to sort out the Mess before I continue.

Tidy Time


I have now Sewn in all the Tails and now it is Tidy so I can continue on. I will have to do quite a bit more before I can move on to the next part.

Thursday, 1 June 2023

Autumn Cape Bag 2022 Part 20

 Autumn Cape Bag 2022 Part 20

 This was slightly trickier than I thought it would be but I got there in the end.

 Strap to be Backed


Above is a photograph of the Strap that I am going to back. This is the one that I have finished Knitting and Shaped at the end.

 Pin Template


I decided to use the Template on the Strap, as I knew it was the most accurate. I matched the Curved section then Pinned along the Bottom.

 Pin One Side


I began to Pin both Sides. When Strap was Stretched out there seemed to be an Excess of Material.  I decided to Pin one Side at a time. That way I could make sure, that I could check how much the Excess was.

 Tack Along


Once the Backing was fully Pinned I could begin to Sew into place. I merely used a Tacking Stitch as I was going to Sew it with a stronger Thread later.

Tack Both Sides


I Tacked all the way around Both Sides and along the Top. I am leaving the Bottom Untacked for now. This is because I want to check a few things first.

As you can see in the above photograph, the Template is not entirely Flat. This is due to the Excess Material. I am going to have to consider this factor when I move on to the next part.

Friday, 17 March 2023

Autumn Cape Bag 2022 Part 9

Autumn Cape Bag 2022 Part 9

Time to tackle the other side.

Using a Needle


Instead of mucking about with Stitch Holders I am going to try using another Needle to take the Stitches Off.

Five at a Time


To make things easier on myself I decided to Knit Five Stitches at a Time. It might be slow going but at least I am not going to Stab myself with a bunch of Stitch Holders.

Three Needles


That being said I now had 3 different Needles in the Bag. One in the big loop. One with the 30 Stitches on and One I am currently Knitting with.

Another 30 Stitches


Finally another 30 Stitches. Next I shall do the Purl Row so it matches the other side. I also need to remove all the Stitch Markers as I don’t need them now.

Thursday, 9 March 2023

Autumn Cape Bag 2022 Part 8


Autumn Cape Bag 2022 Part 8

Apologies for the slow going but unfortunately I am still ill. So it is going to be another short blog. I guess it makes it easy to follow though.

Knit off Stitch Holder


I am finally at the point where I can Knit off the Stitch Holder. To match the rest of the Bag I am using Plain Stitch

2 Rows


After the Plain Row I add a Purl one. Now I have 2 Rows with 30 Stitches on it. The fun part will be tackling the other side. If it was anything like this side it is going to take some doing. I may have to come up with another way of doing it.

10 Stitch Interval


Before I can do anymore Knitting I have to find the correct spot to start from. I decided that the best way to find this is to use Stitch Markers. If you remember I had left a long Tail in the middle of my 30 Stitches. I was going to use this as my starting point.

I counted 10 Stitches to the Right and put a Stitch Marker in. I did the same with the Left. I continued counting and Marking until I got to the other side.  I found that I was one Stitch out. I would have to put up with that.