Showing posts with label Cord. Show all posts

Monday, 17 March 2025

Hereby Hangs A Tail 2025 Part 2

 Hereby Hangs A Tail 2025 Part 2

Now I have my Cord I can continue with my idea.

Attach End


I Attach one End of the Cored to the Bag. This is a good Thumbs Width from the Bottom Edge.

Attach Cloth


I have made a Hemmed Rectangle of Black Cloth. I am Attaching it to the Back of the Bag. I Sewed all along it.

Attach Other End


With the Black Cloth in place I Attach the other End of the Cord. I make sure that it is Secured so the Cloth will hide it when Folded.

Finished Cat


I have Sewed the Folded Material and now you cannot really tell that it was ever damaged. Also I can now hang this by its Tail.


Sunday, 9 March 2025

Hereby Hangs A Tail 2025 Part 1

 Hereby Hangs A Tail 2025 Part 1

I had a lovely Xmas. One thing that struck me as funny was my friend and my boyfriend both bought me the same gift, A Cat Bag.

Xmas Cat Gift


I absolutely loved it. However I needed to get rid of the Ticket,

Xmas Oops


Oh Dear. I wasn’t paying attention whilst Cutting and I have Damaged the Bag.

Not Working


Grr. I have tried to use a Blanket Stitch to Seal the Material but it is not working. This is because the Material is Fraying as I Sew it. Time for a rethink.

Old Faithful


Okay I have an Idea in mind. First I am going to start by making one of my Knitted I-Cords.

Clean Cut


I have Knitted and Cast Off the I-Cord. I had a hairy moment as some of the Yarn had split and I had to Trim it. If I had gone wrong here I would have had to start again. Fortunately I made a Clean Cut.

Sunday, 2 March 2025

Knitting Doll 2024 Part 6

Knitting Doll 2024 Part 6

Hurray. All the difficult bits have been done.

Slide on Arm


After creating the Slip Knot Slide it on one Arm of a Pair of Glasses. This can be done straight away after finishing the Slip Knot. Or alternatively you can make the Slip Knot on the other end of the Cord first.

Sew In Place


Slide the Knot to the Far End near the Lenses. Once happy with wear it is thread the Tail and Begin to Sew it in Place. Repeat with the other end of the Cord on the other Arm and Trim off any Excess.

Glasses Chain.


Voila!. The Corded Chain can now be used. Even though Sewn in Place it can be Slipped off and used on other Glasses like Sunglasses.

I have returned my Knitting Doll back to the Charity Shop so someone else can have a go. 

I have decided that although it has its use it is far better off with somebody with smaller fingers like a Child. Also I can Knit an I-Cord far easier or even braid one with my Lucet.

Saturday, 22 February 2025

Knitting Doll 2024 Part 5

 Knitting Doll 2024 Part 5

Have to confess I am not looking forward to writing this Blog. It is trying to split down a task that I do automatically and then stop at try and photograph whilst holding it. If all else fails google Slip Knots.

Pinch Loop


Taking one Tail End I am going to make a Slip Knot. However in order to show you I am having to make it Higher up. Therefore afterwards I will redo it at the correct point.

First form a Loop with the Tail End and Pinch it between Finger and Thumb. After that I Wrapped the Yarn around the Back of the Loop and brought the Tail around. See Photograph.

Double Wrap


I am Creating a Double Loop though it is not strictly necessary. It is helping me keep it in place whilst photographing.

Lift Bottom Loop


Lift the Bottom Loop using either your Finger of a needle. I recommend the Latter. Don’t Catch part of the Yarn like I have done.

Push Through Top


Push the Loop you Have through the Top one.

Pull and Slide


Then pull this Loop firmly then Slide up. This one was made deliberately High up for photographing purposes.

Loop at End


I have redone the Slip Knot. I started it nearer the End of the Cord so I could Slip it into its Correct Position at the End of the Cord.

The Major Problem I found doing this is that normally I do it at speed and often using a knitting Needle. Since doing this I found a Youtube video with a great description.

https://www.youtube.com/watch?v=oj21JDDSrgM

Here are some more methods of making a Slip Knot

https://www.youtube.com/watch?v=P4yMvLONsY0

These describe various methods. Not one of which was the one I was taught lol.

Saturday, 8 February 2025

Knitting Doll 2024 Part 3

 Knitting Doll 2024 Part 3

Now for the harder bit - especially to Photograph.

Pull Yarn Taut


The Doll should be facing and have 4 Loops. Take the Yarn Ends and Pull. It needs to be firm but not so Tight as hard to work with or come off.

Warning

From this point the work seems to have a mind of its own and can and does at least in my case try and Unravel itself.

Second Round


We are going to create a Second Round of Loops the same way as before. This has to be done One Loop at a Time not a whole Round. Wind the Yarn around the Hoop above the First Loop. This is important.

Crochet Hook Lower


This is where the Crochet Hook, Grip or Needle comes into Play. With the Doll facing you there are now Two Loops. Take the Crochet Hook and gather the Lower Loop.

Lift Over


Next Lift the Loop Up and Over the First one and remove the Crochet Hook. Gently pull the Yarn and it will Disappear into the Centre. This leave The Loop you have just made now on the Bottom.

I have to confess that I did this countless times before I got it right. I either got the Hook Stuck or pulled too hard and the whole thing Unravelled and I had to start from scratch.

All Four Loops


After successfully Creating and Lifting one Loop off I turned the Doll and started on the next Hoop. I continued this process going around and around. 

Though you cannot see it as it is inside the Doll a Chain or Cord is being formed. I carried on until it came out of the Bottom of the Doll and then a couple of extra inches.

To finish the Cord Rethread the Needle. Go through one of the Loops and Lift off pulling as you do so. Go through all Four of the Loops the Secure it by going through the Top of the Cord.

Friday, 17 January 2025

Xmas Hang Ups 2024 Part 2

 Xmas Hang Ups 2024 Part 2

Well after the silly mistake I have Restarted with the Correct Needles.

10 Rows


I have now completed roughly 10 Rows and the Cord is beginning to take shape. As you can see in the above photograph it is resembling Tinsel.

Finished Tinsel


I have finished Knitting and Cast Off. The Tinsel is now at least a Yard long or for those that use metric nearly a Metre.

Adding Decorations


I can begin to start Adding the Decorations. Taking one end of the Tinsel I start to Slide the Decoration on. Once in the right place I then make a Knot in the Tinsel. This secures the Decoration where I want it.

I continue Sliding the Decorations on and Knotting in place. I try to spread them out evenly.

Hanging Icicles


Voila. I know have a new Hanging Icicle Decoration for Xmas and it didn’t cost me a penny.


Thursday, 22 July 2021

Cooper Concoctions 2021 Part 8

 Cooper Concoctions 2021 Part 8

I have now Hemmed the Bottom of the Bag.

Carpet Thread


As this Bag needs to take Weight I have decided to Blanket Stitch along the Bottom using a strong Carpet Thread.

Hem Top of Bag


With the Bag still inside out I do a quick Hem cross the Top of the Bag all the way around.

Place Cord


This is where I had a bit of luck. Instead of using an ordinary piece of Cord I found that I had an old Toggle and Cord that I had taken off the Bottom of a Coat. I placed it along the Length of the Hem.

Pin Cord


So it didn’t move whilst I was trying to Sew I Pinned it Section by Section.

Back Stitch over Cord


To make it both Stronger and Neater I used a Back Stitch over the Cord.

Laundry Bag


Here we have it one nice new Laundry Bag

Friday, 22 January 2021

Mademoiselle Medic 2020 Part 2

 Mademoiselle Medic 2020 Part 2 

I have finished the items for the Body and the Face now I am moving on to the Hands and Feet. 

Boot Outline


I found an Oval to draw around to Cut out for the Boots.  These are not going to normal Boots but rather the Scrub Over-Boots.

Hemmed Boot


After Cutting out I did my usual Tacking Stitch Hem

Pin Over Cord


Next I put a Cord in a Horse Shoe shape and Pinned in Place. This was to make it easier to Sew a Hem over the Cord rather than to try and pull the Cord through afterwards.

I realised that I had made the right choice when pulling on the Cord a little too hard it snapped. I had to unpick a little so I could put another Cord in. This time I used a more robust type.

Scrub Boot


Once the Cord was near completely Hemmed in I pulled both ends and Knotted it together. I gives it a kind of Moccasin look. The black material in the above photograph represents the Marionette’s Foot.

Glove Outline


Fortunately I still had the templates for the Hand and Arms therefore I could just draw around the Hand part and Cut out a Front and Back for each.

Scrub Gloves


I Hemmed the Bottom of the Gloves but not the rest. I decided the best idea would be to Blanket Stitch them. This gave me more material to work with.

Thursday, 23 July 2020

Leg-End Recycling 2020

Leg-End Recycling 2020

A quick blog about adaption.

Beyond Repair


A pair of trousers are after originally trying to Repair have now gone Beyond Resewing. Therefore I am going to adapt them into something new.

Pin to Cut


I have cut off the Top and Curved the edge to remove the gusset. I have saved the rest of the material to remove the Zip at a later date. (Incidentally as there are two Legs I am simultaneously copying this process on the other.)

I have a good Inch of material earmarked to use for Hemming. I took this into consideration whilst Pinning.

Initial Hem


I Hem the Top of the material in two Sections. The first section is above the Pocket which I have managed to save as they are always useful.

The second Section is the rest of the Top of the Leg. I started this with a small gap between the two.

Strong Cord


I have Folded the Initial Hem over and Sewn another Hem. The reason I left a small gap between the two Sections was so I could thread a Cord through.

Since I intend to make this the weight bearing area I choose a Strong Cord. In truth what I found was more of a plastic than a material thread. I tied the Ends into a Loop to make a Hanger.

Drawstring


I threaded a piece of Elastic through the Second sections Hem. Since this had a lot more material to go through I used the old trick of putting a Safety Pin in one end of the Elastic to help.

Once I had the Elastic through the Hem I pulled to gather the material. I left some excess Elastic before cutting. I then Hemmed both Ends to prevent fraying and Sewed them together.

Leg-End Result


I now hung up my new Bag ready for use. Luckily it already had a Drawstring bottom. If it hadn’t I would have used the same technique as the Top.

There you have it Leg-End Recycling. I am going to use it as a Plastic Bag Holder.

Thursday, 12 October 2017

Other Bits and Bobs 2017

Other Bits and Bobs 2017

You might wonder why my long term project is taking as long as it is. Sometimes it is because I am waiting for supplies to arrive but generally it is due to having to put down to do Other Bits and Bobs.

Often when I do these Bits and Bobs I write them up into a blog. However there are occasions where due to time commitments I do not have time to record the process. So here are a few of the things I have done this year.

Green Beret and Gloves


I made the above Beret and Gloves a couple of years ago. Unfortunately I ran out of wool before I could add a scarf.

Green Scarf too Short


I bought a couple of balls of wool from my favourite shop Knit Nottingham and found out the pattern I had used (also bought from Knit Nottingham). However I found when I had knitted the scarf I ran out of wool. So to avoid another trip to the city I had to improvise.

The pattern called for 60 stitches to do the rib. I have quite a small neck and this scarf seemed a little wide. Therefore I unravelled the whole thing and started again

Green Scarf Second Attempt


I used the same pattern and size needles which I believe were 4mm. This time I cast on fewer stitches. I cannot remember exactly off hand how many. The rib pattern was Knit 4 Purl 4 continuing and ending in a Knit.

I made sure that it would still end with 4 Knit so I think I cast on 44 stitches. As you can see in the above photo that greatly extended the scarf. So there is a handy tip if you ever come across the same problem.

Handy Cutter and Cord


If you are like me you are forever losing your scissors. So when my friend spotted in Knit Nottingham a handy little cutter in the form of a pendant I couldn’t resist. She bought a silver one whilst I opted for the bronze colour.

I set to work making a cord for the pendant cutter so I could wear it. I thought brown would work well with it. Fortunately I had some brown wool to hand so could start straight away.
I toyed with various ways of making the cord. I could use my Lucet or Braid Wheel. In the end I decided to knit an I-cord.

Birthday Cords


As I said previously my friend had bought a Pendant Cutter at the same time as I did – she always costs me money when I go shopping with her ahem!

One day she happened to mention about having to get a cord for her Pendant Cutter. Oh-ho I thought. I know what I will do for her birthday.

I had quite a stock pile of ribbons at home. I spent a couple of hours going through the lot. I needed ribbons that were not only of sufficient length but also quite thin. This is because once plied together they would need to be small enough to go through the hole of the Pendent.

In the end I selected about 15 ribbons that I thought would work. Each cord would need 3 ribbons each as I was going to hand plait them into a workable cord.

I tried to put the ribbons together so they looked nice and could be interchanged depending on what my friend was wearing. As we are both pagans a little idea regarding ritual colours crept in whist I was designing.

So I ended up with a yellow one which could be Spring Equinox, Summer Solstice and Lammas. The blue and white were Imbolc. The red and white were able to be used for both Beltane and Yule.

However my absolute favourite was definitely the Black and Orange. This was for Samhain or as it is more commonly known as Halloween.

Medieval Bracelet


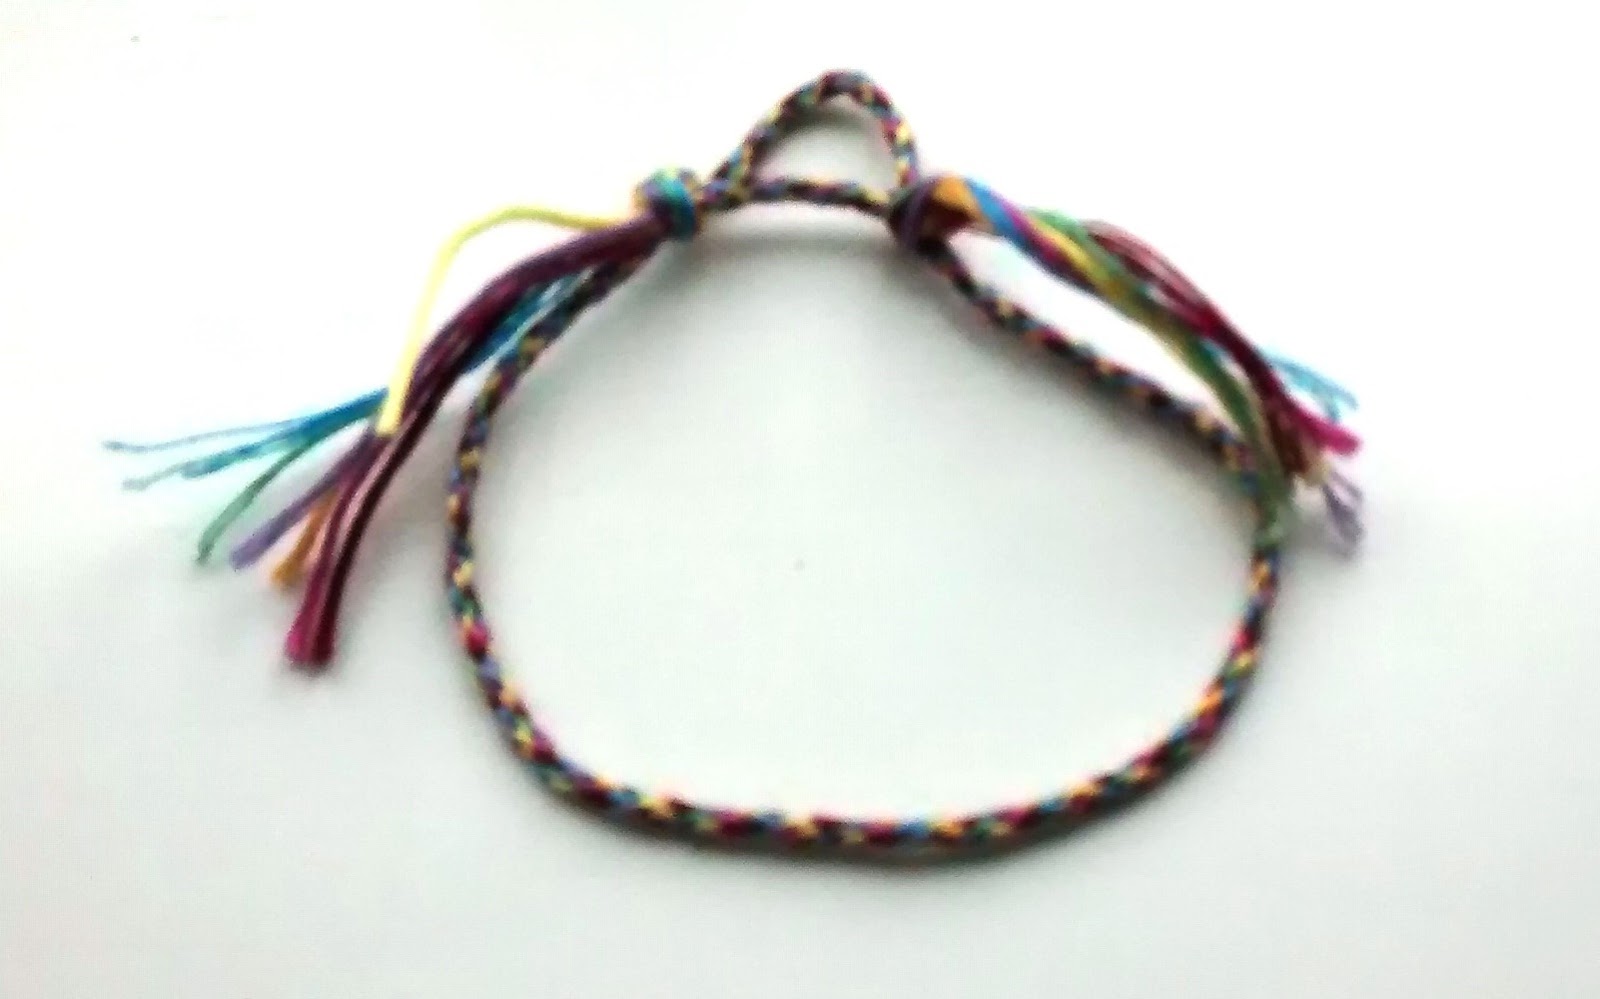
This bracelet was made from embroidery silks. It was for a neighbour’s daughter. It was made on my Braid Wheel which takes 7 threads. This was ideal for making a Chakra Bracelet.

The neighbour’s daughter chose the colours she wanted from my selection and after several measuring sessions we ended up with the item in the picture above.

You may notice it has quite a long tail as well as being tied with an adjustable knot. This is because she has only just turned 12 so it can be lengthened accordingly as she grows.

Peg Doll


Another item I made was something I was taught to do as a child long before such things as CD’s, I-Phones and On-line gaming was thought of.

The doll as it name suggests is made primarily of a peg. I rustled up some fabric, thread, wool, and glue and felt tips and made a start teaching her.

The above doll was a bit of a rush job but I think it isn’t a bad item since I haven’t made one for about 20- 30 years. I gave it to her dad to take to her when she went into hospital.


I do still have other projects on the go but I will leave that for another blog.