Showing posts with label String. Show all posts

Thursday, 15 December 2022

Butterfly Banquet 2022 Part 3

 Butterfly Banquet 2022 Part 3

On to the next stage

Make a Hole


I had to add some Holes so I could put Thread through to hang it. I needed it equal so I decided to put the first one through near the Top or North North East if you prefer.


Thread and Knot


I cut a piece of String and Thread it through from the Back of the Dish. I then Tied a Knot to stop it coming through.

All Tied up


I then proceeded to repeat this process 3 more times. To strength I added extra Knots at the edges. Once done I Tied them altogether with a Central Knot. It would now be ready for use.

*****

As I stated previously the above Dish is just for show. This is because I neglected to take photographs when making the original. Here are some photographs of the Original in use.

Blueberries


Before you can Feed the Butterflies you need to add something to the Dish. Have you ever seen the expression of a Market Vendor when asking if they have any Rotten Fruit? 

This is because Butterflies are attracted to the decaying juices. I obtained some Blueberries and my Boyfriend kindly Hung up the Feeder for me. We had to hang it up High because of the Cats in the area.


Gone Windy


Just one thing. Don’t do it on a Windy day because this is what happens!

Thursday, 4 April 2019

Mademoiselle Marionette 2018 Part 25


Mademoiselle Marionette 2018 Part 25

This is the Final Blog on this project. Unfortunately some photographs appear to have gone astray. However I am sure you can follow it without them.

Paper Mache Hook


I went through the process of making the Sticks suitable for stringing by adding Hooks. If you go through the other side a little bit as in the above photograph it can be easily rectified.

All you need to do is to get a few pieces of Paper and some Glue and go over it until it is safe. Then simply colour when dry and continue with other Hooks

Crossed Sticks


Unfortunately this is where some of the photographs I took are a bit allusive. I think though you can see where the Hooks were placed. Find the Middle of the Stick and Mark it. That is where you will Bind it.

Half way between this point and the end of the Stick make another Mark. This is where you will put your Hook. Do likewise on the other side of the Centre Mark.

Left Stick


Adding the Strings is the easy part. Putting them in the right place isn’t. When you start turning the Sticks it becomes difficult to remember which part was the first one. I had an idea.

The first time I gave the ends Numbers which worked so far but it was when you had to join the Strings to the Marionette it got confusing. Therefore I changed from numbers to Letters. In the photograph above the end shows L L – this stands for Left Leg.

Right Stick


Here in this photograph is R L – This stands for Right Leg. Obviously this system depends on how many Strings you are using. There are many different types of Marionettes with variations in number of Strings. Unfortunately the diagram I was using seems to have disappeared into the ether.

If you scroll down to the bottom of the page you will find Links *. There is a good simple String method similar to what I used in the Storm the Castle Link. Now is time for a Photo Shoot.

Lady in Red


Would you credit it? After all that palaver getting the Strings on correctly they have had to be taken off again! Unfortunately she seems to have been too tempting a target for Merlin the Dog.

It is no wonder Mademoiselle Marionette looks worn out. To add insult to injury one of her earrings has gone astray.

Radiant in Red


If you look carefully the little Minx is flashing a bit of Garter to the Boys.

Blue with a Party Twist


Looks like she is rushing from her day job to a night out. At least this time she has both earrings.

Party Girl Blue


Here she is all ready to party the night away. What Ho! Is that the errant earring I spy?

Pure White Lady


So Pure and White. Going to a Christening?

White Lady with a Party Twist


Mademoiselle Marionette. Elle trés chic! Où allez-vous?

C’est Fini.

Links *


N.B
I admit I had to check my French with the translator. I got the words right but in the wrong order.

Friday, 28 December 2018

Mademoiselle Marionette 2018 Part 13

Mademoiselle Marionette 2018 Part 13

I am now moving on to recovering the last parts of the Marionette which are the Hands

Hemmed Hand Pieces


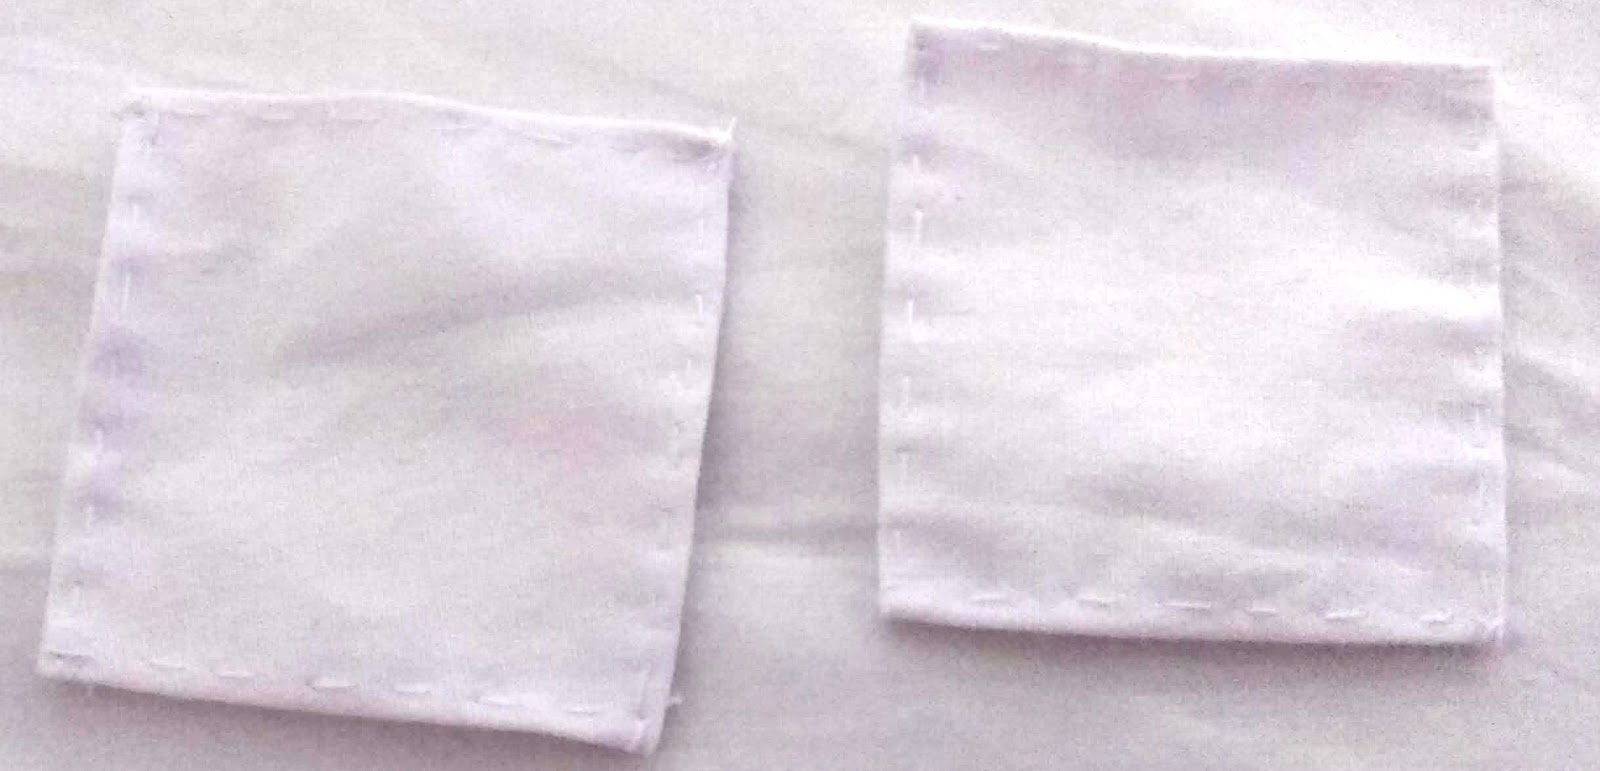
I cut and hemmed a couple of pieces of White material

Covering Hand


I joined the material by sewing along the edge towards the tip of the Hand. However I only had a rough guess at how much material I needed.

Trimming Hand


I trimmed off the hem refolded the material and then hemmed it again.

Hand Done


The Hand is finished and all I have to do is cover the other one and that is the Doll part complete apart from the clothing.

Fastening the Cross


Taking some string I wound around the two sticks in order to fasten them together.

Joining the Cross


I then joined the end of the string from the Cross to the string from the Doll.

STOP
I am not carrying on with this part as I have been given some valuable advice from Helen (Laura’s mum*). I therefore have to do some rethinking.


* Laura and Helen of Alyssa Rose Boutique

https://www.facebook.com/Alyssa.Rose.designs


Thursday, 22 November 2018

Mademoiselle Marionette 2018 Part 8

Mademoiselle Marionette 2018 Part 8

It is time to sort out the Arms and Legs. I started with the Legs as I thought they would be easier to do as they wouldn’t get in the way.

Leg Sewn


I took one of the Legs and began to sew part way up. I thought doing it a bit at a time would make it easier to stuff.

Leg Part Stuffed


Once I had sewn as far as I wanted I began to add stuffing. I poked it down with a pencil. I did this very gently as I did not want to tear the stitching I had just done.

I continued sewing and stuffing the Leg until I was nearly at the top. The reason for this is so that I wouldn’t be trying to sew through the stuffing when I attached it to the body. I then repeated the process with the other Leg.

Arm Sewn


I began sewing and stuffing the Arm in the same way as I had made the Legs. The difference in this case was when I was part way up the upper half I sewed across. 

If you look at the photo above you can see this line marked with a pin. There is quite a bit of material left above the line. This is essential for later on.

Rough Body Appendages


After sewing and stuffing the second Arm I pinned the parts roughly in the places. Readers with eagle eyes may have noticed that in this picture the Neck featured in the last blog had yet to be made. Hence the fact that I jumped ahead to make it easier to follow.

Legs Attached


I tweaked the position slightly and then sewed the spare cloth at the top of the Legs to the Back piece of the Body.

Arms On Wrong


I could now move on to the Arms. This part was quite difficult in comparison. It took me ages to try and get the shoulders (aka the spare material) pinned in the right place.

The reason for this was because I need to make sure that the Arms would be able to move once the Body had been stuffed. I kept pinning and unpinning the material. When I thought I had got it right I trimmed the excess and sewed in place.

This time I attached the Arms to the Front part of the Body. I thought this was best because then the Shoulders only had to bend over one set of material.

Arms on Right


Grr I had been so concerned that I had the Arms in the right place that I had inadvertently sewed one of the Arms on wrong. 

My Marionette would have ended up with Elbows facing both the same way. I therefore had to unpick one of the shoulders and then resew the correct way around.

String Through


After the problems with the Arms I decided that I would have a change. I parted the Hair until I found the Centre which was bare.

I then took a piece of string (my arm’s length) and knotted at one end. I then threaded a thick needle which apparently mum said was called a bodkin. I sewed through from the inside then made a small tack on top. I then passed the needle underneath the tack to secure it in place.

String Hidden


When I had finished with the string I then pulled down the Hair from the top of the Head and swept it over it. This is why I had made the locks at the top quite long.

Head Stuffed


As I didn’t want the string to get in the way I folded and tied it up at the Back of the Head. I then proceeded to re-stuff the Head of the Marionette.

Body Sides Folded


My next task was to sort out the rest of the Body. The Marionette needs to be proportional so I wanted to make the Body thinner.

I folded the Front Body piece until it was in line with that of the Inner Shoulder. I then sewed along the Body thus making the folded part into another hem.

Large Back Fold


I folded the Back material as I had for the Front of the Body. However I made a larger fold. This decreased the size of the Back material when sewn to the Front piece. This would pull in the shoulder material tight.

Body Sides Sewn


As you can see in the above photograph now everything is sewn in place the Front of the Body is bowing outward somewhat. 

This is not an accident. Since the Marionette is supposed to be female I am hoping that I will be able to with a few tucks here and there be able to give a more feminine shape.

If you remember back to Part 2 I had tried to do this when I first cut out the rough Body Shape.