Showing posts with label Holder. Show all posts

Thursday, 9 March 2023

Autumn Cape Bag 2022 Part 8


Autumn Cape Bag 2022 Part 8

Apologies for the slow going but unfortunately I am still ill. So it is going to be another short blog. I guess it makes it easy to follow though.

Knit off Stitch Holder


I am finally at the point where I can Knit off the Stitch Holder. To match the rest of the Bag I am using Plain Stitch

2 Rows


After the Plain Row I add a Purl one. Now I have 2 Rows with 30 Stitches on it. The fun part will be tackling the other side. If it was anything like this side it is going to take some doing. I may have to come up with another way of doing it.

10 Stitch Interval


Before I can do anymore Knitting I have to find the correct spot to start from. I decided that the best way to find this is to use Stitch Markers. If you remember I had left a long Tail in the middle of my 30 Stitches. I was going to use this as my starting point.

I counted 10 Stitches to the Right and put a Stitch Marker in. I did the same with the Left. I continued counting and Marking until I got to the other side.  I found that I was one Stitch out. I would have to put up with that.

Thursday, 2 March 2023

Autumn Cape Bag 2022 Part 7

Autumn Cape Bag 2022 Part 7

It should be simple but it is getting rather complicated.

Third Stitch Holder


Unbelievably I still cannot get the Stitches off and have to add a Third Stitch Holder. This is towards the Front End of the Stitches that I need to remove.

I slide the Forward Stitches onto the Third (Gold) Stitch Holder. Then I can pull the Needle and First (Grey) Stitch Holder back and leave half the Stitches on the Second (Blue) Holder. Finally I can slip the Stitches from the Third Holder to the Second.

15 Stitches


If you could follow all that I now have 15 Stitches on the Blue Stitch Holder. That is half the battle done. At this point I Cut the Wool leaving a long Tail.

Lift off Stitches


I now move onto the second part of Stitches at the other side of the Wool Marker. This is going to be much easier. This is because the Stitches will be the right way for Knitting.

I push the Stitch Holder through the 15 Stitches. I then lift them off with a Needle.

30 Stitches


I have now put the Stitches back on to the Blue Stitch Holder. You can see the End of the Tail in between the two lots of 15 Stitches. This makes 30 Stitches in Total.

After doing all that I need a break before I move onto the next part.

Thursday, 23 February 2023

Autumn Cape Bag 2022 Part 6

 Autumn Cape Bag 2022 Part 6

I have Picked Up as many Stitches as I could. 

Holes in Bag


Hmm. Things haven’t gone too well. I have created Holes in the Bag. I am going to have to sort those later. I want to crack on. 

Mark End of Row


Right the first thing is to make sure that I know where the End of the Row is. I have tied a piece of Wool around. Not sure where my Stitch Markers are.

Hunt the Needle


Then next part is tricky. I am going to have to find my other Needles, Stitch Markers and Stitch Holders.

This should have been easy but of course it wasn’t. My Needles had decided to slip out of their Covers. In the end I had to use a Needle Gauge on every single Needle to sort it.

First Stitch Holder


What I want to do is Pick Up 30 Stitches so I can carry on Knitting the Strap. Easier said than done. This is because I have to Pick Up 15 Stitches either side of the Marker.

I decided to do the most difficult Pick Up first. I therefore took a Stitch Holder and began to Slide it through the Stitches. I had to start at the 15th Stitch and work back towards the Marker.

Too Tight


Have hit a Snag. It is Too Tight to get all the Stitches on the Stitch Holder with the other Needle still inside. 

So I have had to add a Second Stitch Holder to try and easy the pull from the back.

Thursday, 3 November 2022

Bamboo No Bargain 2022 Part 3

 Bamboo No Bargain 2022 Part 3

I wanted the Dish to be as resilient as possible so I gave all parts about 4 Coats of Varnish

Slot into Holder


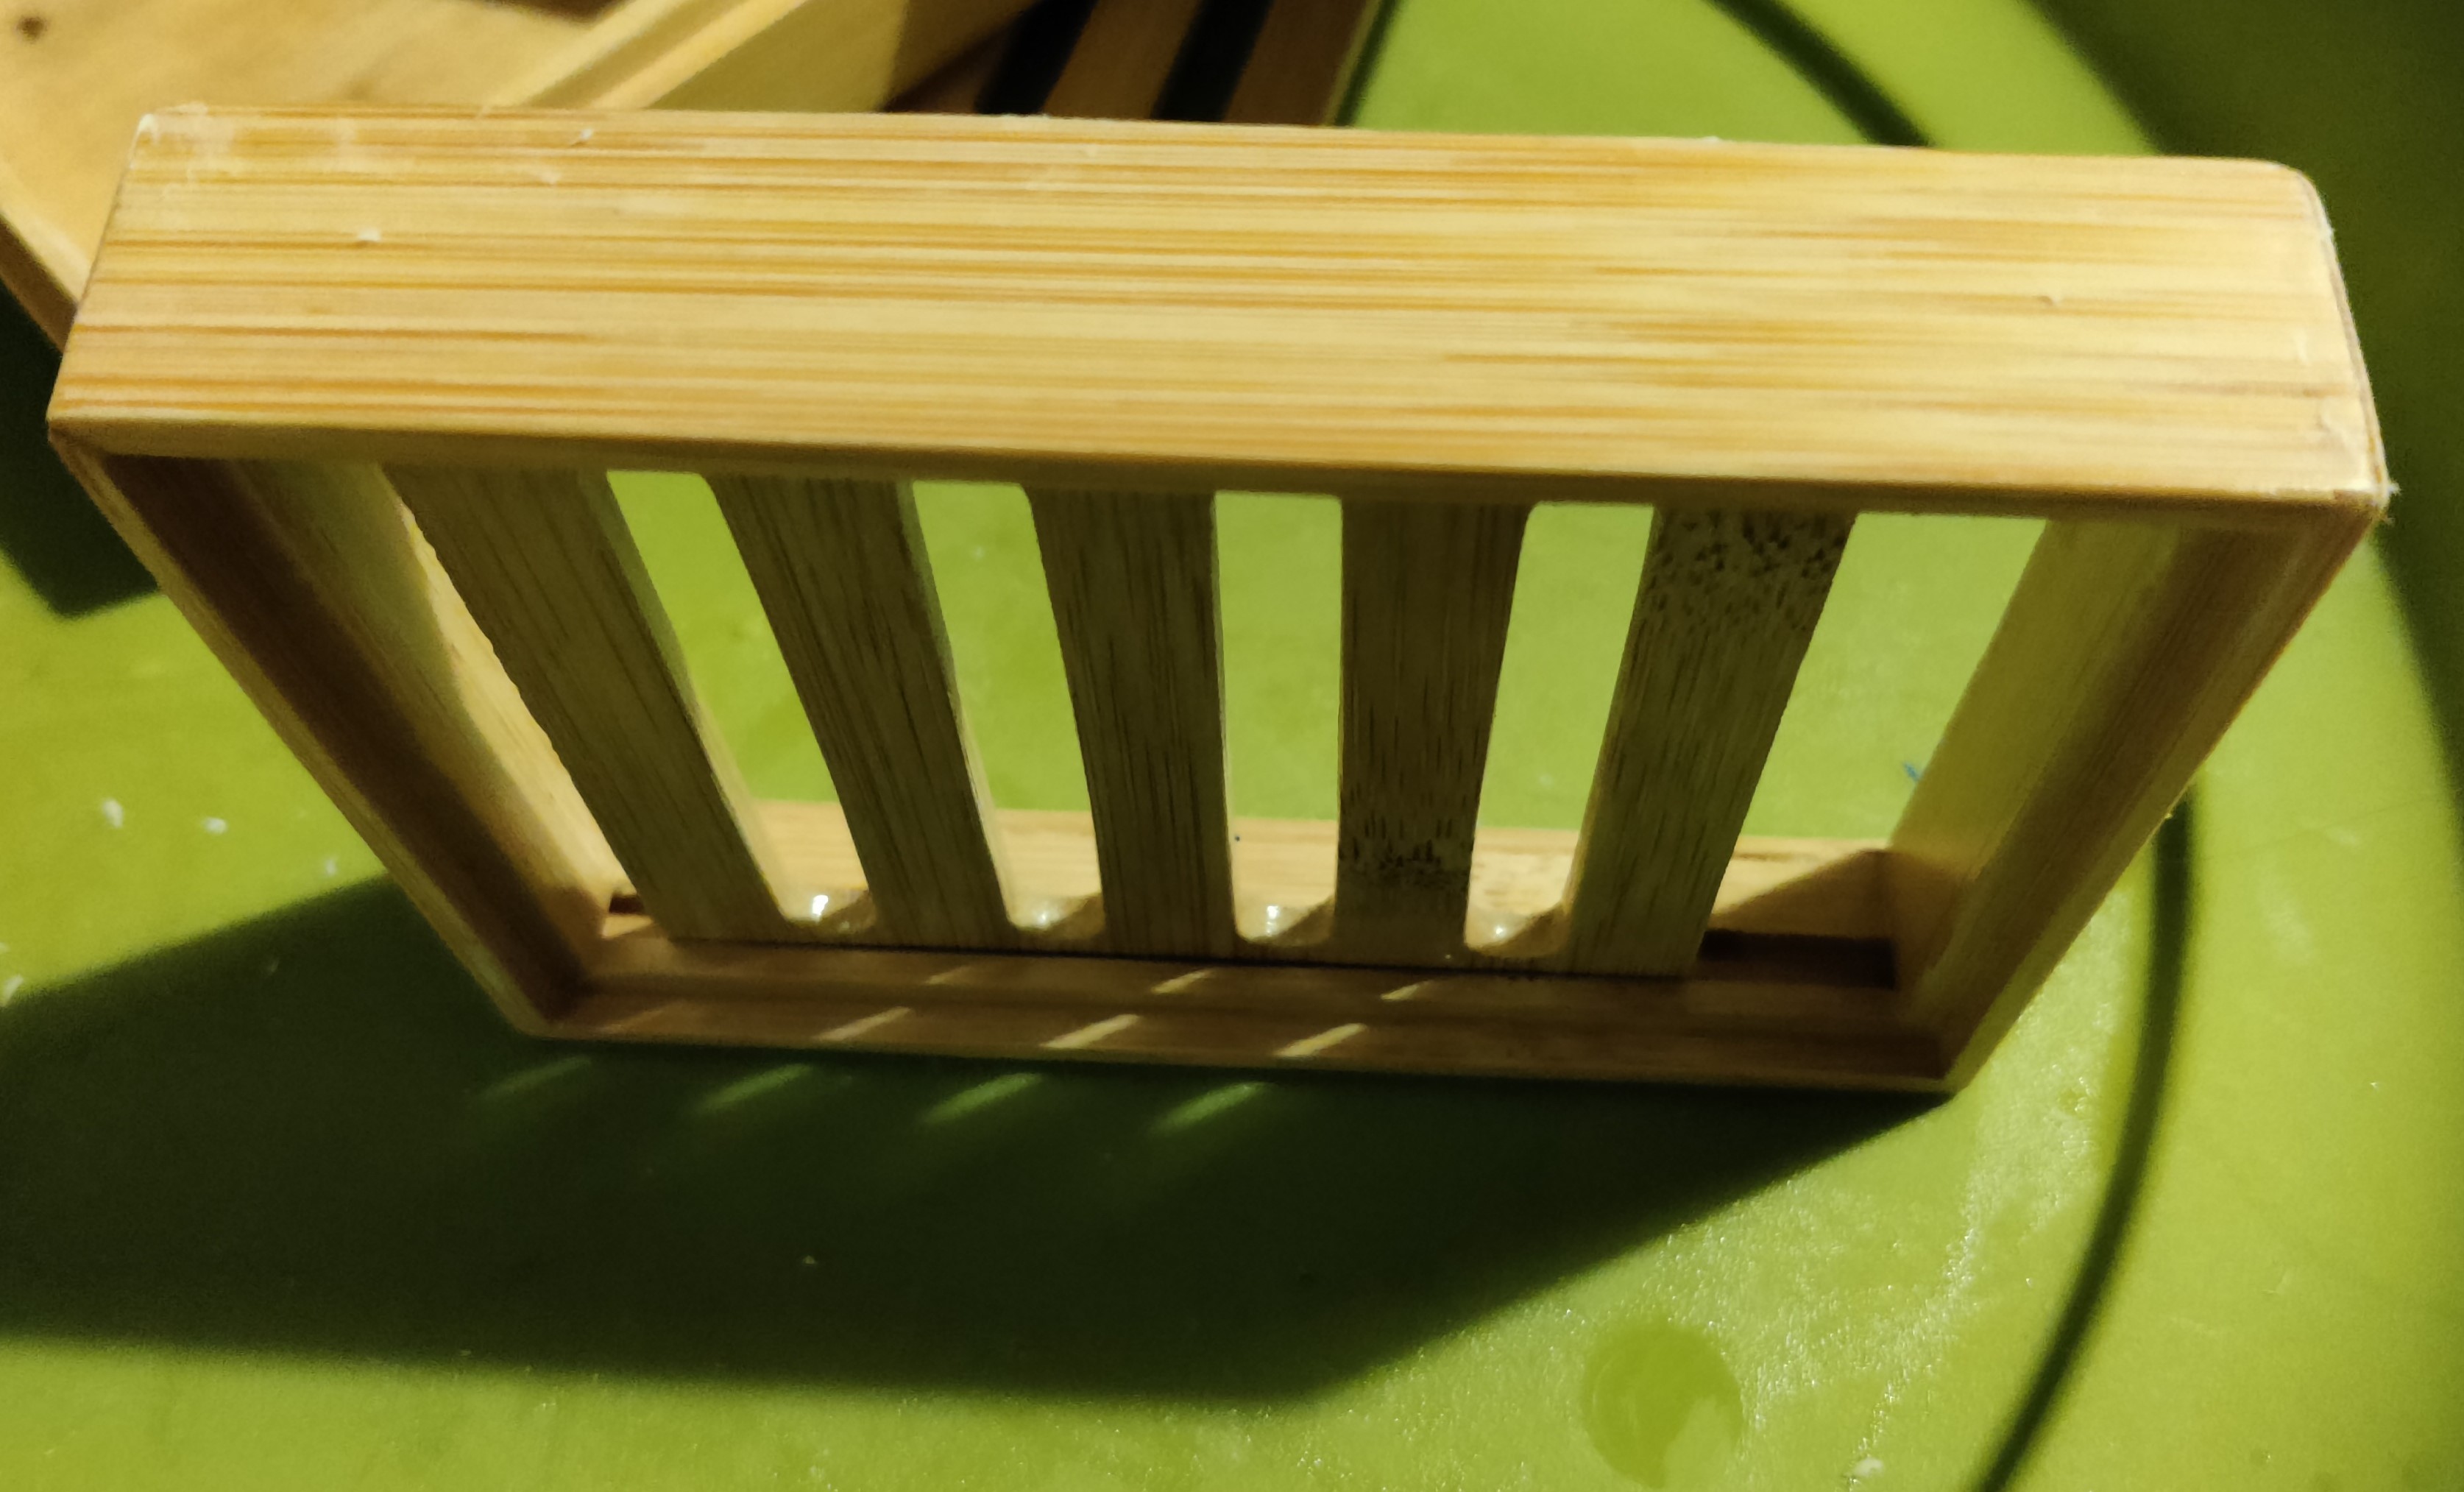
My next job was to put the Grill and Holder back together. I Slotted the Grill into the Holder.

Add Glue


I carefully Added Glue to the Top Edges. I had to make sure that the Grill was in the Centre as I didn’t want to Glue that as well.

Place Top


I then Placed the Top part on the Glue and left it to dry.

Slide in Vertical


When I had taken them apart I hadn’t realised that I had removed different Edges. Therefore I had to repeat the process only this time I was Sliding in the Grill Vertically.

Bamboo Ready


Bamboo Dishes Ready for use. I have to say that so far my endeavours have paid off and as yet no Mould has reappeared.


Thursday, 27 October 2022

Bamboo No Bargain 2022 Part 2

 Bamboo No Bargain 2022 Part 2

Now was time to start Sanding.

Inner Sanded


I had to Sand very hard to try and get the Mould off. It took several attempts to get the majority of it off. I also had to push a Grip through the Holes to get rid of bits of loose Bamboo.

X Sanded


After Sanding the Inside I started on the Outside. This took a long time as I realised I had pressed too hard with the Pencil. The X even after lots of Sanding still showed through.

Get Varnish


I found my tin of Varnish. Unfortunately it was quite old and before I could even attempt any Varnishing I was going to have to give it a good stir to get rid of the lumps.

I decided to start with the Grills. This meant very careful Brushing as I didn’t want excess to Drip to the other side.

First Inner Varnish


I Varnished all of the Inner side of both Bamboo Dishes. I had to let them dry before I could move on.

Hold to Varnish


I found the best way to Varnish the Outside was to hold it with my fingers on the Inside of the Corners. That way I could do the Sides at the same time.

First Outer Varnish


I finished the First Coat of the Varnish on the Outer side. I also turned the Grills over and did those. In the photograph above you can see part of the Grill Holder.

I had realised that I had made a mistake when Gluing. Consequently I had to break it apart again.