Showing posts with label Marionette. Show all posts

Thursday, 18 March 2021

La Costumière 2020

 La Costumière 2020 

I have made many Costumes for Mademoiselle Marionette so I thought it was time I made somewhere to keep them.

Lid and Cloth


I started with an old Ice Cream Tub and some Black Cloth.

Getting Stuck


I cut to size and Stuck down. It was a complete shambles. I couldn’t get it stick properly under the lip. The Glue dried badly and the Cloth was so thin that the pattern showed through. I needed a complete rethink.

Bazaar Surprise


I decided since I was as always against the clock to try and find some kind of Box as a basis. I found what I wanted in a charity shop. It was a felted wooden Box originally from an Indian Bazaar.

Stripped and Scrubbed


I Stripped the Box of the Interior Felt and then Scrubbed Box with Antibacterial cleanser. I had to wait for it to dry properly for the next part.

Try for Size


I found some White Felt and tried for Size on the Interior of the Box.

Cut and Press


I Cut and Pressed the White Felt. The Original Red Felt for the Bottom of the Box was in good enough condition to reuse.

Glue and Line


I Glued the White and Red Felt in Place and waited for it to dry.

Blue Hole


I selected some Blue Felt for the Lid Interior. I had to Snip a piece out before I could Glue it on.

Stuck


After I had Glued the Blue Felt. I then painted the Edge of the White Felted part with White Paint. Unfortunately I closed the Lid before it was completely dry and ended up getting the Paint Stuck on the Blue Felt. I will have to sort that at a later point.

Thursday, 19 November 2020

Mademoiselle Marionette’s Crimson Christmas 2019 Part 2

Mademoiselle Marionette’s Crimson Christmas 2019 Part 2

I am now going to move on to the Bottom half of the Gown

Pin Markers


First of all I need to Mark out what I am going to do. I did this by placing Pins in the Material.

Pin and Cut


I am making the Gown Bottom Open in Sections. Therefore I need to Make 4 Slits.

Part Hemmed


In the photograph above you can see that I have Part Hemmed the Bottom.

Gown Press Studs


Once all the Bottom has been cut and Hemmed I can now add the Press Studs. I want 2 Press Studs. One at the Top and One at the Middle of the Gown.

Press Stud Doll


In this photograph you can see that the Gown has been Press Studded up the Front. The Ribbon is around the Rough Doll’s Neck. Obviously it will Fall better on the Marionette.

Gown On Doll


Here is a different view of the Rough Doll. In this photograph you can see the way the Bottom of the Gown Splits. I have made the Gown like this so the Marionette can move her Legs easily.

The Marionette’s Arms are not impeded as the Band will go around its Chest and there is no Shoulder Material.


Thursday, 12 November 2020

Mademoiselle Marionette’s Crimson Christmas 2019

Mademoiselle Marionette’s Crimson Christmas 2019

Apologies - this should have been posted prior to the Hurley Burley Blog.

One thing that Mademoiselle Marionette does not have at present is some Evening Gowns. I am about to correct that.

Crimson Material


I wanted something Festive and found some Crimson Sequin Material with a Sparkly Band

Which Way Up


After much deliberation I decided that I would swap the Material around so I had the Band at the Top of the Gown.

Hemmed


I then Hemmed the Material on Three Sides. This is because I knew what I was going to do with the Top but not sure what I was going to do at the Bottom. I did trim the Bottom though.

Ribbon


I wanted Crimson Ribbon but couldn’t find any so I sent Boyfriend off to the Market to find some bless him. He came back with exactly what I wanted so I placed it on the Material and Measured the Length.

Ribbon Hemmed


The Length was important as I was going to use the Ribbon to make a Cross Over. Therefore it had to be long enough to Cross Over the Chest area. Then it had to go around the Neck and have enough to tie.

Once I was satisfied that I had enough Ribbon to do this I cut it and Hemmed both Ends. I then Folded the Material over the Ribbon and Hemmed it securely.

Thursday, 5 November 2020

Mademoiselle Marionette’s Hurley Burley Christmas 2019

Mademoiselle Marionette’s Hurley Burley Christmas 2019

If you are of a certain age you might remember a dress that took the world of Fashion by storm. Now I am no Versace but here is my effort to create Mademoiselle Marionette a ‘Hurley Burley; Gown

Evening Gown Material


I was given some Black Velvet style pleated material. I thought this would be ideal for making an Evening Gown. I cut this in half for the Front and Back.

Hurley Hem


As always I start with a Hem. However in this case I am only Hemming one Side along the Length.

Shoulder Line Pinned


Using the Rough Template of the Marionette that I have I Pinned the material. I am making this an off the Shoulder Gown.

Therefore when I made the Diagonal Line I did not start in the Corner but about a centimetre across.

Shoulder Line Hemmed


Once I had the angle I wanted I then Hemmed all around the rest of the material. That done I repeated the process with the Back. I used the Front part as a guide.

The above photograph shows the Front piece on top of the other. If I used the Template for the Back the material would be sloping the wrong way.

Hurley Pin Gown


The final part of making the Gown was to add the Safety Pins. This I did at roughly equal intervals. More can be added if required but as I do not have the actual Marionette I decided on caution.

Cape Hemmed


With all the gaps in the Gown I decided the Marionette would need a Cape otherwise she might get Frozen solid and not be able to get to bed. I took some more of the same material and this time Hemmed all the way around.

Cape Corded


After Hemming the material I Folded over the Top. I then Hemmed this making sure that there was a gap. I found a piece of nice Cord and threaded it through.

Hurley Ensemble


I now have a lovely Evening Gown and Cape set for Mademoiselle that will cope with any kind of Hurley Burley Christmas Festivities.


If I am lucky my friend Cayt might take a photograph of the Marionette wearing the Outfit not just a Kitchen Roll with a face drawn on lol.

Thursday, 29 October 2020

Mademoiselle Marionette’s Comfy Christmas 2019 Part 4

Mademoiselle Marionette’s Comfy Christmas 2019 Part 4

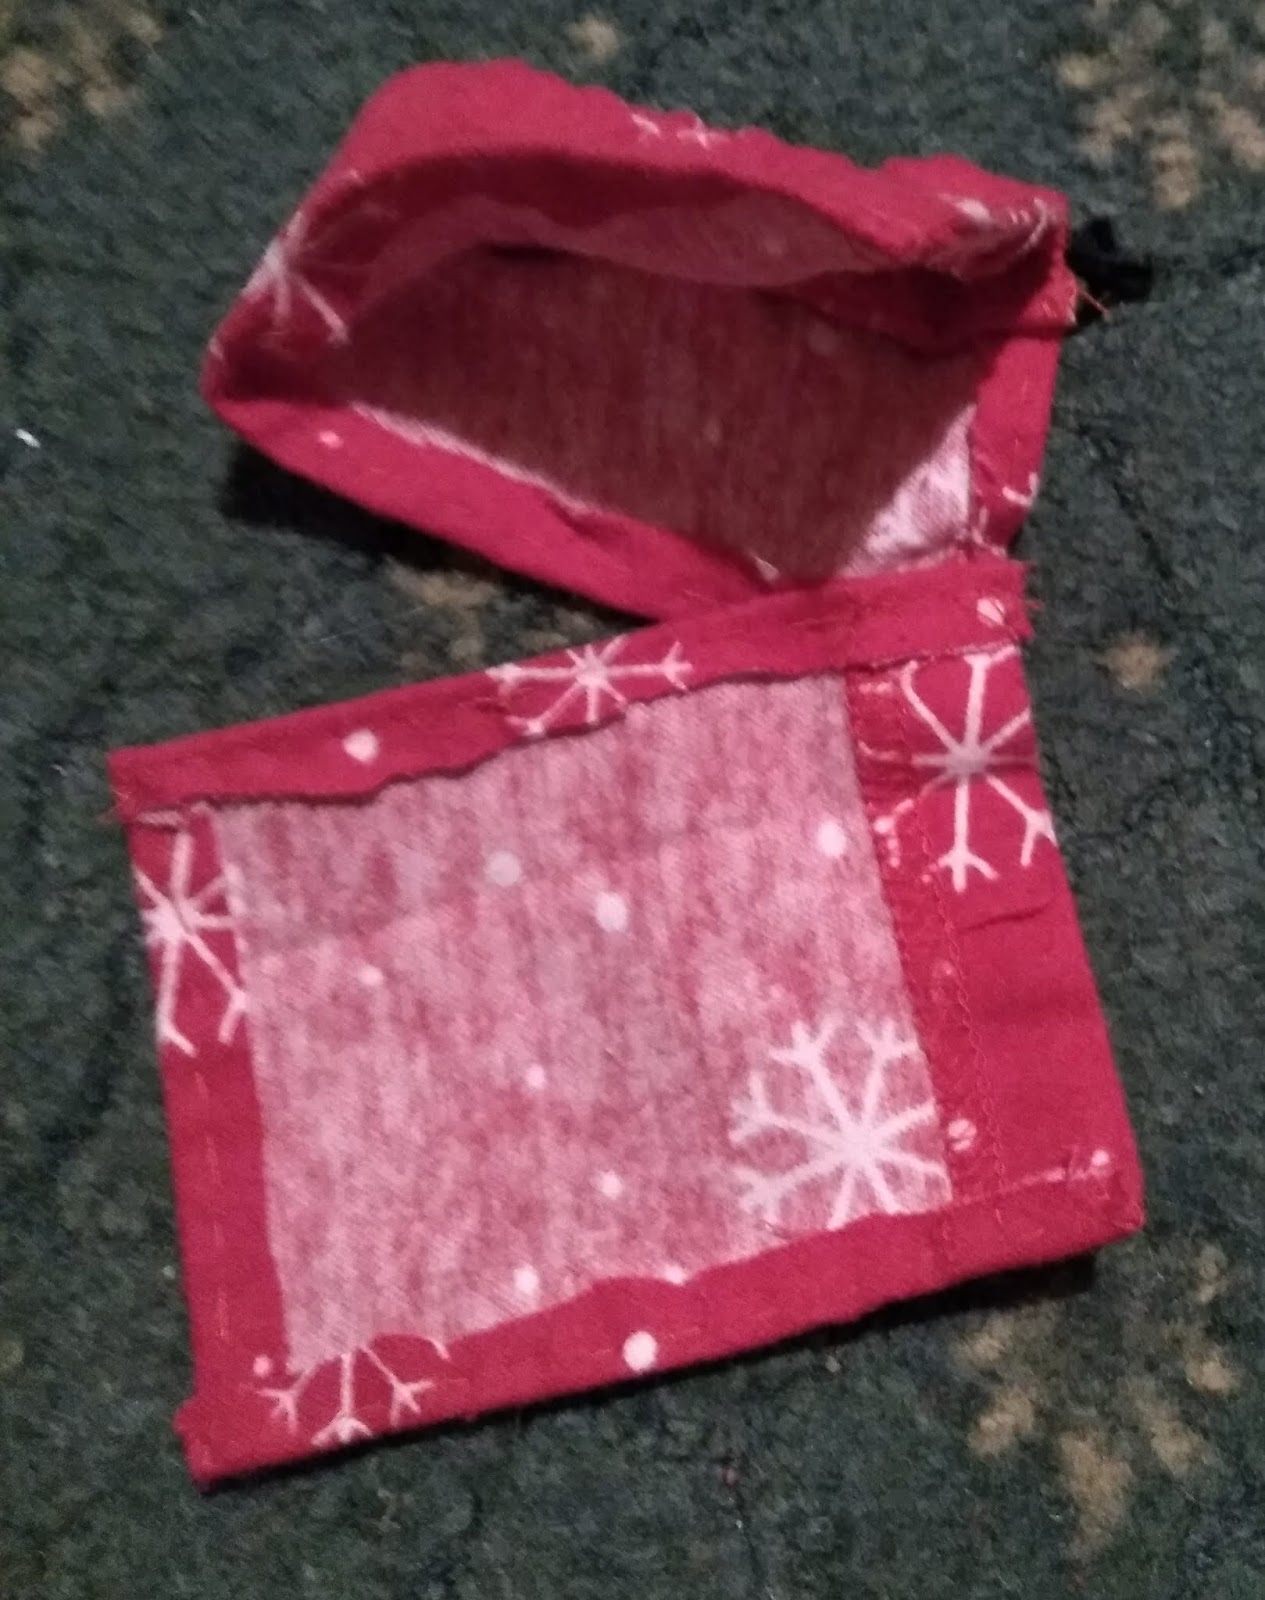
With the Pyjama Top finished I can now move onto the Bottoms.

Waistband


As always the problem with clothes for Mademoiselle is that they have to be able to put on without disrupting the String movement.

Since Pyjama Bottoms are often Elasticated I decided to use that as a basis. I Hemmed some material. I then added an Open Ended Hem and threaded through some Elastic creating a Waistband.

Waistband and Leg


I took a piece of material and wrapped around my thumb to give me an approximate size of the Marionettes Leg and then Hemmed it. I repeated this so I had two Leg pieces.

Legs with Press Studs


I then added a Press Stud on each end of the Material roughly in the middle of the Width edge. The tricky bit was now to add them in the right place on the Waistband Bottom.

I Pressed the Studs together on the Legs. I made sure that the Studs would open up on the outside of the Marionette’s Thigh when Sewn. I then flattened the Waistband and Pinned the Legs in place. I wanted to double check the position.

Complete Pyjama Set


Once satisfied I Sewed ONE SIDE of the Pyjama Legs onto the Back of the Waistband Bottoms. I repeated this with the other one and there we have it a Comfy Pyjama Set.