Showing posts with label Shape. Show all posts

Thursday, 24 April 2025

Crawling Creatures 2025 Part 6

Crawling Creatures 2025 Part 6

I have so much Clay left that I have decided to continue with more Creatures.

Orange Ball


I have lots of Orange left so I first make a large Orange Ball

Mould Upwards


I now Squeeze the Ball at the Top to Mould it Upwards. It reminds me of a big nose minus the nostrils.

Red Dot


I next part the Bottom into two so it has little legs. Where the hell did that Red Dot appear from?

Star Shape


Okay this looks like a very fat Star at the upwards point. I think the Red is putting me off.

Depression


I have tweaked it so it is more even and added a Depression. That is also a good word for how I feel about the Red. Why did it have to be on the Front and not the Back? I will have to sort it.

Sunday, 27 October 2024

Fan Folly 2024 Part 4

 Fan Folly 2024 Part 4

After the debacle of the first attempt at a Fan I had to have a complete rethink.

Pile of Card


I usually have some Card tucked away for making Templates. Unfortunately I was completely out so I was chuffed when a parcel arrived that I could rip up into a Pile to look through.

Selected Pieces


I made a bit of a muck up when tearing the Box so was a bit fortunate to be able to Select Two Pieces that I could use.

Pencil Around


I am not having a good day. Every Bowl I tried was too small. Therefore I was forced to use one of the bigger ones what had Handles. This made it difficult to Pencil Around.

Cut to Shape


I Cut it to Shape. In the above photograph you can see that it is not a straight curve due to the Handles.

Match Up


I placed the one I had Cut out and Matched it Up on the other Card so I could Draw around and Cut.

Sunday, 20 October 2024

Fan Folly 2024 Part 3

 Fan Folly 2024 Part 3

I am continuing with the Rough Fan.

Rough Folded Fan


I have Folded the Fan and it does work - Barely. Now to try it with a different Material.

Draw Around Fan


To get the Shape right I have reopened the Fan and Placed it Face down on some different Material. This is an Off Cut from a Christmas Pair of Pyjamas.

Doubled


Once Drawn I Folded the Material over and Cut it out. Next I Glued it together.

Quartered


Once Dried I proceeded to Fold the Material into Quarters. It now looks like a Slice of Cake or a Cheese Triangle.

Snipped


I Snipped the Corner off with a Pair of Scissors then Opened it back up. I now had the beginning of the Semi Circle.

Curved


I Cut away until the Snipped section was Curved. Now it looks like a very thick Rainbow.

Try Five


At first I tried Nine Struts but it wouldn’t work. I scaled back down to Five and though it was better it still wasn’t right. I can Place and Glue them in place alright to start with. 

Unfortunately once I try to fold it or use it the Material comes away from the Stuts. The principle is fine it is the Struts that are the problem. Naturally being placed one on Top of the other the Further from the beginning the Higher the Last Strut is going to be.

This means that the Glue just will not hold in place. With a different kind of Strut it would probably work. However these Garden Labels that I am using for the Struts are not completely Flat. They have raised Edges which is doubling the Gap in between. Time for a rethink.

Friday, 23 February 2024

Pig-Mailing On 2023 Part 3

 Pig-Mailing On 2023 Part 3

Now I have finished the Back I can move on.

Start at the Front


The main part of the Slippers is obviously the Front. I wasn’t happy about the lack of Pigness. Therefore I needed to improve the look. The thing that was irritating me the most was the Ears.

The Ears were completely the Wrong Shape. Since when did Pigs have round Ears? These looked more like a Hippopotamus than a Pig.

2.75mm Needle


I again decided upon using an I-Cord. This would echo the effect of the Back. I therefore found a smaller pair of 2.75mm Needles to use.

Too Big


 Even though I had dropped several Sizes when I came to make the Cords I found that they were Too Big for my purpose. Therefore I had to start again.

I found a pair of Needles that 2.5mm. Though still slightly larger than I would have like they would do as I didn’t have any smaller.

Sew I-Cord Ends


I finally finished the I-Cords and Sewed in the Ends.

4 I-Cords


This time I needed 4 Cords. I realised after I put them on I hadn’t measured them. At a rough guess I would say they were all 3 Thumb Lengths Long.

Thursday, 2 February 2023

Autumn Cape Bag 2022 Part 3

 Autumn Cape Bag 2022 Part 3

I have managed to do some more Knitting but with being ill it is slow process.

Bag 14 Inches


I have got the Bag to 14 Inches in Length. I think this should be long enough as I will be adding to the Top and the Bottom.

Brown Edge


Now I am Changing from Coloured Pattern to Plain Brown. This is for two reasons. Firstly I am going to Decrease and it will make it simpler with one Colour.

The second reason is more prosaic. This going to be the Bottom of the Bag and often be placed upon the floor. Therefore Plain Brown is less likely to show the Dirt.

90 Stitches


I have been slowly Decreasing the Stiches over a handful of Rows. I have now only 90 Stitches on the Needle. This means the Knitting will now go a lot faster.

Wrong Shape


I am a COMPLETE IDIOT! I was having a sneaking suspicion that something was wrong but couldn’t work it out. I therefore kept on Knitting in the hope that it would reveal itself.

Well it has. It was only when I had nearly got to the end of the Wool and Folded that it struck me. I had completely forgotten that I was making the Bag out of one piece NOT TWO.

This means it is entirely the Wrong Shape and will have to be Unpicked.

Thursday, 11 November 2021

Clay-time Playtime 2021 Part 3

 Clay-time Playtime 2021 Part 3

I am continuing working with my Clay.

Rough Star


I have finally managed to get the Star Shape that I wanted. All I have to do now is Elongate it.

Too Long


Well that didn’t work out too well. Not only is it too Long but I am not happy with the Shape either.

Fold and Thicken


I Fold over the Ends and Roll them back into the main Body of the Star.

Star Inside


As you can see in the above photograph the Shape is very different. I accomplished this by placing the Star into the Dish then slowly began to Pinch the Clay from the sides making it both Longer, Thinner and Higher.

As I Pinched the Clay I also Curved the Arms into position and Pressed down the Clay as hard as I could into the Base. I was really beginning to struggle to get the Clay to stick because it was drying out quickly.

Forked Star


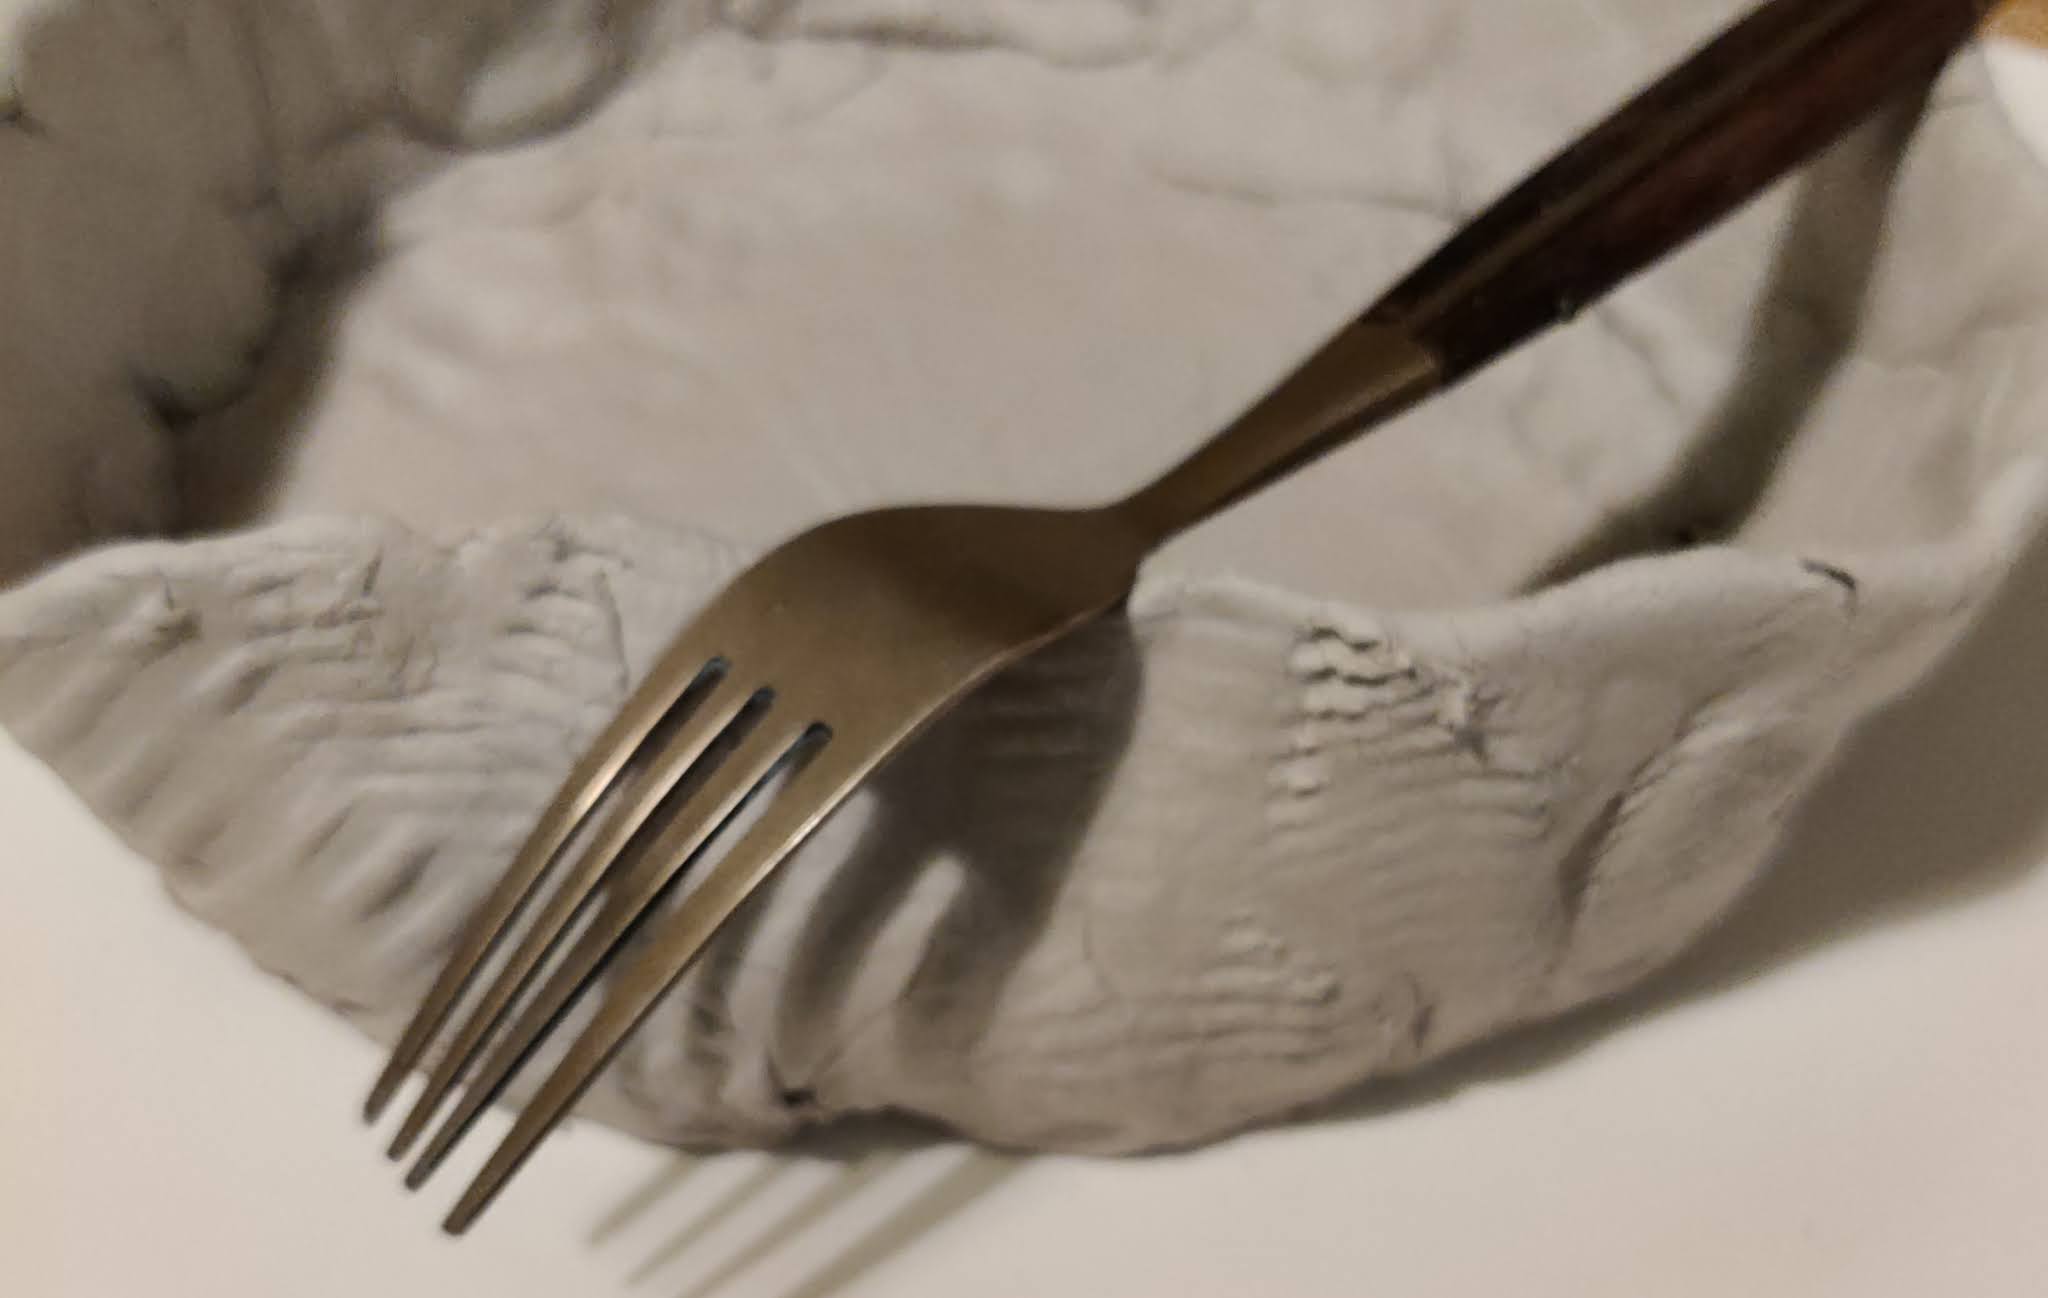
To Embellish the Starfish which is what of course it is supposed to be I again used the Fork.

Hole Star


After doing one Arm I continued on to the others. I then used a Knife to draw a line from the Tip of the Arms to the Centre. There we have it a Hole Starfish.

Thursday, 4 November 2021

Clay-time Playtime 2021 Part 2

 Clay-time Playtime 2021 Part 2

I had my Dish. Now I want to add a Pattern

Clay-time add Pattern


My first attempt didn’t go well. My Brush decided that it was going to disintegrate as soon as I put it to the Clay. I tried both Sides of my Comb but that didn’t work either.

Fork Pattern


Eventually I had to resort to using a Fork to try and add a bit of Pattern on the Sides.

Clay-time Shells


The reason I wanted a kind of Wavy Pattern was because I had been given some Shells and I wanted to make it look like Sand.

Naturally the photograph showing the Shells in place didn’t come out. Let us just say that it was really hard work trying to push them in and getting them to hold. I think that with the Temperature being so hot in the Kitchen the Clay was drying too quickly.

Clay-time Triangle


With the Temperature in mind I had to work fast to do the next bit. I started by using what was left of the Clay and Beating it into a Triangle Shape.

Clay-time Shape


I used the End of the Roller to push the Bottom of the Triangle up towards the Middle.

Clay-time Squeeze


I had lots of photographs but thought it would take forever to read the blog so I have skipped sections. In the picture above I have Flattened and Elongated the Legs.

I then used the End of the Roller to Push in the Sides like I had at the Base.

Clay-time Spread


By continuously Rolling and Pushing I have Spread out the Clay into the above Shape whilst keeping the Height of the Clay even.

Clay-time Man


Finally I have managed to get to the stage where I have a little Man.

Thursday, 30 September 2021

All Steam Ahead 2021 – Mad Hatter Preparations Part 4

 All Steam Ahead 2021 – Mad Hatter Preparations Part 4

An easy blog this week if a bit wordy.

Add Glue


If you remember I said previously that when putting on the base layer a lot of Glue residue had come through. I have managed to cover most of it with the Cogs.

However there was still a considerable amount on the Brim. Therefore I am going to cover it with Ribbon. So I added Glue to the Brim bit by bit.

Cut and Curve


Adding the Ribbon was not as simple as it seems. Straight Lines have a tendency not to like going around Curves. The part of the Ribbon on top of the Brim was Fine but I have to Cut and Curve the Underneath bit by bit.

Add Badge


Now I do have to confess that I did not make the Badge. I’m not that clever! It was something that I got off my friend Laura.

I wanted to change the Shape of the Hat which isn’t an easy thing to do without making a mess of it. I wanted it to look more like a Ladies Riding Hat of Yesteryear. I had the idea of Sewing the Brim to one Side (after Laura had talked me out of both sides saying Steampunk is not symmetrical).

I bent up the Brim, held it and put through a few tacking stitches to hold it in place. I then positioned the Badge and Sewed that in Place. A little bit of Trimming on the Ribbon and it was all done.

Thursday, 3 September 2020

More Face Masks 2020

More Face Masks 2020

Now that Lock Down is easing and we are able to go about more I realised that two Face Masks were not enough. Having failed dismally the first time as shown in my blog Dis-Mask-Trophy I was ready to try again.

Fold & Pin Mask


Starting with my default Mask Shape and Ties I did the usual thing of finding the Centre by Folding and Pinning.

Fold Tie Under


This time in order to change the Shape of the Mask I decided to try Folding the Tie Under itself.

Pin Tie Under


By Folding the Tie Under on both Sides it created this Shape.

Stitch Edge


Once I was satisfied that the Sections were equal I Blanket Stitched them. Note that I am only doing the Edges and not the other Side of the Ties.

Sewn Edges


By not Sewing the other Side of the Ties it gives the material more movement. Thus you are not losing Depth at the Centre only at the Edges.

Pin Diagonals


As shown in the previous photograph this has created a Pyramid Shape formed by two Diagonals. I have smoothed and Pinned these ready for Sewing.

Sew Diagonals


I have Sewn the Diagonals but I have not gone right up to the Centre. This allows room for my Nose.

Mask so Far


As you can see in the above photography that it has completely altered the Shape of the Mask