Showing posts with label Circle. Show all posts

Sunday, 20 October 2024

Fan Folly 2024 Part 3

 Fan Folly 2024 Part 3

I am continuing with the Rough Fan.
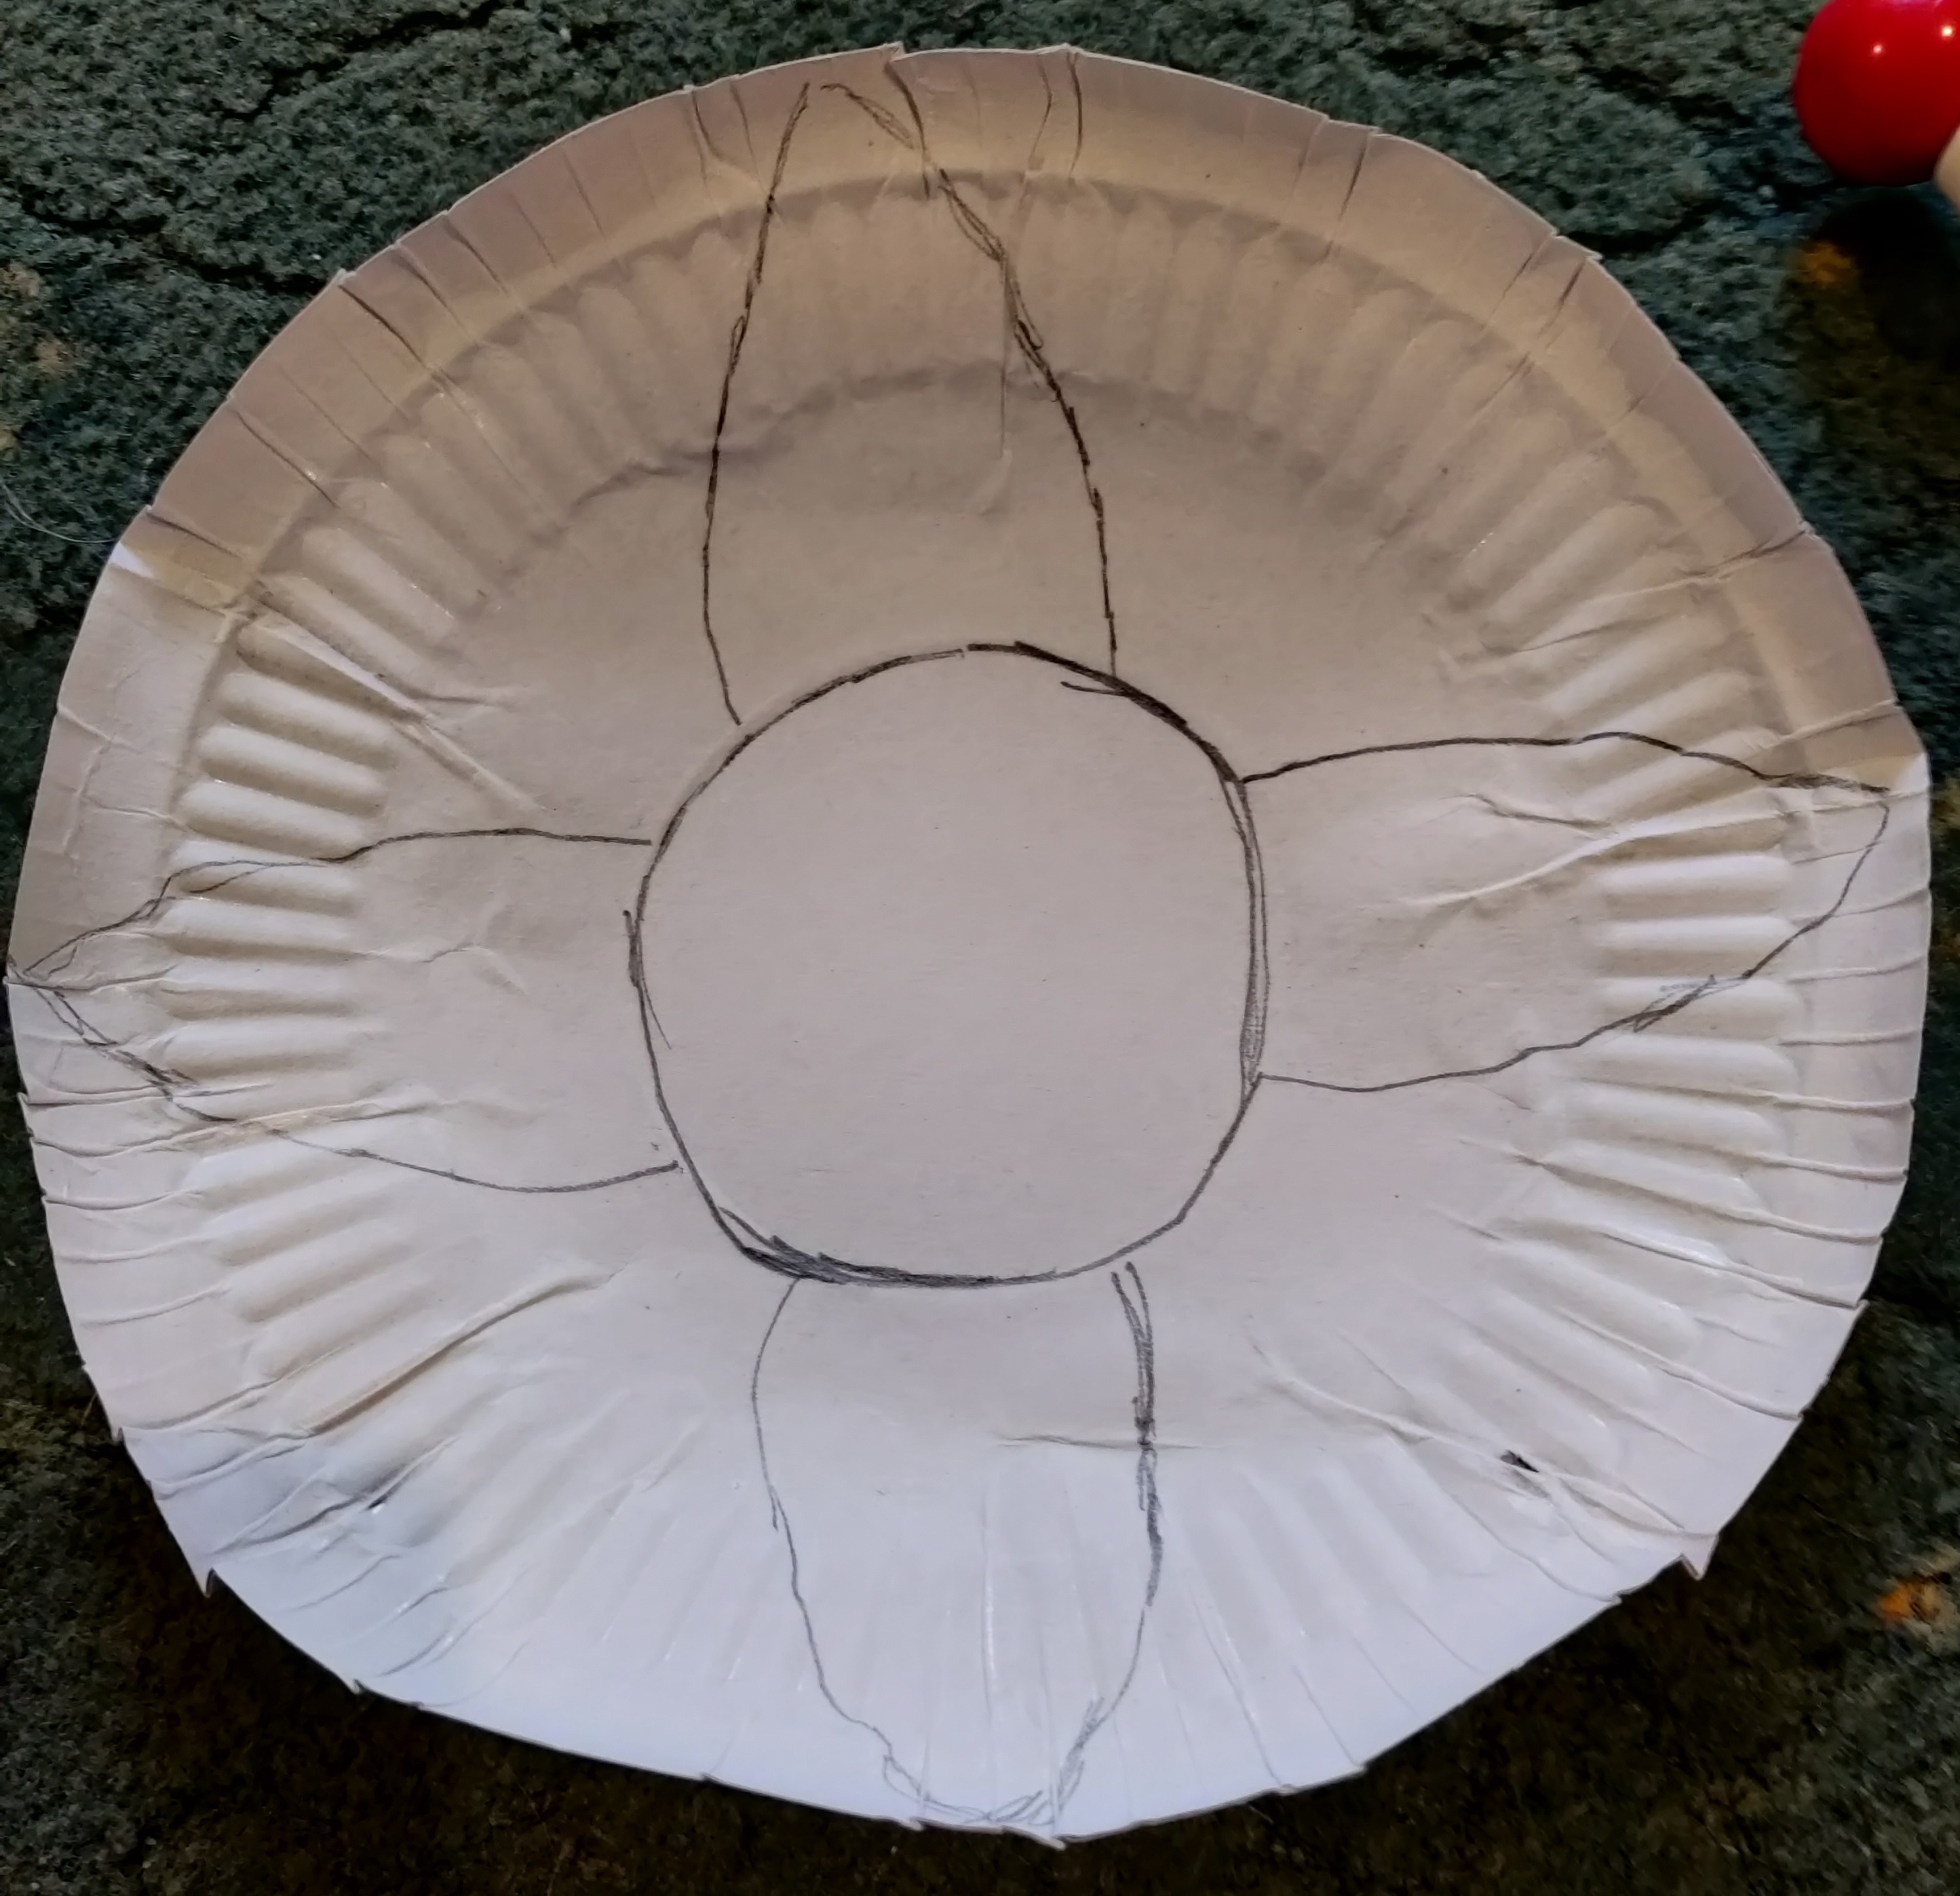
Rough Folded Fan


I have Folded the Fan and it does work - Barely. Now to try it with a different Material.

Draw Around Fan


To get the Shape right I have reopened the Fan and Placed it Face down on some different Material. This is an Off Cut from a Christmas Pair of Pyjamas.

Doubled


Once Drawn I Folded the Material over and Cut it out. Next I Glued it together.

Quartered


Once Dried I proceeded to Fold the Material into Quarters. It now looks like a Slice of Cake or a Cheese Triangle.

Snipped


I Snipped the Corner off with a Pair of Scissors then Opened it back up. I now had the beginning of the Semi Circle.

Curved


I Cut away until the Snipped section was Curved. Now it looks like a very thick Rainbow.

Try Five


At first I tried Nine Struts but it wouldn’t work. I scaled back down to Five and though it was better it still wasn’t right. I can Place and Glue them in place alright to start with. 

Unfortunately once I try to fold it or use it the Material comes away from the Stuts. The principle is fine it is the Struts that are the problem. Naturally being placed one on Top of the other the Further from the beginning the Higher the Last Strut is going to be.

This means that the Glue just will not hold in place. With a different kind of Strut it would probably work. However these Garden Labels that I am using for the Struts are not completely Flat. They have raised Edges which is doubling the Gap in between. Time for a rethink.

Saturday, 17 February 2024

Pig-Mailing On 2023 Part 2

 Pig-Mailing On 2023 Part 2

This is more fun. Creating the Tails.

Pin Tail on Slippers


I have Sewn the I-Cords into a Loop. They are big enough for me to put my Finger through. I Have Sewn them in Opposite Directions as they are going to Curve different ways. I then Pin them on to the Slippers at the Back using the Rear Seam as a Guide. 

Tail Curl


I Sewed the first Curl on the Seam. I didn’t Sew it all the way up as I wanted slight movability at the Top. I then Sewed about a Fingers Length of the Cord to the Right.

I then began to Curl the I-Cord into another Loop. I Pinned in Place then Sewed all the way around. Once Again I left some Cord Unsewn at the Top.

Three Little Curls


I Repeated this process until I had Three Little Curls in my Piggy Tail. I then Sewed along for another Finger Length before starting to Curve the Cord Upwards.

All Curled Round


Now apart from making the Tail to increase Piggyness I had an alternative motive for this Tail. The Size of the Slippers are actually a couple of Sizes too large for my boyfriend.

I am going to put some insoles into them but still thought they would be a bit too big. Therefore I am going to use the Tails as Straps. I Curve the Strap over the Ankle area in a Circle. Then I Weave the Cord through the Loops.

Pair of Curly Tails.


I now have a couple of Pigtail Slippers.

Thursday, 1 December 2022

Butterfly Banquet 2022

Butterfly Banquet 2022

First of all I have to say I can claim no praise for this idea as it is not my own. I was given as a present a subscription to a well-known wildlife charity.

As I was flicking through I came across the concept for making a Butterfly Feeder. Though designed as something to occupy children I couldn’t help myself.

Inverted Dish


First of all you need a Paper Plate. I didn’t have any in stock. Therefore I decided to use a Paper Dish. Now the Inside of the Dish is Shiny and unlikely to hold Colour well. So I simply Inverted or simply put turned Inside Out so I could work on it.

Centre


I didn’t want to bore you with lots of photographs so this is a two part one. I found the Centre and hand drew a Circle. I did this by eye rather than mess about with measuring.

Next I added some Petals. I had no particular Flower in mind so I decided to add them Compass Style. I.e. North, East, South, West. When I was at school we learnt the compass points to the phrase ‘Never Eat Shredded Wheat’. However apparently that isn’t allowed anymore and now it is ‘Naughty Elephants Squirt Water’.

Extra Petals


Once the main 4 Petals were drawn I simply filled in the Gaps. As well as making a Feeder this is a pretty good way to teach Children the Compass.  The remainder points starting from the Top Right are of course.

North East, South East, South West, and North West. Thankfully I am not adding the others but for those that might want to add a few Leaves here is the rest.

North North East, East, North East, East, South, East, South South East, South South West, West South West, West North West and finally North North West. Who says my blogs aren’t intelligent?

Thursday, 6 October 2022

Time to throw in the T-owl 2022 Part 3

 Time to throw in the T-owl 2022 Part 3

Time to move on to the real thing. I apologise for the pure quality of the photographs.  I may have changed the order to make it easier to follow

Draw Circle


I had a hard time choosing what colour Card to use as my Friend dislikes certain colours. Naturally those were the colours I had in stock. Finally I found some Green Card. I Drew a Circle using the Outside of the roll of Tape.

Draw Inner Circle


I used the Inside of the Tape to Draw the Inner Circle.

Rub Out Excess


I Rubbed out the Excess lines before I moved on. I am going to use the Eraser a great deal I think.

Adjust Face


Some photos didn’t come out at all so I have had to mess around with the order. I had drawn the Face but now I needed to Adjust it.

Tape Curve


To make the Wings I used the Tape as to make sure that I had the same kind of Curve. This is was easier said than done trying to place it in the right position.

Adjust Talons


I need to make better Talons. I decided the best way was to Draw seed like ones on the ends of the legs. Then I could add the Sharp parts.


Pencil Outline Complete


I have finally got the Pencil Outline that I want. I haven’t added all the Feathers for a reason. I will discuss this in the next blog.

Thursday, 8 October 2020

A Tale of Two Masks 2020 Part 2

 A Tale of Two Masks 2020 Part 2 

Part 2 adds to the Colour of Blog.

White Background


I have my Black Hemmed Circle. I took some White Felt and Cut out a Circle slightly smaller than the first. I then Sewed it on top. 

Adding Brown


The next part was harder. After scouring the internet for goodness how many hours I found the Image that I wanted. I now had to build up that Image in Felt.

I cut out the Body and Tail shapes in a suitable Brown Colour. I slightly overlapped them and then Sewed in Place.

Winging It


After the Tail and Body were in place I was the able to add the Wing.

Come on you Reds


Normally I would have just Coloured in a Red Circle if asked to draw a picture. However in studying the Image I found that it actually had considerable more Red required than you would think.

Yellow Peril


Time to add a Beak. This did not go well. The material I had was far too friable and in the end I had to give up.

Beak and Branch


I decided that it would be far easier just to Embroider the Beak onto the Circle. I then added another piece of Brown Felt as a Branch. 

Orange Spot


This part was fiddly trying to get the Shape Cut and placed correctly.

Eyeing up the Leg


Here we have the finished item. I have Embroidered the leg and for a bit of fun decided to add a Googly Eye to my Red Breasted Robin.

Thursday, 12 December 2019

Dionne’s Draught Excluder 2019 - Part 3

Dionne’s Draught Excluder 2019 - Part 3

Time for a change.

Mixed Template Sizes


Since I was having a bit of trouble with Sewing I thought I would swap to something different. I wanted a Pom-Pom so first I had to get my equipment.

I can’t say how long I spent rummaging around the place trying to find something to draw around. Nothing was the right Size. In the end I had to use a Pasta Measure for the Interior hole. I was then forced to use the Arch shape of the end and keep turning it until I got an Outer Circle I could cut out.

Good Judgement


Well I must admit I am impressed. I Judged the Size and Wool to perfection. It is about time something went right. Not only that the Wool I was using was some that I had hand spun.

Fluffy Pom-Pom


I have now spread, tied and cut out the Pom-Pom. This is an unusual step for me because I usually have already made the item for which to put one on.

There are Full Instructions on how to make a Pom-Pom in previous blogs. See - Watch Out There’s A Minx About 2019


Thursday, 5 December 2019

Dionne’s Draught Excluder 2019 - Part 2

Dionne’s Draught Excluder 2019 - Part 2

From time to time all Crafters no matter what tools or materials they use will have one of those days when things just don’t want to go right. This week it is my turn. I haven’t got nearly as far as I intended.

Cut off Sleeves


It started off alright. I had cut off Sleeves which would do for the material that I wanted. These I washed and pressed ready for cutting.

13.5 Inch Circumference


The first Problem I encountered was that my Tape Measure had disappeared. Therefore I was forced to use my Metal one which does not like bending into a Circle. This End was not too bad and I managed to get the measurement of 13.5 Inches.

Other End


The Other End simply would not play ball. It kept springing all over the place. Normally what I would do in this case is use a piece of String to follow the Curve and then Measure that.

Of course even though my place has enough String, Thread, Wool and Yarn in it to knit jumpers for a flock of sheep not one piece was available to hand. Typical!

Trio of Circles


Once I obtained the Measurements (which incidentally were not equal and therefore a challenge I will have to sort another day) I needed to find something to Draw around.

I need not mention how much fun it is to Measure half a dozen Circular objects with a Metal Measure, especially when quite a few were at a gradient like plant pots.

Rough Cut Circles


I couldn’t find a single object of the right size to Draw around. Eventually I decided to pick a larger version and once cut I would shrink using a combination of Trimming and Hemming.

Naturally as soon as I wanted to Draw around the pot I found that my Chalk had disappeared. After spending 20 minutes finding another piece and Cutting out I decided to quit Crafting before anything else could go wrong.