Showing posts with label Brush. Show all posts

Thursday, 4 November 2021

Clay-time Playtime 2021 Part 2

 Clay-time Playtime 2021 Part 2

I had my Dish. Now I want to add a Pattern

Clay-time add Pattern


My first attempt didn’t go well. My Brush decided that it was going to disintegrate as soon as I put it to the Clay. I tried both Sides of my Comb but that didn’t work either.

Fork Pattern
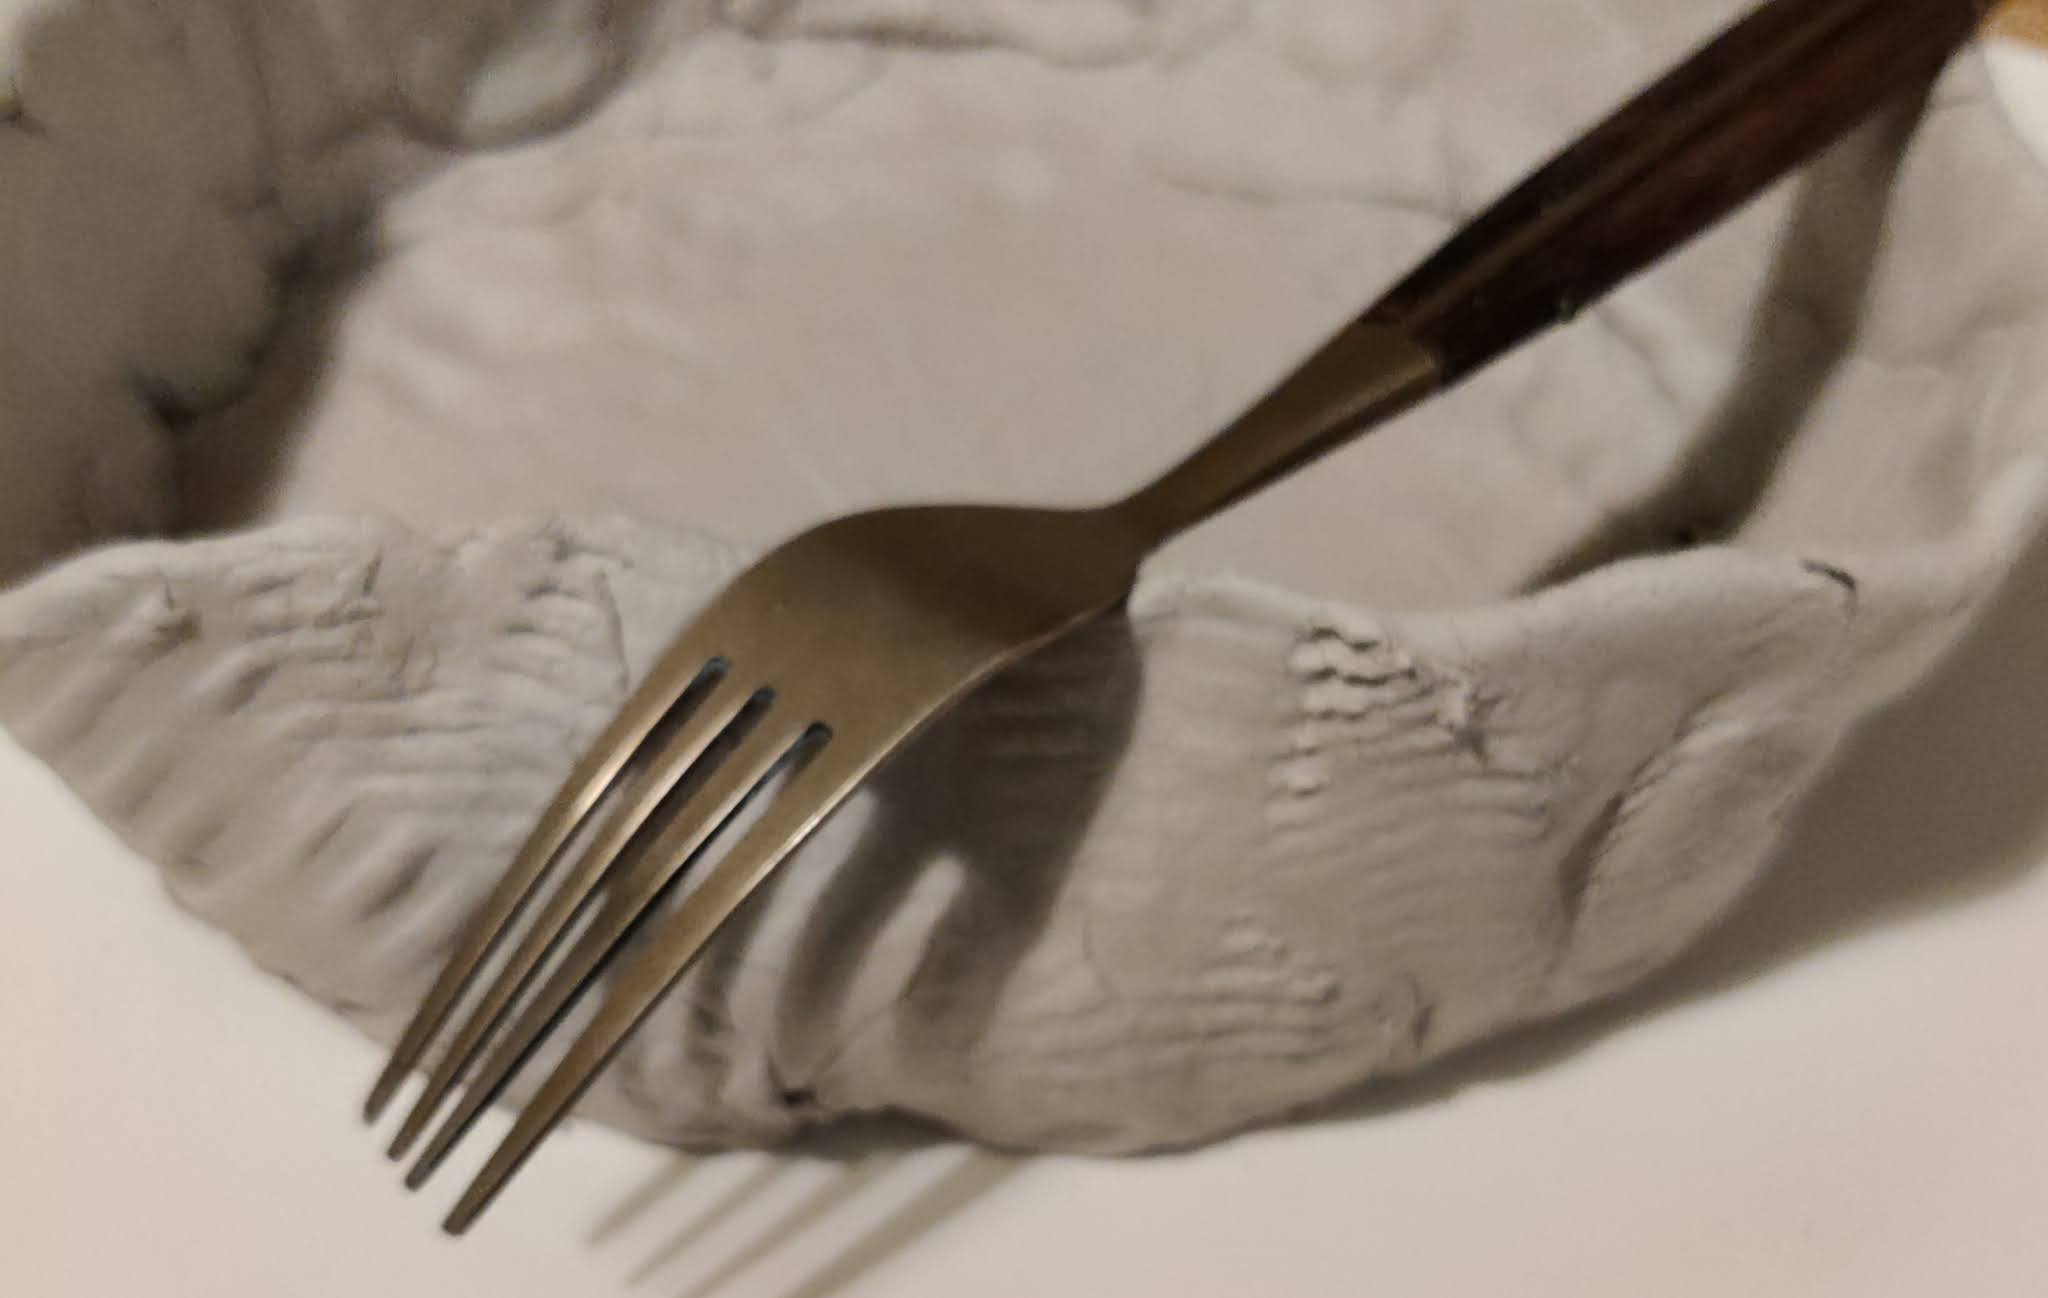


Eventually I had to resort to using a Fork to try and add a bit of Pattern on the Sides.

Clay-time Shells


The reason I wanted a kind of Wavy Pattern was because I had been given some Shells and I wanted to make it look like Sand.

Naturally the photograph showing the Shells in place didn’t come out. Let us just say that it was really hard work trying to push them in and getting them to hold. I think that with the Temperature being so hot in the Kitchen the Clay was drying too quickly.

Clay-time Triangle


With the Temperature in mind I had to work fast to do the next bit. I started by using what was left of the Clay and Beating it into a Triangle Shape.

Clay-time Shape


I used the End of the Roller to push the Bottom of the Triangle up towards the Middle.

Clay-time Squeeze


I had lots of photographs but thought it would take forever to read the blog so I have skipped sections. In the picture above I have Flattened and Elongated the Legs.

I then used the End of the Roller to Push in the Sides like I had at the Base.

Clay-time Spread


By continuously Rolling and Pushing I have Spread out the Clay into the above Shape whilst keeping the Height of the Clay even.

Clay-time Man


Finally I have managed to get to the stage where I have a little Man.

Thursday, 2 August 2018

Boxes Galore 2018 Part 1

Boxes Galore 2018 Part 1

I was given some Boxes as a present some time ago. They were made from wood and therefore in a natural state when I received them.

Natural Boxes


The Boxes have lids that have patterns cut into them or should that be patterns cut out?

Natural Boxes Lids Open


I wanted to decorate these Boxes so they could match in with my décor. However I have had so many other projects on the go I have not had a chance to make a start.

Choosing a Colour


Most of my décor is Green therefore that is the colour I chose. However since the kind of wood I normally paint are doors and skirting boards I needed a little assistance. Fortunately there is an art shop near me called Heaps.

Whenever I have an art query it is my first stop. The gentleman is extremely friendly and knowledgeable and pointed me to the correct type of paint to use. It is a water-based Acrylic and the shade is Sap Green

Boxes First Coat Inside


Since I had already opened the Boxes I decided to do the insides first. I used a medium sized brush and added a little water to the paint.

Boxes Painted Outside


Once I had painted the inside of the Boxes I then started to paint the outsides. I always paint with along the grain of the wood so it goes on smoothly. I also start at the top and work downwards in case it drips.

I haven’t as yet decided on what I am doing on the lids so I have left them natural. This is only the first coat so I will need to do more. However I cannot do anything until the first layer sinks in and dries.