Showing posts with label Orange. Show all posts

Thursday, 24 April 2025

Crawling Creatures 2025 Part 6

Crawling Creatures 2025 Part 6

I have so much Clay left that I have decided to continue with more Creatures.

Orange Ball


I have lots of Orange left so I first make a large Orange Ball

Mould Upwards


I now Squeeze the Ball at the Top to Mould it Upwards. It reminds me of a big nose minus the nostrils.

Red Dot


I next part the Bottom into two so it has little legs. Where the hell did that Red Dot appear from?

Star Shape


Okay this looks like a very fat Star at the upwards point. I think the Red is putting me off.

Depression


I have tweaked it so it is more even and added a Depression. That is also a good word for how I feel about the Red. Why did it have to be on the Front and not the Back? I will have to sort it.

Sunday, 6 April 2025

Crawling Creatures 2025 Part 3

 Crawling Creatures 2025 Part 3

Now I am moving on to the Orange parts.

Selection of Orange


I have broken up a Selection of Orange pieces as I am going to need quite a few of different sizes.

Small Joining Orange


The first bit that I am going to work on need to be small. This is for Joining the Claws to the Body. I will break this ball into two smaller Halves.

Adding Claws


I have attached one piece to the Main Body then Added the Claw to it. I then repeated with the other side.

Large Rolled Orange


Next I take two Large (in comparison) pieces of Orange Clay. I have rolled them into Sausage Shapes.

Attach Front Legs


I have Attached the Orange Clay to just underneath the Claws. These will be the Front Legs.

Second Legs


I have repeated the process to make the Second Pair of legs.

Third Legs


The final pair of Orange pieces make the Third Pair of Legs. These look slightly further back because of the angle.


Sunday, 21 April 2024

Autumn Cape Bag 2022 Part 62

Autumn Cape Bag 2022 Part 62

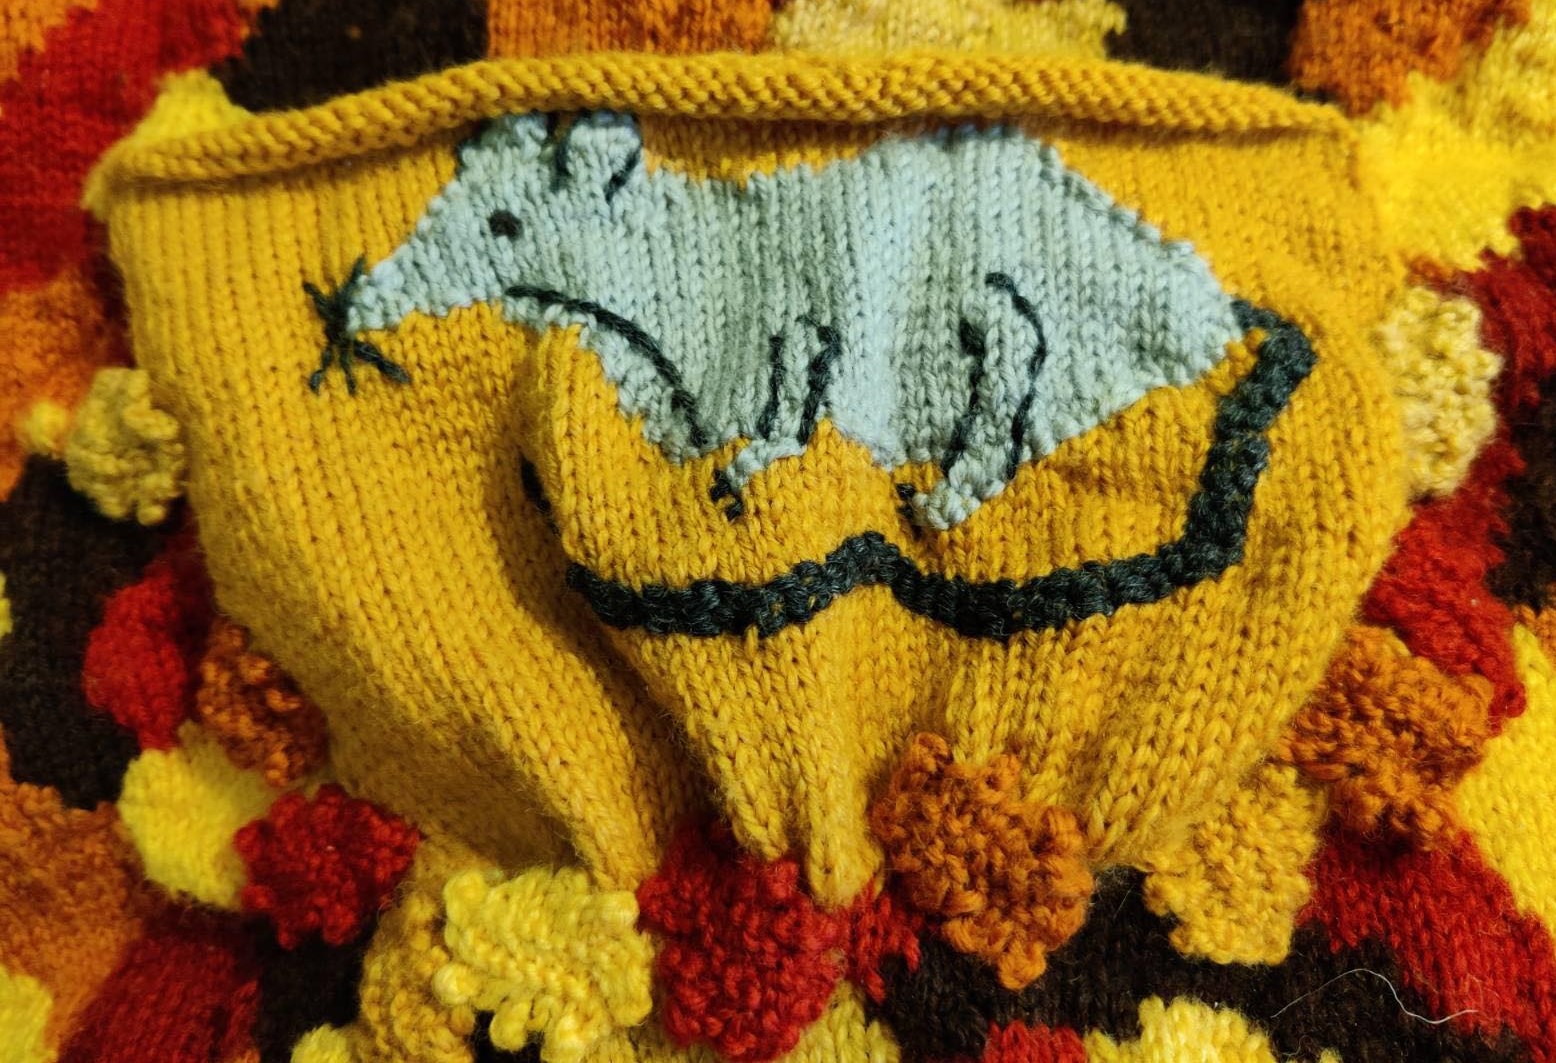
I am continuing to add Leaves to the Pocket.

More Orange


If course once I started adding the Leaves I found out that I did not have the correct Colours. Once again, I have to stop to make More Orange Leaves.

Full of Leaves


I have now finished adding the Leaves to cover the Bottom and the Sides of the Pocket. This made it look a little better by covering up some of the bunching. It has also added to the Strength of the Pocket.

Measure Pocket Depth


I had saved some of the Green Material. I have rewashed and pressed it as it had got a little dishevelled during storage. I now need to Measure it against the Pocket. I started with the Depth.

Measure Pocket Width


The reason that I started with the Depth of the Pocket is because I am going to Fold the Material. This will save on me having to do additional Sewing. Once I have the Width I can cut out the required amount. As usual, I have taken into account the need for Hemming.

Double Tack


You cannot tell in the photograph above but one side end of the Material is already Hemmed. I have therefore matched it with the other side. I am now Sewing the Large Hem. I am using a simple Tacking Stitch. I have Tacked one way and I am Doubling Back to make it stronger.

Friday, 19 May 2023

Autumn Cape Bag 2022 Part 18

 Autumn Cape Bag 2022 Part 18

This blog is a bit of a bust. Most of my photographs seemed to have either disappeared or great quality. So apologies but I have done my best with what is left.

Securing


The problem with changing colours so often is that it can leave loose Stitches. This will become a major problem once I have started using it and the Weight will naturally drag it Downwards.

I have begun the process of going over these areas. In the above photograph you can see where I have gone along the edge of the Orange to Secure it.

Blurry Blue


This was a very difficult photograph to take. I wanted to show how the Holes are so much bigger where I picked up Stitches. I have held the Knitting up in front of my computer screen. Therefore the Blue of the screen can easily be seen through the Larger Holes.

Brown Blur


Another difficult photograph to take. Once again I am holding it up against the screen. Now I have gone through with the Brown Wool the difference is much Smaller.

Red Top


There are many Straight Edges that you do not find in Nature that I need to tackle. Here I am Changing the Shape and also I fixing Holes at the same time.

Leaves and Orange


I have added 3 Leaves to the Second Strap. However there was a bit of a gap so I have embroidered some Orange in it. Much more to do so need to carry on.

Thursday, 25 November 2021

Clay-time Playtime 2021 Part 5

 Clay-time Playtime 2021 Part 5

Now I have the Base and Outside Edge done I can move on to the Inside.

Adding Blue


As you probably realise by now I am trying to emulate an Ocean theme. Therefore I selected a Deep Blue to begin filling in between the Starfish Arms.

Blue Bottom


Once more into the deep dear friends once more. I finished the Bottom of the Dish and now had to decide what to do next.

Two Blue


I had to consider the amount of Deep Blue Varnish that I had left. I hit upon the idea of using a lighter Blue to give the effect of the Water being of different Depths.

It work great I was really pleased how it turned out although it was touch and go whether I had enough Varnish to finish it.

Splash of Orange


I did a spot of research on the Internet and never realised how many different types of Starfish there were. I had a whole variety of colours to choose from but in the end after sorting through the Varnish I decided to stick with the traditional Orange.

Star Base


As you can see in the above photograph the Starfish really stands out against the Two Blues. To enhance the illusion of Depth I added a little extra Yellow to the Rim.

With this added it almost gives it a Rock Pool look. The next step is to go over the whole Dish and give touch ups and where necessary scrape a little Varnish off where it had Splashed on the Shells.

Bathroom Tidy


The moment of truth. Here are my lotions nestled neatly inside my Dish. I did have to move them around several times to get the right order but it was well worth it.

N.B.

Since making the Tidy I have been given a whole load of new Face and Bath products which I cannot fit in. However it was nice while it lasted and I am sure I will soon be able to whittle the products down so they will fit once more.

Thursday, 27 May 2021

Autumn Cape – A Long Term Project 2021 - Another Problem

 Autumn Cape – A Long Term Project 2021 - Another Problem

For some reason things never seem to go smooth for me. I have now found my Leaves and was going to start adding them when I Spotted something.

Wrong Colour


I should imagine that this was another of my working in the wrong light and being too tired moments. I have inadvertently added a Bright Orange to the edge of my Night time section.

Unpick Colour


There is absolutely nothing I can do to hide this so I have to Unpick the Leaf.

Replaced Colour


I have Replaced it with a Dull Yellow although the camera has made it look quite bright. I haven’t put it back in exactly the same place because with Unpicking I slightly Damaged some of the Red. Therefore I had to adjust the angle to cover it.

Night Start point


This is the area I was supposed to be working on. I need to make the Brown section look more organic and add Embellishments.

Branch Embellishment


I begin to add more Branches. This is going to take a long time so only going to add a few at this point.

First Leaf


As you can see in the above photograph I have put a few twigs on and added my First Leaf.

Absolutely Fantastic

I am still struggling to use my new phone to take photographs and somehow I have appeared to have lost them. Will have to retake them. Do the problems never cease?


Thursday, 1 October 2020

A Tale of Two Masks 2020

A Tale of Two Masks 2020 

This time I am trying something a little more complicated. I am going to try and make One Mask into Two

Lucky Circles


I was sorting through my bags for some Black material when lo and behold I found Two Circles already Cut out. That’s a Lucky start.

Match Hem


I Hemmed One Circle and proceeded to start the other. Now I do generally like to try and get things roughly equal but in this case I need to be more precise. Therefore I Pinned the Circles together so I could Match up the Hems correctly.

Orange


Next I needed to make an Orange Circle. For once I didn’t have any material handy so I have had to nip to the market to pick up some Orange Felt. I tried drawing a Circle in Chalk but it wouldn’t show up. Therefore I have used a Biro instead. 

Orange Snip


Once I had my Orange Circle I Folded in Half and Pinned it. I Snipped a Triangle out of the Centre. This is going to be a Nose. 

Eye Opener


I am having real trouble trying to get things equal. The Felt is a little thick and the Cutting isn’t getting through evenly. I had to do a lot of reshaping on the Mouth.

The Eyes are awkward to do because of not being central. I decided to Fold over the Top of the Circle so I could Snip there.

Yellow Backing


Sometimes I can be too frugal with my material. I wanted a Yellow Backing but every time I sewed I found that it was either too small or the Stitching showed through.

Yellow Circle


After several attempts I gave up and Cut out and Sewed a Large Yellow Circle.

Perfect Pumpkin


This is much better. The Yellow shows through correctly after I have placed the Orange on top. A pretty Perfect Pumpkin.

Thursday, 12 July 2018

What Blooming Flower Is It? 2018 Part 6

What Blooming Flower Is It? 2018 Part 6

I know by now you are well familiar with the process so I am going to try and make this more of a Photo Blog starting with the Leaves.

Leaves


I used the same technique of using multiple colours for the Leaves.

Yellow Problem


Oh dear I have run out of the Yellow thread

Two Tone Yellow Close up


A Good Match I think.

Crocus Corner Orange Outline


This time I have gone for Orange

Crocus Corner Orange Outer Petals


Some of the Orange is edging on the Red side so is making a great contrast.

Crocus Corner 4 Orange Complete


The corner maybe complete but it isn’t finished yet.