Showing posts with label Glue. Show all posts

Thursday, 7 November 2024

Fan Folly 2024 Part 6

 Fan Folly 2024 Part 6

The Glue has dried and the Card has stuck together nicely. Now for a spot of Decoration

Add Lace


I sorted through my collection of Lace and found some Red Lace roughly an Inch Wide. I started to Add it to the Fan. This wasn’t easy for a couple of reasons. One is because the Fan has Curved Edges. 

Another is in order to get it Equal Lengths both Sides I am having to work from the Back. I place the Lace Under the part of the Fan to Decorated. I then add a small bit of Glue then Fold the Material on top.

Lace Pinned


The Further along I got trying to add the Lace the more difficult it became. I decided to add Pins to fix the Lace in place whilst it dried. I left the extra material around the two Corners Unglued 

Finished Fan


Once one Side of the Fan had Lace Stuck I turned it over and did the same with the opposite Side. Once both Sides were Stuck down I could move on to the Corners.

I Folded the excess Material over and stuck it down with Glue. I had to wait until Two Corners were sorted before I could turn over and repeat on the other side.

The Finished Fan isn’t as neat as I would like but it is Functional and my my mum loved it. At the end of the day I can only do what I can with the resources I have laid around.  I think for my next project I will do something from a Kit to make life a bit easier.

Sunday, 3 November 2024

Fan Folly 2024 Part 5

 Fan Folly 2024 Part 5

Apologies if this blog is a bit harder to follow only some photographs didn’t come out.

Material Scraps


In my collection of Material Scraps I had a couple of pieces with Roses on. This was given to me for a different project but I didn't use it. I have struggled to think of how to use it as it is a Manmade Fibre. I am glad I have finally found a use for it.

Glue One Side


I spread Glue on One Side of the Cut Out Card. This is where the missing photographs should go. I then placed One Piece of the Rose Material on top of it. I smoothed out any wrinkles and Trimmed around it.

Glue Stick


After I trimmed around the Material leaving a small over lap I Folded over the other side and Glued it down. I then put a line of Glue down the Middle of the Card which was handily marked by the printed Arrow.

Once the Stick was stuck on. I covered the rest of that side with more Glue. Yes to any eagle eyed readers I have split some. During this project I think as much Glue went on the Carpet as it did the Material.

Weigh Down


I had at this point already Covered the other piece of Card with the Material and Folded it over. I then placed this on top of the one with the Arrow.

Since the Stick would cause a Gap I decided to Weigh it Down with the Bowl. I left this over night to make sure it was Stuck.

Friday, 6 September 2024

Boxing Clever 2024 Part 6

 Boxing Clever 2024 Part 6

Since I have to think about what I am going to do next on the Front I have decided to tackle some other bits in the meantime.

Mucky Side


I always hate the way the Glue dries when using this Material. It looks Mucky. Therefore I am going to start with the Side.

Green Side


This Side is Easy enough. I have taken a long piece of Green Material and Glued it in Place.

Peeling


It has started Peeling already. This Material isn’t very good which is why I only every use it as a Liner. Though I have to confess that using ordinary Glue instead of Fabric Glue probably doesn’t help.

Blue Band


I have a long Length of Dark Blue Band left. It can easily go all the way around the rest of the Sides. I start by Gluing it on one Side of the Box. It is a bit Uneven so I may have to add some more White.

Clip Away


Before I can do the Main Side I need to Clip a Hole in the White so I can access the Release Button.

Clip Band


I Glue to the Button. I then Clip the Band around the Button then carry on Gluing.


Thursday, 8 August 2024

Boxing Clever 2024 Part 2

 Boxing Clever 2024 Part 2

One bit stuck down now on with the rest.

Around the Bend


I have down one Face of the Box. I am going to Wrap the Material Around the Bend and to the other side of the Box.

All Six Sides


With the big pieces done and dried I carried on with the small Edges. I now have all Six Sides finished.

Okay I am now having a panic attack. My mother reminded me that old Ironing Board’s used to use Asbestos and I have been merrily Cutting it up and got pieces everywhere.

I have done some research and as far as I can tell mine isn’t that old. However now I cannot stop thinking about it and have decided to give it an extra Cover.

Pile of Pieces


I have emptied my craft cupboard and have a huge Pile of Pieces to sort through. I am sure that I have something big enough to Cover the Box.

Black to Basics


I have found some Basic Black Material. I have measured it and have enough.

Good Spread


I give the White a Good Spread of Glue making sure it gets into all the Corner. I will Cover five Sides and leave the one with the Push Button. This is because I don’t want to make it to difficult to open by covering it with too much cloth.

Hate It


Grr I Hate it when it does this. I had forgotten how porous the Material was. It is a good job that this is just the springboard for the real Covering.

Thursday, 12 January 2023

Footy Fun 2022 Part 4

 Footy Fun 2022 Part 4

The Outside is completed so I am moving on to the Inside. For those that follow Football it will not be a surprise to know that Nottingham has two main Football Clubs in the City. Therefore I am making this a Tale of Two Footies.

Black Out


I am fortunate in the fact that both Clubs have White as one Colour. So I only had to Cut Out, Glue and place two pieces of Black Felt on the Inside.

Wrong Way


Speaking of Football I could have Kicked myself for not spotting this. I had been so concerned about getting the Letters even that I hadn’t noticed that I had picked them up in the Wrong Order.

It should have been N.C.F.C which stands for Nottingham County Football Club which are affectionately known locally as ‘The Magpies’. This is not to be confused with Newcastle United.

Own Goal


Not only had I Glued the Letters in the Wrong Order I didn’t notice this until uploading the photographs. This was AFTER I had wrapped the darn Box.

So I had to carefully Unwrap the Box so I could reuse the paper as was getting low. I tried valiantly to remove the Letters without causing damage but to no avail. This was a real Own Goal.

N.C.F.C


In the end I had to Glue another piece of Black Felt on Top of the Original. This time I was extra careful about the Position of the Letters. Thankfully no harm done and I could Wrap it back up ready for the Solstice.

Thursday, 5 January 2023

Footy Fun 2022 Part 3

 Footy Fun 2022 Part 3

The paint has dried and I can move on to the next part.

All Change


Looking at the above photograph I believe I made a mistake in a previous blog. I had used Fabric Glue just not for the Paper Covering.

Red Top


I Measured, Cut, and Glued a piece of Red Felt to both the Top and the Bottom of the Box.

Trimming Time


After the Red had dried I trimmed off any Excess White Felt. I think this is when I corrected the White Overlap on the Front of the Box. This recent illness has fogged my brain up.

 Template Time


Remember the small Scraps of Felt I had Ironed at the beginning of the project. I used these to make the Letters that I needed.

This was far more difficult than I anticipated. For some reason I couldn’t get the Letter N right. I ended up doing several before I was happy and could move on to the other Letters that I needed.

N.F.F.C


Eventually I managed to get all my Letters Cut Out. Next I had to place them. This was a little nerve wracking as if they were not spot on they would stick out like a sore Thumb.

Once placed I Glued the Backs and gently lowered them into position. I think since they were all drawn by eye rather than being measured I did rather well.

So there you have it one Covered Nottingham Forest Football Club Box for the use of.

Thursday, 29 December 2022

Footy Fun 2022 Part 2

 Footy Fun 2022 Part 2

Short blog this week as not well.

Ironing Felt


I am going to use Felt to Cover the Box. However before I can do so I am going to have to Iron it. I have quite a pile to do and am also Ironing some scraps which I will use later.

Add Glue


I am going to use ordinary PVA Glue rather than fabric as I am a little low. Unfortunately the photograph of the Side didn’t come out so using a different one. The important thing is to make sure that the whole area is Covered or it will lift in the corners.

Overlap


I am putting White Felt all the way around the Sides of the Box. I have left a slight Overlap on the Front. This is so I can Trim the exact Shape.

Paint Edges


I could have Cut the Felt long enough to go over the Edge and down the other side. However I felt that this would impede the Lid from shutting. Therefore I decided to Paint the Edges White. I now need everything to dry before I carry on.

Thursday, 3 November 2022

Bamboo No Bargain 2022 Part 3

 Bamboo No Bargain 2022 Part 3

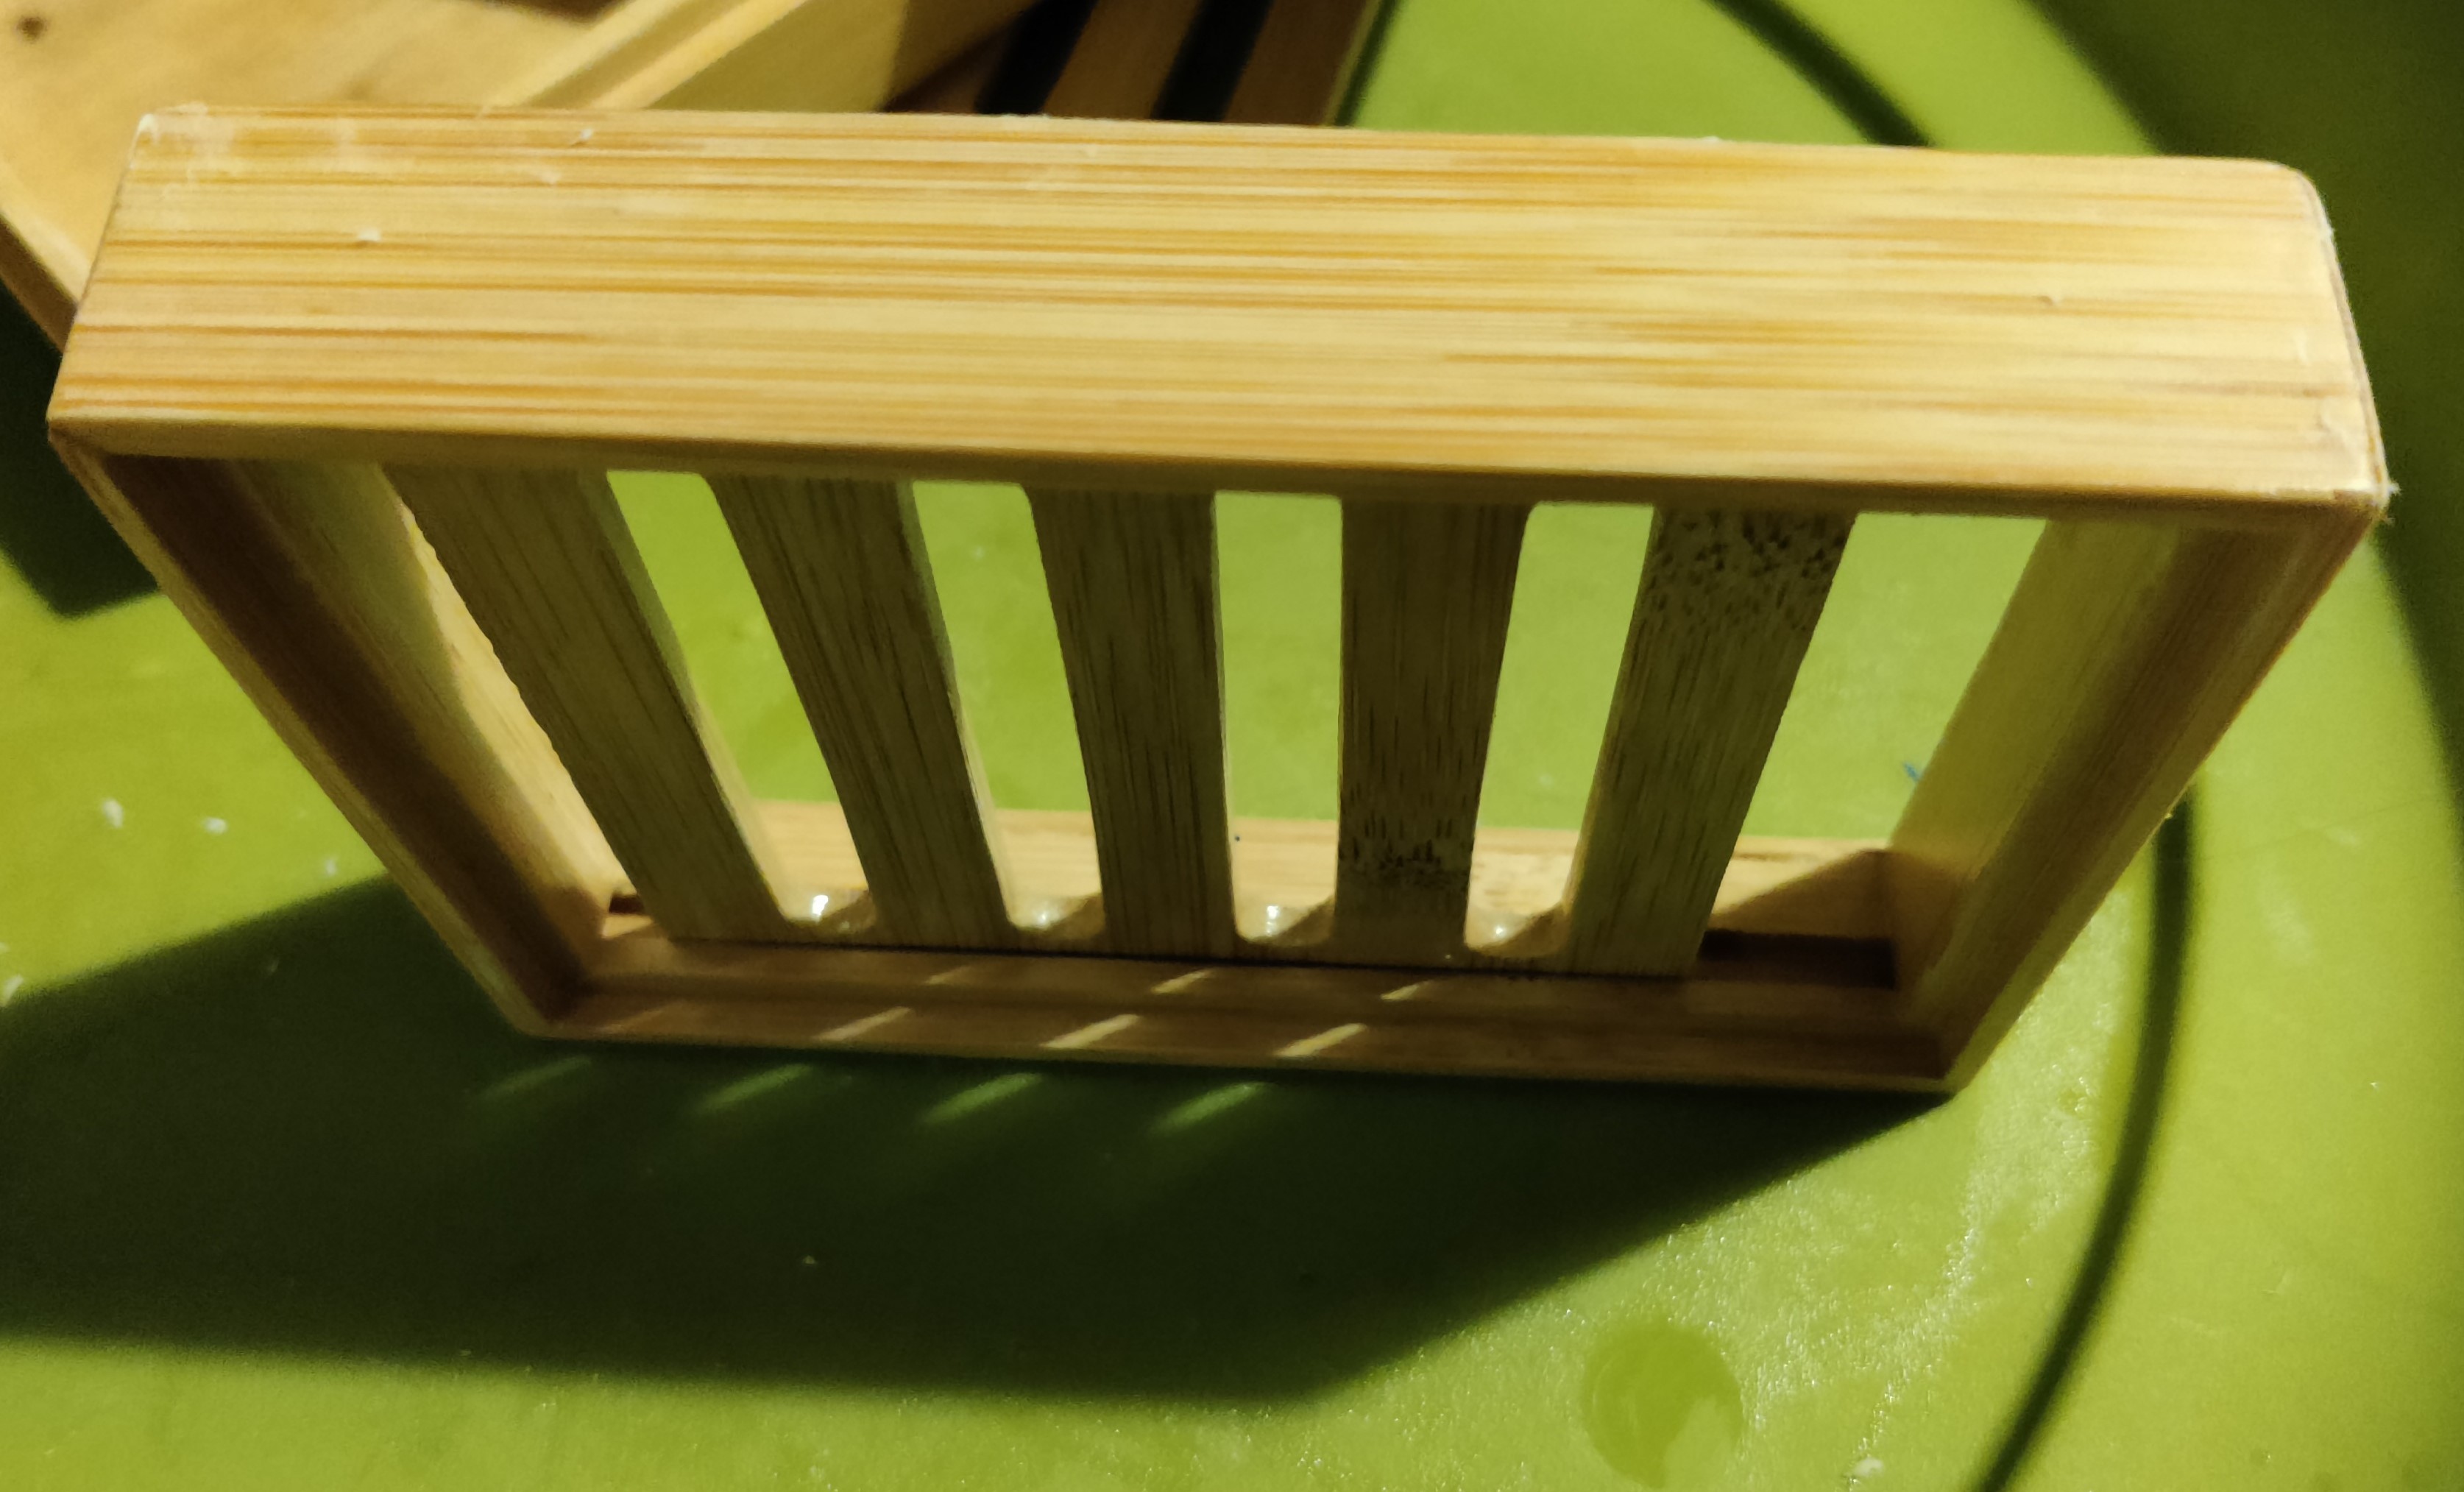
I wanted the Dish to be as resilient as possible so I gave all parts about 4 Coats of Varnish

Slot into Holder


My next job was to put the Grill and Holder back together. I Slotted the Grill into the Holder.

Add Glue


I carefully Added Glue to the Top Edges. I had to make sure that the Grill was in the Centre as I didn’t want to Glue that as well.

Place Top


I then Placed the Top part on the Glue and left it to dry.

Slide in Vertical


When I had taken them apart I hadn’t realised that I had removed different Edges. Therefore I had to repeat the process only this time I was Sliding in the Grill Vertically.

Bamboo Ready


Bamboo Dishes Ready for use. I have to say that so far my endeavours have paid off and as yet no Mould has reappeared.


Thursday, 15 September 2022

Crikey Not Christmas 2022 Part 23 –Ribbon

 Crikey Not Christmas 2022 Part 23 –Ribbon

On to the final stretch of what has been a far bigger project than I realised

Glue in Place


I now added some Glue and Placed it as far down as I could to the Base.

Pin to Hold


I Pinned the Ribbon to Hold it in position. I didn’t want it to slip at this point.

Final Sew


After removing the Pin I gave a Final bit of Sewing at the Base.

Retouch Paint


Since I have been constantly turning the Wreath some of the Paint was looking a bit tired. I gave the Pine Cones a quick Retouch with the White Paint.

Festive Finish


The Final Festive Finish. It has been hanging for a week and not fell down. I am so proud.

Thursday, 8 September 2022

Crikey Not Christmas 2022 Part 22 –Ribbon

 Crikey Not Christmas 2022 Part 22 –Ribbon

I can continue now the Glue has finally dried.

Wrap Around Again


The reason that I am Wrapping the Ribbon around again is in two parts. First is to give it more strength. The Second is to hide any patches of Glue that have seeped through.

Curved Needle


Since I need to Sew Deep rather than across I have changed to a Curved Needle. This makes Stitching the Ribbon so it doesn’t move easier.

Wind Around Hand


I Wound the Ribbon around my Hand. This was to give a good Length of Ribbon to use as a Hanger. I pulled the Ribbon tight then cut off the remainder.

Sewing Loop


I Crimped the End of the Ribbon then Tucked it Under to make a Loop. This was a couple of Fingers wide. I then Sewed across to Secure.

Double Loop


I then Folded the Loop and Sewed across again. This is to give it extra Strength so it doesn’t tear or fray.

Thursday, 1 September 2022

Crikey Not Christmas 2022 Part 21 –Ribbon

 Crikey Not Christmas 2022 Part 21 –Ribbon

Now I have made the Ribbon I have to add it to the Wreath. I tried this so many times I hope I have got the right photographs. 

Pine Cone Central


The most important thing to get right is to have the Pine Cone Central at the Bottom. Otherwise when it comes to hanging it will be lopsided.

Add Gold Ribbon


This Ribbon isn’t actually Gold but with two lots of Red Ribbon it gets complicated. Therefore I am referring to the Red Ribbon with a Gold Trim simply as Gold.

Apologies that it isn’t easy to see but then it wasn’t easy to take a photo of either. To hold the Ribbon in place I believe that I put a few Tacking Stitches in. I may have used a spot of Glue too but frankly cannot remember.

Add Glue to Wreath


This was far easier to do than to try and explain. This is because it needs accurate Positioning. I place the Bow where I want it. Then I Wrapped the Ribbon around and checked where it met.

Then I added some Glue to that part of the Wreath.  Then I Stuck the Bow in place. I also added some Glue to the Top of the Wreath to make sure the Ribbon didn’t move.

Glue Back Ribbon


Next I Wrapped the Ribbon around the Back. However I didn’t Glue straight away. I brought the Ribbon back to the Front so I could check that it overlapped. Then I added the Glue and Stuck the Ribbon down at the Back.

Add Bow Glue


This is quite time consuming as I have to wait for the Glue to dry. With the Ribbon now Glued securely at the Top and Back I can move on to the next part. This was to add Glue to the Top of the Bow and part of the Ribbon leading from it.

Wrap Ribbon Around


The photographs might be slightly out of order. This because I am trying to show you the best way to do this. I then began to

Line up the Ribbon from Below. I added some Glue then Wrapped the Ribbon around the Wreath and the Bow.