Showing posts with label Sew. Show all posts

Sunday, 8 February 2026

Dying Dilemma 2025 Part 14

Dying Dilemma 2025 Part 14

Although I have some Gold Drops ready I know it won’t be enough but I will start with what I have and go from there.

Space Bead


The first thing I need to do is to decide where to place the Beads. I select a position half way between the two Coins. I then Mark the Space with a Pin.

Sew Teardrop


I Sew the first Teardrop in between the two Coins on the Upper Tier.

Row of Drops


Having Sewn one Teardrop in place I start Sewing them Equal sides until I run out.

How I manage that?


How I Manage that? Somehow I have Sewn the Beads in Place on the Underside of the Skirt. The mind boggles. Obviously I will have to Unpick and Resew on the Correct side.

Double Drop


After Sewing Five on the Upper Tier I did the same on the Lower Tier. I have a few more Beads left that I can make up.

Monday, 5 January 2026

Dying Dilemma 2025 Part 11

Dying Dilemma 2025 Part 11

With the Coins ready I can begin to Sew

Careful of Underskirt


The first thing I need to remember is to be Careful of the Underskirt. I don’t want to Sew the Coin through both as it will limit the ability of it to flow.

Start Sewing


I Sew up through the Bottom of the Trim and out at the Top. I then Sew through the Bottom again. It is basically a Backstitch. I then reinforce with a few more Stitches at the back.

Sewn to Spot


Now I have Sewn the Coin to the Spot I can remove the Pin.

What Happened?


Okay What the hell Happened? The Coin seems to be a couple of Inches out of line of the Toggles. I can only think that somehow when I lifted the Underskirt I must have Pinned it wrong.

Sunday, 21 December 2025

Dying Dilemma 2025 Part 9

Dying Dilemma 2025 Part 9

This Beading is harder than anticipated. In fact it reminded me of Goldilocks and the three Bears.

Too Short


I am looking at what I have done and now I can tell at a glance that it is going to be Too Short to be able to Sew on to the Skirt.

Double Length


Right so this time I have more than Doubled the Length.

Second Go


This time I have removed the Third Bead as I didn’t like the look of it. The Thread is now Too Long. Obviously I could just cut this off after Sewing. However since I am using this as a Guide for all of the other ones I don’t want to waste all this Thread.

Remeasure


Hopefully now I have Remeasured it will be Third time the Charm.

Right Length


Now I have the right Length I can make the rest.

Friday, 20 June 2025

A Twist In The Tail 2025 Part 4

 A Twist In The Tail 2025 Part 4

I am continuing to add Yarn.

New Yarn


With the Super Chunky finished I am having to use other Yarns to continue. I had another Black in stock. This is an Ordinary Chunky.

Grey Wool


I am trying to keep to the same Colour Pallet. I have run out of Light Grey Yarn but I have this Grey Wool. It is heaven for my fingers after all that Acrylic.

Cast off Grey


I have completed 9 Stripes or 3 sets of 3 blocks. I have decided that it is time to Cast off the Grey.

Sew Up Grey


I have Cast Off and am now Sewing up the Bottom.

Friday, 6 December 2024

Mini Pudding Puzzle 2024 Part 4

 Mini Pudding Puzzle 2024 Part 4

Time to tackle the next part.

Pattern Layout


First of all I have to remind myself of the Pattern Layout. I think that I will start with the easier section.

Match Pattern


I need to get everything back in the right place. I therefore am starting at the Centre Point. This is a Hexagon. I will begin with Adding the Hexagon to the Bottom Left and Sew together using a Blanket Stitch.

Middle Done


I have worked around the Centre Point Hexagon and have Sewn all the Adjacent Pieces to Middle.

Added White


Once I had my Basis I could then Add all the extra White Pieces and Sew them in place.

As Pattern


After all the White was Done I began to Add the Brown Pieces and Sew them in Place. If you look at the above photograph you can see it now matches the Kit Pattern.

Bakewell Museum Link

https://www.oldhousemuseum.org.uk/

Saturday, 27 July 2024

Start a Scrunchie 2024 Part 2

 Start a Scrunchie 2024 Part 2

Now I have my Safety Pins I can continue where I left off.

Pin Elastic


I select a Pin and taking one End of the Elastic I secure it. I haven’t Hemmed the Elastic at this point. This is because I am not sure if I have too much and need to Cut some Off.

Pull Through


I Pull Through the the Elastic using the Safety Pin. I have to make sure that the other End of the Elastic doesn’t come through. You cannot see it but the other End of the Tube is Scrunched up.

Hem Elastic


I can now Hem and Sew the Elastic Ends together. Since this can be fiddly use the Safety Pin to hold the Elastic together whilst Sewing.

Sew Width


This can be a bit tricky. I need to Sew the Tube Ends together along the Width. However I need to make sure that I do not sew completely through both sets of Material.

I Sewed little by little making sure that there was a Gap on the other side. When one part was complete I turned over and Sewed the rest.

Completed Scrunchie


I now have a Completed Scrunchie. I think I might have slightly too much Material so will have to take that into consideration next time. Of course the Thread needs to match better. I used this so I could see how I was doing. I could Unpick the Hemming .Thread if I want too at a later date, but I am satisfied for now. Oh and the most important thing is that it does work as I am wearing it now. 

Thursday, 30 May 2024

Tartan Tidy 2023

 Tartan Tidy 2023

 This was a quick off the cuff project.

 Tartan Waistband


Quite some time ago, I had to have a Tartan Skirt altered. I had the Waistband Removed and elastic put in. Being me, I had decided to keep the Waistband in case it came in useful.

 Remove Threads and Open


First, I had to Open up the Waistband and Remove all the loose Threads.

 Pin Tartan


I reversed the Tartan and Pinned in place ready to Sew.

Tartan Blanket


I used my favourite Stitch, Blanket and Sewed up the sides. I stopped Sewing roughly a quarter of the way from the End.

Blanket Buttonhole


I then turned my attention to the Buttonhole End. This area was quite frayed so I had to tidy up before sewing. Time for a break.

Friday, 3 May 2024

Autumn Cape Bag 2022 Part 64

Autumn Cape Bag 2022 Part 64

I finally feel like I am getting to see the light at the end of the Tunnel

Sew Pair


Naturally, all the Pins came out of the Leaves so I had to sort them all out again. Starting at one End I began to Sew a Pair of Leaves together. I did this by Partially Overlapping. I then Sewed with Yellow Wool down the Inner Edge of the Yellow Leaf.

All Sewn


As you can imagine it has taken quite a while to Sew All of the leaves together. I kept having to Swap Coloured Wool.

Curled Top


One of the main problems with Stocking Stitch is it tends to Curl. I am going to have to do something with the Top of the Pocket. It not only looks bad but also is slightly obscuring the Rat’s Ears.

Fold and Sew


I have Folded and Sewn the Top with a Backstitch. I am going to go across again with a Tacking Stitch to bring it together more.

Press Stud Pocket


I have a small collection of Press Studs. I selected the best size and Sewed them on to the Pocket. I put three on so as to spread the wear on the Top when Opening.

Friday, 1 March 2024

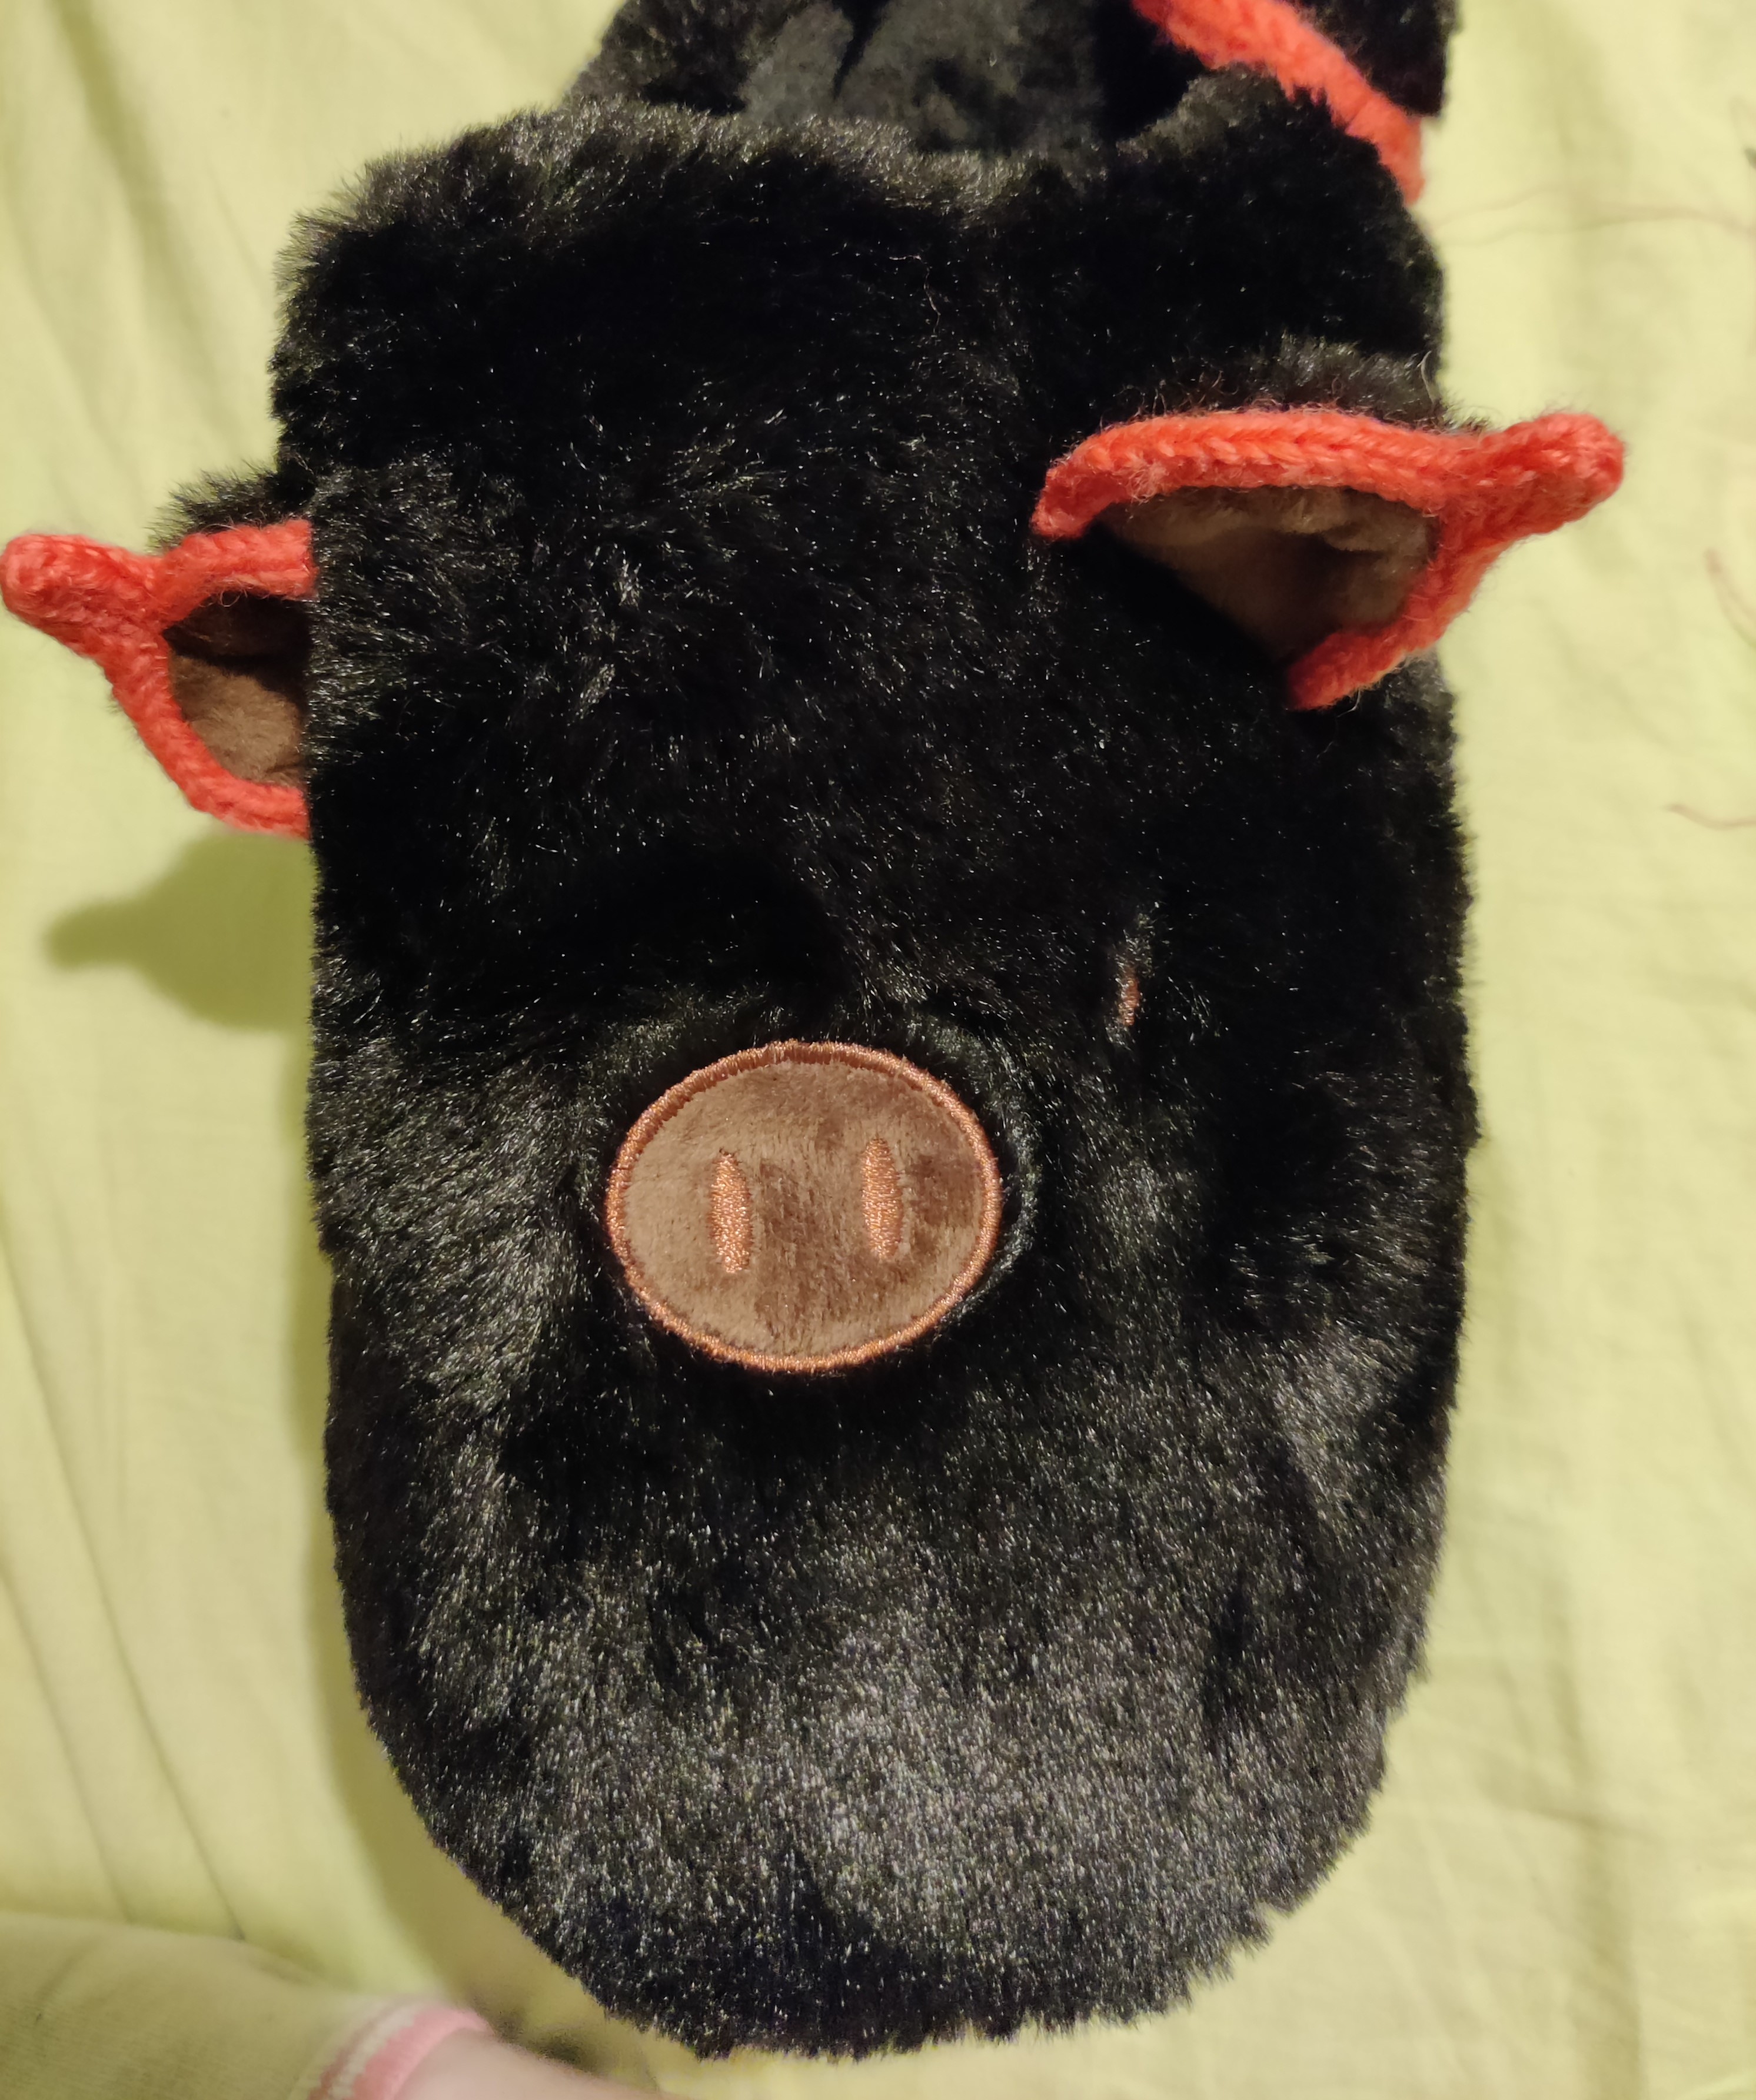
Pig-Mailing On 2023 Part 4

Pig-Mailing On 2023 Part 4

Now I have got my I-Cords sorted I can move on to the Ears.

Ear We Go


I Sewed One End of the Cord to the Inside of the Ear. I carried on Sewing for about a Fingers Width.

Round Ears


I attached the other End of the Cord to the Outside of the Ear and Sewed for the same amount.

Pinch, Sew Together


I carefully carried on Sewing up both Sides until there was only a relatively small Loop left. I then Pinched the Loop together. I proceeded to Sew across.

Made a Pigs Ear


I repeated this process with the other Ear. This was much better at least they looked more Piggish. I then had to do the same with the other Slipper.

By Pinching and Sewing together I had not only made the Ears more Pointy but had also created Depth. This made the Ears more realistic.

Piggy Perfect


One final touch was to add some Googly Eyes. Pigs Eyes seem very small so I found some tiny ones. I Glued them on Top with some Fabric Glue.

Voila! Piggy Perfect. I hope he likes them.

Friday, 23 February 2024

Pig-Mailing On 2023 Part 3

 Pig-Mailing On 2023 Part 3

Now I have finished the Back I can move on.

Start at the Front


The main part of the Slippers is obviously the Front. I wasn’t happy about the lack of Pigness. Therefore I needed to improve the look. The thing that was irritating me the most was the Ears.

The Ears were completely the Wrong Shape. Since when did Pigs have round Ears? These looked more like a Hippopotamus than a Pig.

2.75mm Needle


I again decided upon using an I-Cord. This would echo the effect of the Back. I therefore found a smaller pair of 2.75mm Needles to use.

Too Big


 Even though I had dropped several Sizes when I came to make the Cords I found that they were Too Big for my purpose. Therefore I had to start again.

I found a pair of Needles that 2.5mm. Though still slightly larger than I would have like they would do as I didn’t have any smaller.

Sew I-Cord Ends


I finally finished the I-Cords and Sewed in the Ends.

4 I-Cords


This time I needed 4 Cords. I realised after I put them on I hadn’t measured them. At a rough guess I would say they were all 3 Thumb Lengths Long.

Friday, 1 December 2023

Autumn Cape Bag 2022 Part 46

Autumn Cape Bag 2022 Part 46

Another quick blog. On to the Toggles.

Marking Pins


The Side I am working on is the Strengthener attached to the Main Bag. I thought it best to do this Side first as it will not move. Before I start Marking out I Pin, the two ends.

Confident that it is now Secured I move the Hem so I can see the Loops. Next, I Mark with a Pin in the Hem.

Either Side


I am using some scrap Wool to Sew the Toggles into place. I am Sewing Either Side of the Pin to ensure that the Toggle does not slip.
Toggle and Loop


I have now Sewn all four Toggles in place. I have put the Loops around them. The Bag will slightly give a little but that is to be expected. I have to confess that I am not entirely sure whether I should have done the Toggles Horizontal or Vertical. If needs be I can always change later.