Showing posts with label Curve. Show all posts

Saturday, 17 February 2024

Pig-Mailing On 2023 Part 2

 Pig-Mailing On 2023 Part 2

This is more fun. Creating the Tails.

Pin Tail on Slippers


I have Sewn the I-Cords into a Loop. They are big enough for me to put my Finger through. I Have Sewn them in Opposite Directions as they are going to Curve different ways. I then Pin them on to the Slippers at the Back using the Rear Seam as a Guide. 

Tail Curl


I Sewed the first Curl on the Seam. I didn’t Sew it all the way up as I wanted slight movability at the Top. I then Sewed about a Fingers Length of the Cord to the Right.

I then began to Curl the I-Cord into another Loop. I Pinned in Place then Sewed all the way around. Once Again I left some Cord Unsewn at the Top.

Three Little Curls


I Repeated this process until I had Three Little Curls in my Piggy Tail. I then Sewed along for another Finger Length before starting to Curve the Cord Upwards.

All Curled Round


Now apart from making the Tail to increase Piggyness I had an alternative motive for this Tail. The Size of the Slippers are actually a couple of Sizes too large for my boyfriend.

I am going to put some insoles into them but still thought they would be a bit too big. Therefore I am going to use the Tails as Straps. I Curve the Strap over the Ankle area in a Circle. Then I Weave the Cord through the Loops.

Pair of Curly Tails.


I now have a couple of Pigtail Slippers.

Friday, 21 July 2023

Autumn Cape Bag 2022 Part 27

 Autumn Cape Bag 2022 Part 27

I cannot believe that it is Part 27 of this blog. I thought that this must have been getting near how many I had done for the Cape. However, after a quick count up I found that I had done at least 57 blogs on that project. Feeling a little better now.

Brown Odds


Time to find out all those Odd bits of Brown Wool. Going to use them for Stitching the Strap together.

Needle Pinned


Had a super idea. Rather than get more Pins out I have used the Knitting Needle still attached to the bag to hold the Strap together.

 Sew to Curve


I am going to Sew to the Curve using my favourite Blanket Stitch to pull the Edges together.it

Attach at Curve


I have reached the Curve now to Attach.

Cat-astrophe


Damn it! Knew things were going to well. I had taken the Bag outside to Sew. I was doing fine until one of our local cats decided to come and have a nose.

While shooing it gently away I had not realised that Strap had become Twisted. I only realised after I had pressed it. Now I have two choices. Either Unpick or Cover up.

Thursday, 6 October 2022

Time to throw in the T-owl 2022 Part 3

 Time to throw in the T-owl 2022 Part 3

Time to move on to the real thing. I apologise for the pure quality of the photographs.  I may have changed the order to make it easier to follow

Draw Circle


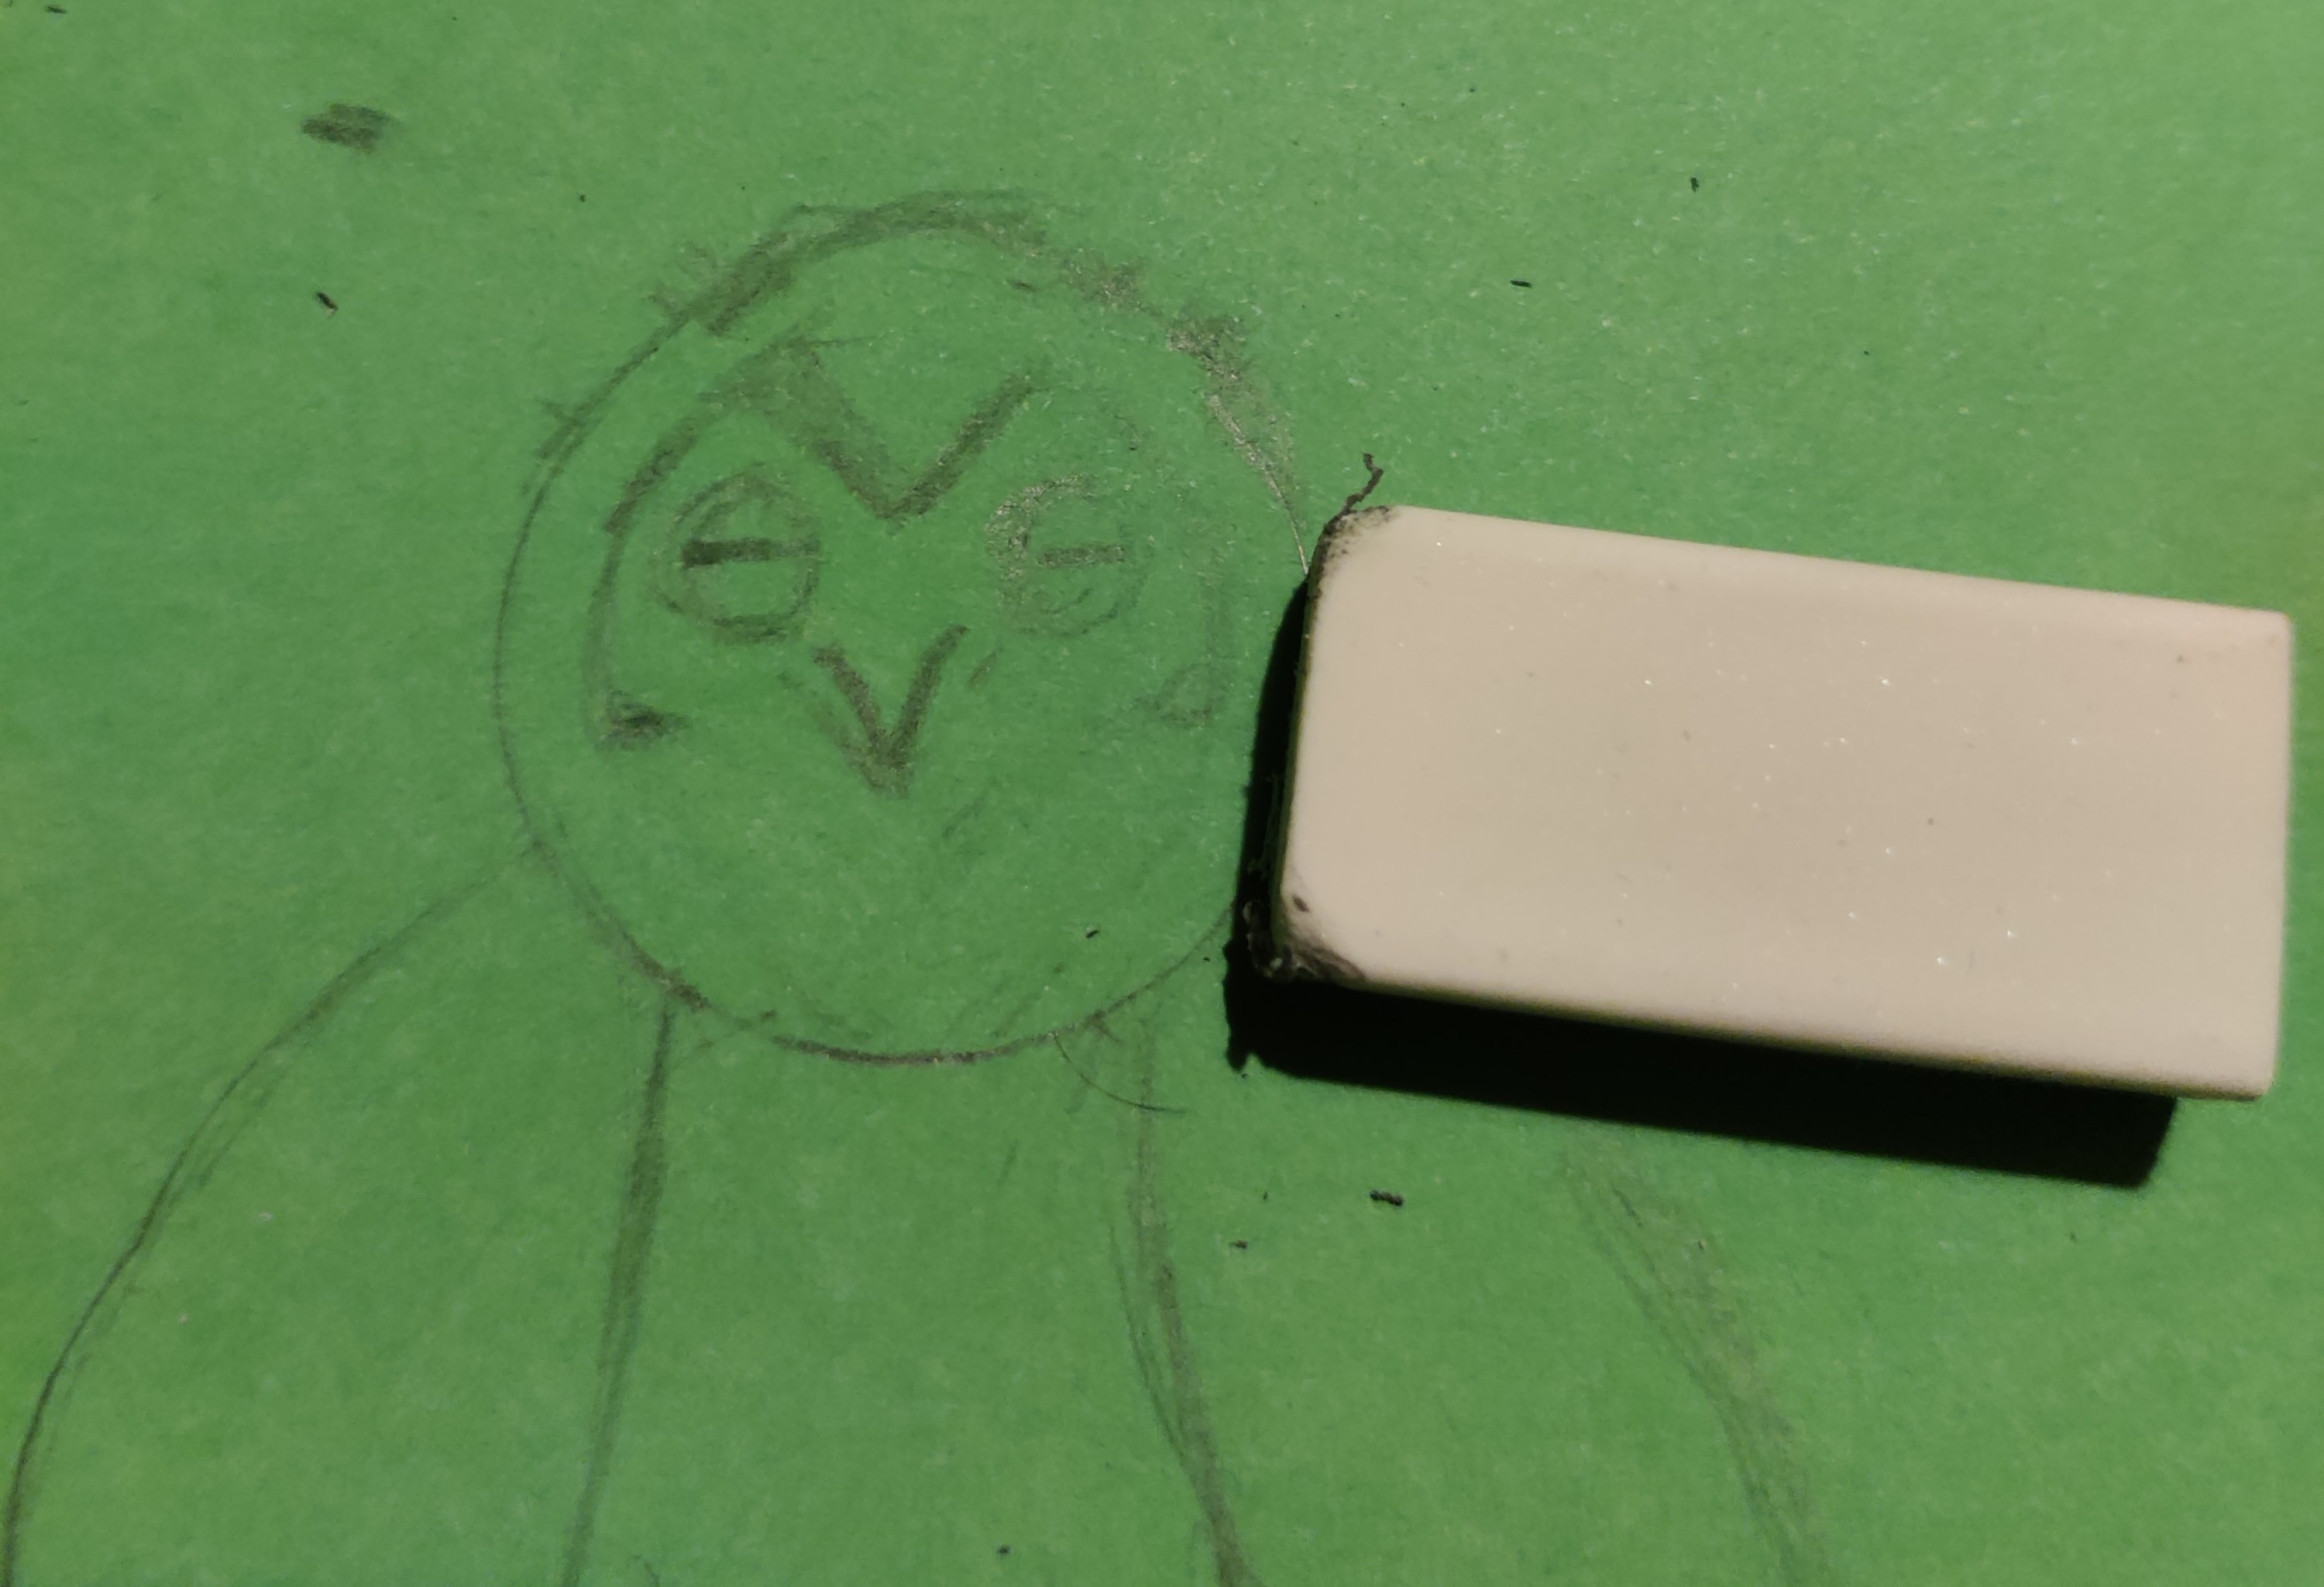
I had a hard time choosing what colour Card to use as my Friend dislikes certain colours. Naturally those were the colours I had in stock. Finally I found some Green Card. I Drew a Circle using the Outside of the roll of Tape.

Draw Inner Circle


I used the Inside of the Tape to Draw the Inner Circle.

Rub Out Excess


I Rubbed out the Excess lines before I moved on. I am going to use the Eraser a great deal I think.

Adjust Face


Some photos didn’t come out at all so I have had to mess around with the order. I had drawn the Face but now I needed to Adjust it.

Tape Curve


To make the Wings I used the Tape as to make sure that I had the same kind of Curve. This is was easier said than done trying to place it in the right position.

Adjust Talons


I need to make better Talons. I decided the best way was to Draw seed like ones on the ends of the legs. Then I could add the Sharp parts.


Pencil Outline Complete


I have finally got the Pencil Outline that I want. I haven’t added all the Feathers for a reason. I will discuss this in the next blog.

Thursday, 27 January 2022

Chaise Longue Chat 2021 Refurbishment Part 3

 Chaise Longue Chat 2021 Refurbishment Part 3

With two parts done I am moving on to the Front and Curve. I have to admit that the Front part was fine. However the Curve both Sides was a complete pig of a job. This is how I did it minus the cursing.

Glue Front


The Front Flat part was quite simple. I first applied plenty of Glue. This was not only to the Flat part but over the Curved Edges as well.

Cover Front


I Cut a large piece of material roughly shaped and fitted it on to the Flat part. I then smoothed it onto the Edged areas. The rest of the Edge will be Covered whilst doing the Curved area.

Piece for Curve


I was not happy with the first Piece I cut. Not only did it have a Mark right where you can see it but also it didn’t fit as far across as I wanted.

Rather than waste the material I put it aside to use at a later date. If you look at the photograph above you will see that this is before I had Covered the Backboard

Hem Curve


After Cutting another Piece which was not only Wider but also more than twice as Long I put it in position. This is so I could see what parts need to be Hemmed. Before I Glued it into position I Covered the Plastic Part with material knowing that this Piece would cover the rough parts.

Glue Curve


I could now Glue the Curved Piece into Place. Once done I Tucked the Bottom Part in with the Base.

Side Section Covered


Originally I was going to Cover this in 2 Parts. I was going to have the material go over the Curve and Finish after it Flattened. Then I was going to add a Second Piece down the Side.

Since I had to Recut the material I decided to make it Full Length. I Glued the material on the Curved part and left to dry. I then Glued the lower part. To give extra security I part Sewed it to the Edge.

I must admit I was very pleased how this section turned out.

Thursday, 20 January 2022

Chaise Longue Chat 2021 Refurbishment Part 2

Chaise Longue Chat 2021 Refurbishment Part 2

Apologies having problems with the text this week for some reason.

I was happy with the Base so now it was time to move on to the next part which is the Backboard.

Piece for Backboard


The Backboard is a little awkward to do as it is all curves. I have decided to make it easier to go over the Plastic part.

Hem Back Piece


I cut out the Material that I needed for the main section and Hemmed the Edges. Unfortunately the Backboard is a funny shape when it meets the Curve so I will have to patch that part.

Glue Back


I spread the Glue all over the Backboard including the parts where the Buttons were.

Glue Top


To make sure that it would stick correctly I put plenty of Glue on the Top Plastic

Back Material


I also Glued the Material over the Back so it wouldn’t flap around.

Trim Excess


I then Trimmed off any excess. As you can see in the above photograph there is still Plastic visible where it meets the Curvature.

Thursday, 13 January 2022

Chaise Longue Chat 2021 Refurbishment Part 1

 Chaise Longue Chat 2021 Refurbishment Part 1

This is a big job and I am really going to be working it out as I go along. Therefore in the interest of making this comprehensible I shall be tweaking this rather long blog.

Unpick Tabs


Before I could do anything I needed the Material. I had some left from the Boxes. This if you might remember was a pair of Curtains. To maximise the amount of Material that I had to use I first Unpicked the Tabs from the Top.

Size Chaise Base


Next I had to Size the amount of Material required. I wasn’t sure whether to use the Width or the Length of the Material. If I remember correctly I managed to use the Material Width-wise.

Cut to Size


I Sized up the Material. I was using where possible the Original Hems to save time and energy. I had to remember to leave enough Material to go over the Lip of the Base

Cut Base Back


In order to make the Material go around the Base Back I had to Snip it just after the Edge.

Sew Back Base Edge


I didn’t want the Material to Fray so I Sewed the Edge with a Blanket Stitch.

Hem Base Back


Now I had the Edge secure I could continue. The Material at the Back had been from the Top of the Curtains where I had taken out the Tabs. Therefore I had to Rehem that Section before I could continue around the Back Curve and Base End.

Glue Base End


With all the Back of the Material done I could now Glue the Base End and Stick the Material to it and leave it to dry.

Fit Opposite End


In addition to the Base End I had also Glued the Material around the Base Back so the Material could be gently Pulled and Stretched.

I Smoothed out the Material and Tucked the Back Section in between the Base and the Backboard nearly to the End. I could then gauge exactly how much Material was needed to be Hemmed.

Scrub out Glue


Now I had all my measurements and finished Hemming I could do the main Gluing of the Base Top. I pulled back all the Material and bit by bit Glued, Smoothed and Tucked it into place including the Front Edge.

Unfortunately I put too much Glue in one Section so I had to give it a Scrub.

Thursday, 30 September 2021

All Steam Ahead 2021 – Mad Hatter Preparations Part 4

 All Steam Ahead 2021 – Mad Hatter Preparations Part 4

An easy blog this week if a bit wordy.

Add Glue


If you remember I said previously that when putting on the base layer a lot of Glue residue had come through. I have managed to cover most of it with the Cogs.

However there was still a considerable amount on the Brim. Therefore I am going to cover it with Ribbon. So I added Glue to the Brim bit by bit.

Cut and Curve


Adding the Ribbon was not as simple as it seems. Straight Lines have a tendency not to like going around Curves. The part of the Ribbon on top of the Brim was Fine but I have to Cut and Curve the Underneath bit by bit.

Add Badge


Now I do have to confess that I did not make the Badge. I’m not that clever! It was something that I got off my friend Laura.

I wanted to change the Shape of the Hat which isn’t an easy thing to do without making a mess of it. I wanted it to look more like a Ladies Riding Hat of Yesteryear. I had the idea of Sewing the Brim to one Side (after Laura had talked me out of both sides saying Steampunk is not symmetrical).

I bent up the Brim, held it and put through a few tacking stitches to hold it in place. I then positioned the Badge and Sewed that in Place. A little bit of Trimming on the Ribbon and it was all done.