Showing posts with label Card. Show all posts

Sunday, 5 October 2025

Puffin Pictures 2025 Part 1

 Puffin Pictures 2025 Part 1

Our local Art Shop is closing down due to the gentleman retiring. Let’s put it this way. I bought Fishing Nets from him 40 years ago. Therefore I decided to take advantage of his retirement sale.

Puffin Engraving Art


I have bought an Engraving Art Kit. This is for ages 8 and above for which I definitely qualify. If you ever wonder why I bother blogging Kits it’s so folks have a chance to see what it is going to be like before buying.

Engrave Instructions


The instructions for how to do the Kit are on the back. Needless to say that I have my own way of doing it.

Get a Tray


First of all you will need a Supporting Surface so the Card doesn’t Bend. A Table is best but if like me you don’t have one get a Tray.

Test Piece


Before you start on the Picture it is best to have a go at the Test Piece. They provide you with this so you can try out the Scraper Pen. You will be using both the Sides as well as the Point. I wrote my name using these techniques.

Board


Now you are ready to have a go at the Board. Incidentally this can get a bit messy so a Clothe or Duster is good to have on hand.


Thursday, 7 November 2024

Fan Folly 2024 Part 6

 Fan Folly 2024 Part 6

The Glue has dried and the Card has stuck together nicely. Now for a spot of Decoration

Add Lace


I sorted through my collection of Lace and found some Red Lace roughly an Inch Wide. I started to Add it to the Fan. This wasn’t easy for a couple of reasons. One is because the Fan has Curved Edges. 

Another is in order to get it Equal Lengths both Sides I am having to work from the Back. I place the Lace Under the part of the Fan to Decorated. I then add a small bit of Glue then Fold the Material on top.

Lace Pinned


The Further along I got trying to add the Lace the more difficult it became. I decided to add Pins to fix the Lace in place whilst it dried. I left the extra material around the two Corners Unglued 

Finished Fan


Once one Side of the Fan had Lace Stuck I turned it over and did the same with the opposite Side. Once both Sides were Stuck down I could move on to the Corners.

I Folded the excess Material over and stuck it down with Glue. I had to wait until Two Corners were sorted before I could turn over and repeat on the other side.

The Finished Fan isn’t as neat as I would like but it is Functional and my my mum loved it. At the end of the day I can only do what I can with the resources I have laid around.  I think for my next project I will do something from a Kit to make life a bit easier.

Sunday, 27 October 2024

Fan Folly 2024 Part 4

 Fan Folly 2024 Part 4

After the debacle of the first attempt at a Fan I had to have a complete rethink.

Pile of Card


I usually have some Card tucked away for making Templates. Unfortunately I was completely out so I was chuffed when a parcel arrived that I could rip up into a Pile to look through.

Selected Pieces


I made a bit of a muck up when tearing the Box so was a bit fortunate to be able to Select Two Pieces that I could use.

Pencil Around


I am not having a good day. Every Bowl I tried was too small. Therefore I was forced to use one of the bigger ones what had Handles. This made it difficult to Pencil Around.

Cut to Shape


I Cut it to Shape. In the above photograph you can see that it is not a straight curve due to the Handles.

Match Up


I placed the one I had Cut out and Matched it Up on the other Card so I could Draw around and Cut.

Thursday, 13 October 2022

Time to throw in the T-owl 2022 Part 4

 Time to throw in the T-owl 2022 Part 4

The reason that I did not fill in all the Feather details is in two parts. First I only want a Template at present. Second I want to cut out some Card and add Colour to the Owl.

Heavy Pencil


Using a Pencil I went over the Outline of the Owl. The idea was to imprint the Template onto the Inside so I could use that for the Inner Drawing.

Black Marker


To my Horror I found the Imprint had not come through even after several tries. I thought perhaps using a Black Marker would work.

No it didn’t. Therefore my whole idea has been thrown out. I am going to have to have a complete rethink.

One Eye


I had spent so much time trying to get the Template to come through I now was running out of time. My friend would be here to pick me up in the morning and it was now coming up to midnight.

I therefore decided to cut my losses. Instead of doing the Card Feathers I was going to have to Draw them on. This meant that the Card would be quite bland to my mind. I hit upon the idea of adding a Googly Eye

UB40


This sparked a spot of inspiration. I added an Inner Sheet of Green Paper and glued it down. I quickly wrote a message on to the Paper. You are 40 Today. I filled in all the Letter O’s with the Black Marker. This would form the base.

Eye-Eye


I then selected various sizes and added 3 Googly Eyes. I added my personal message on the opposite page.

My friend arrived and I gave her the Card and she loved it. I then explained what it should have been along with the Rough Sketches,

She quite understood. It goes to show that True Friends will accept stuff that isn’t perfect because they recognise the effort that it put in. That is the Real Birthday Gift!

Thursday, 6 October 2022

Time to throw in the T-owl 2022 Part 3

 Time to throw in the T-owl 2022 Part 3

Time to move on to the real thing. I apologise for the pure quality of the photographs.  I may have changed the order to make it easier to follow

Draw Circle


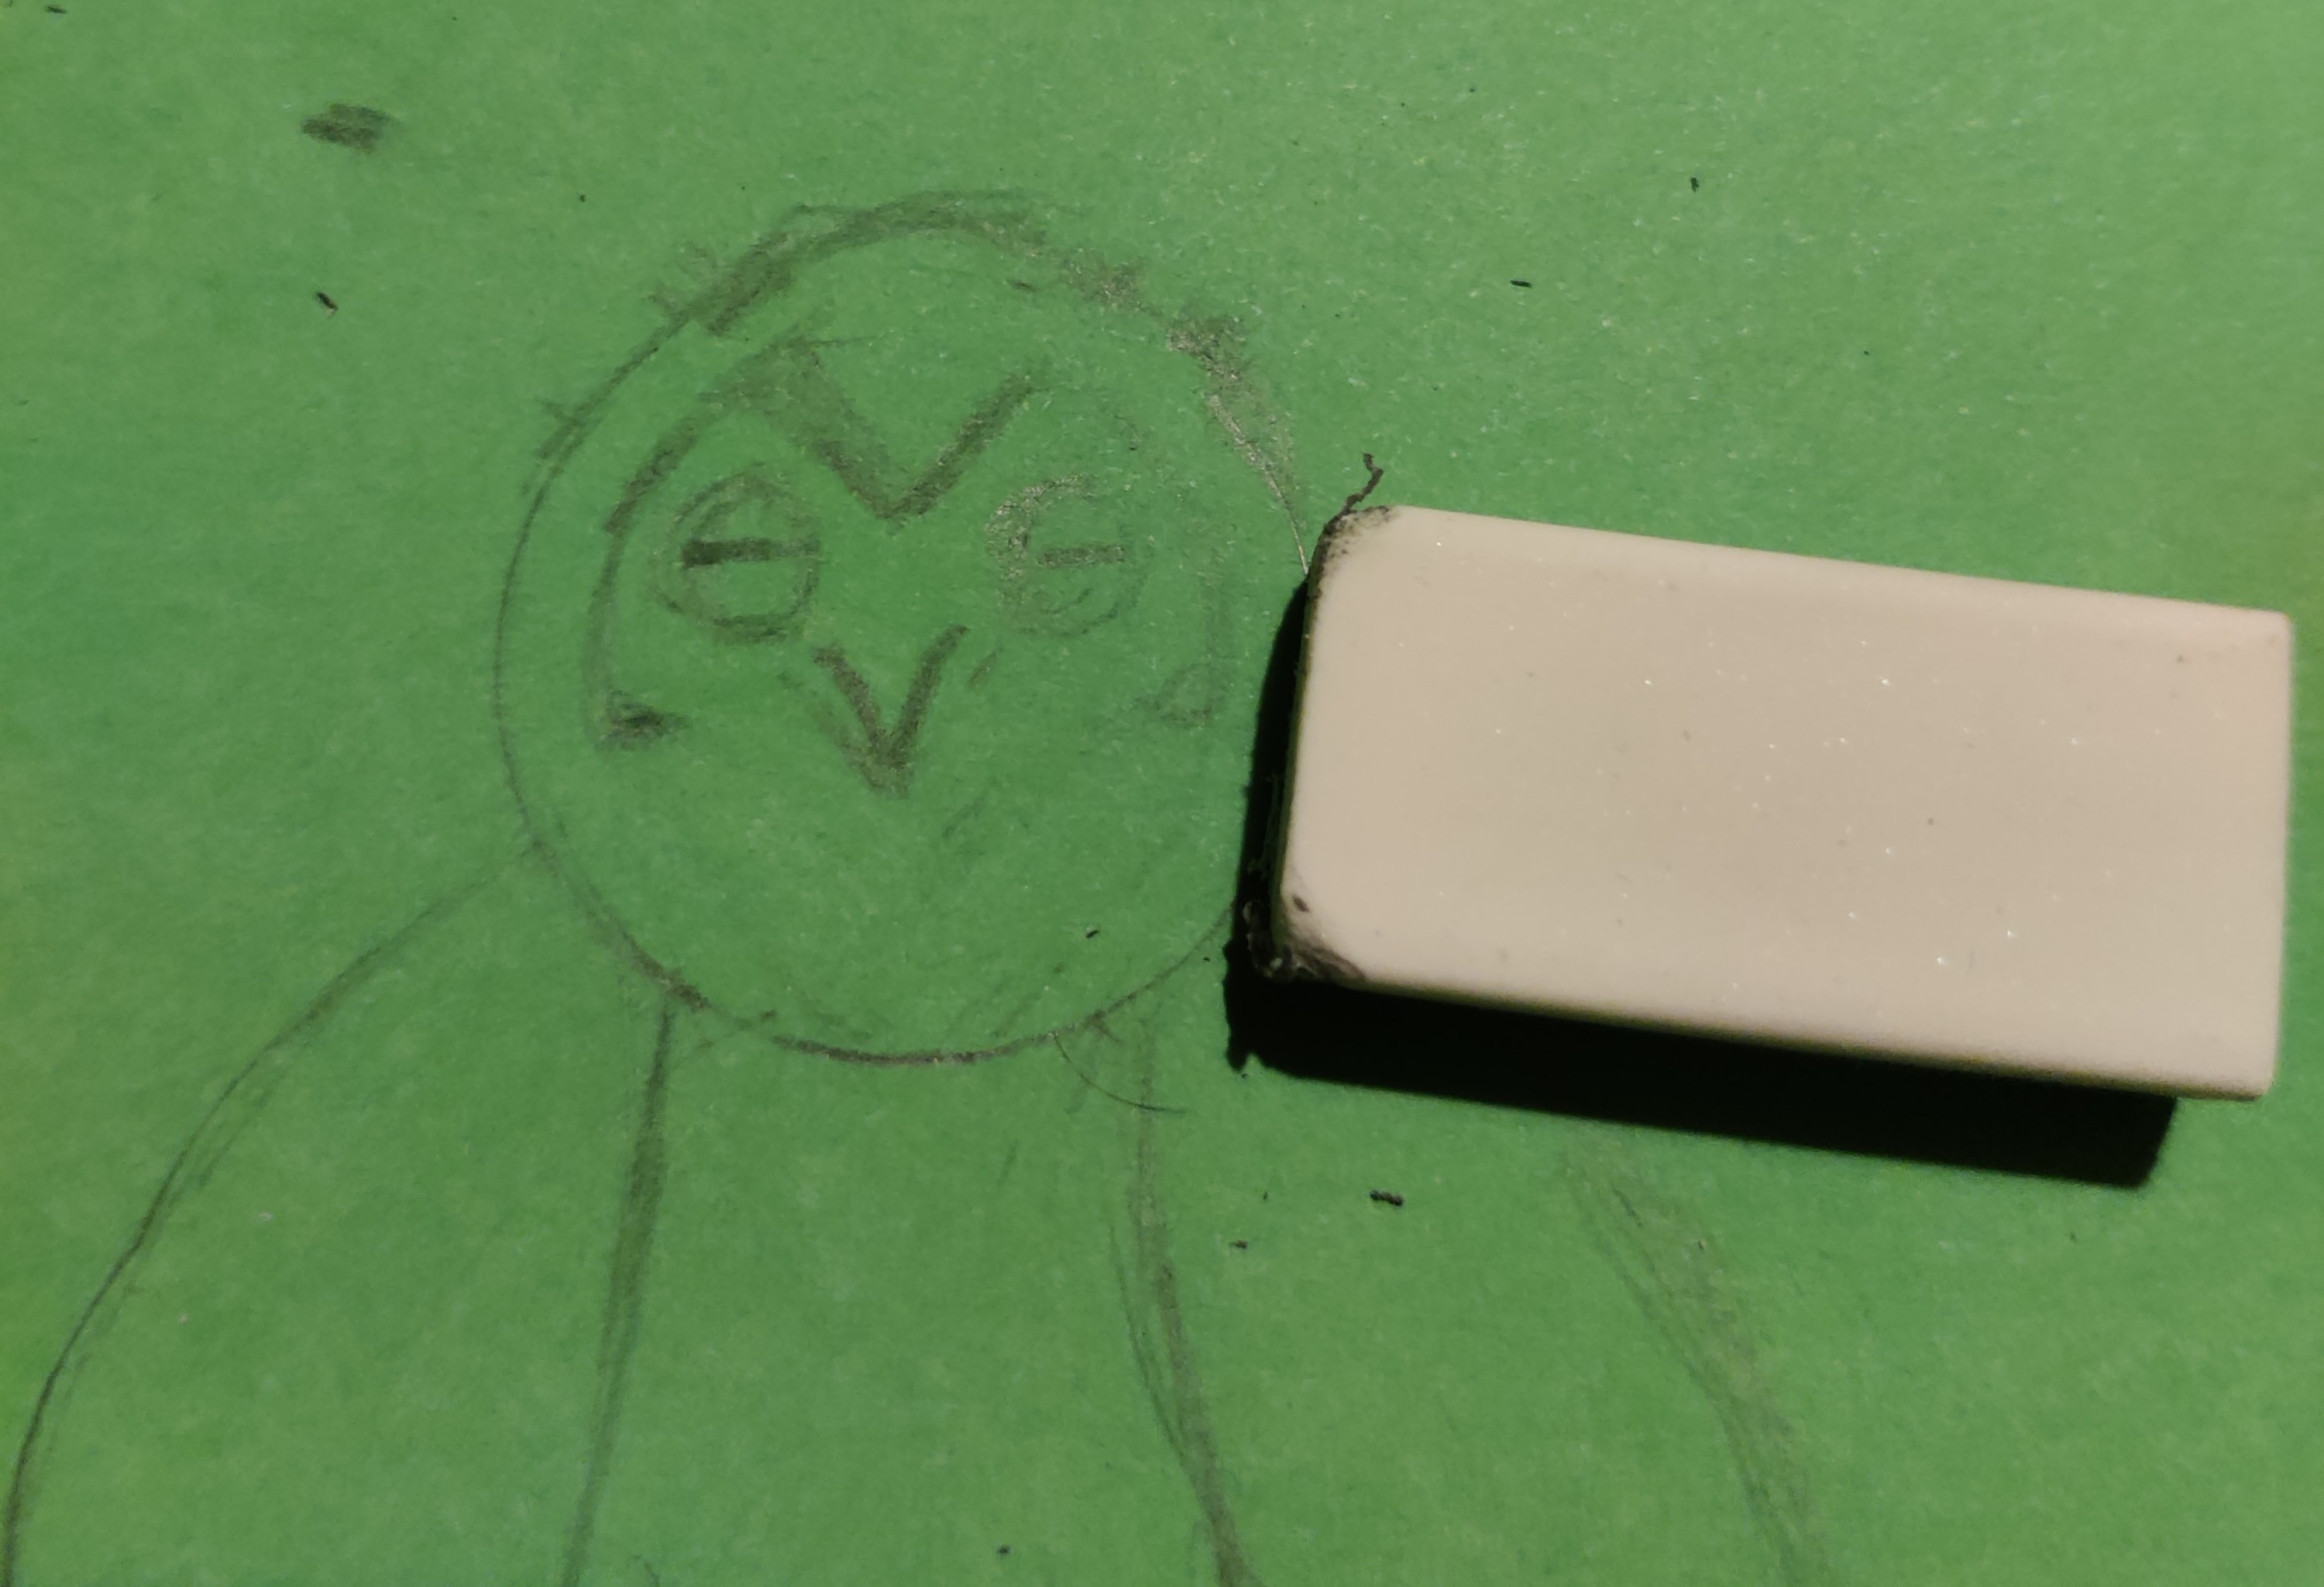
I had a hard time choosing what colour Card to use as my Friend dislikes certain colours. Naturally those were the colours I had in stock. Finally I found some Green Card. I Drew a Circle using the Outside of the roll of Tape.

Draw Inner Circle


I used the Inside of the Tape to Draw the Inner Circle.

Rub Out Excess


I Rubbed out the Excess lines before I moved on. I am going to use the Eraser a great deal I think.

Adjust Face


Some photos didn’t come out at all so I have had to mess around with the order. I had drawn the Face but now I needed to Adjust it.

Tape Curve


To make the Wings I used the Tape as to make sure that I had the same kind of Curve. This is was easier said than done trying to place it in the right position.

Adjust Talons


I need to make better Talons. I decided the best way was to Draw seed like ones on the ends of the legs. Then I could add the Sharp parts.


Pencil Outline Complete


I have finally got the Pencil Outline that I want. I haven’t added all the Feathers for a reason. I will discuss this in the next blog.

Friday, 8 April 2022

The Problem with Pom-Poms– 2022 Solution is Snow Joke

 The Problem with Pom-Poms– 2022 Solution is Snow Joke

I hate Waste. So here is a Novel idea I came up with how to deal with the Problem the Pom-Pom had caused.

Spare Pom-Poms


I had the Large and the Medium Sized Pom-Poms left. You can see what I meant about the Original one being so rough and uneven. So what could I do with them?

Sew Pom-Poms Together


As I was holding them both in my hand I had an inspiration. By putting one on top of the other I could make the base of a Snowman. Fortunately the Tails were still attached so I simply Sewed them together.

Add Stick


Rummaging around in my Craft Cupboard I found a Stick. It was intended for a different project but it was so ideal I decided to use it now. I simply slipped the Stick through the Centre of the Lower Pom-Pom

Nose Job


For the Nose I took a Medium Sized Toggle and Coloured it with a Black Permanent Marker. I got some Superglue and spread on one End. Then I pushed it firmly into the Centre of the Head.

Snowman Complete


To complete the Snowman I Glued on some Googly Eyes. The added a Ribbon off an old wooden tobacco box I had been given. I love Boxes! The last thing I made was the Hat.

I cut a Circle out of Black Card. Next I took a strip of Card and Rolled it to make a Tube. I Cut a Smaller Circle the same size as the Tube and Stuck it on Top. Then all I had to do was to Glue the other End onto the Large Circle. Finally I Stuck the Hat onto the Snowman.

Pieces of Pom-Pom 


The Snowman might now be finished but I was still left with a huge pile of Yarn Trimmings from my desperate attempts to get the Original Pom-Pom down to size. I also had dozens of Tail Ends from making the Hat and Scarf. Not to mention the stray pieces of Yarn that had simply fallen out the Pom-Poms.

12 Owls


I hadn’t found a Christmas Card that I liked for my friend and with another jolt of inspiration I came up with this. The 12 Owls of Christmas cut out and Stuck on a Pleather Tree. I used the Trimmings as Snow.

Bah-Humbug


The Card I made for Danny was a nod to his Nott’s County Hat and Scarf Set. Also we had not long watched ‘The Muppet’s Christmas Carol’. Therefore by carefully Gluing Strips of Yarn onto the Card I created a pile of Humbug’s.

It was an extremely fiddly job and the Yarn came off almost as much as it went on to the Card. In the end it was worth it to see his face.

Incidentally ‘What is Scrooge’s favourite Hat?

It’s a ‘Humburg’ of course!

Thursday, 3 October 2019

Autumn Equinox Invocation 2019 Part 2

Autumn Equinox Invocation 2019 Part 2

Now that I had finished completing the Scales I could move on to the next item I need to make.

Ostrich Plume Drawn


The Goddess Maat was often depicted with a Feather. The Feather that she had was that of the Ostrich. Therefore I wanted to add an Ostrich Feather to my Ritual.

Since I do not exactly keep a stock of Ostrich Feathers handy I decided to draw one. The Feather depicted in Egyptian Murals is curved. I tried to capture this when I drew it on the Green Card. I used a Pencil to draw on the Card as I am not much of an artist.

Ostrich Plume Feathered


Once I had drawn the Feather and Cut it out I made small snips in the Card around the Plume and ruffled the edges. This was to give it a more realistic appearance.

The reason why I chose to use Green Card rather than an Ostrich Feather colour was simple. In ancient Egypt the Feather became associated with ‘Truth’. So when in court the Chief Priest (The Judge) and the other Priests drew the Ostrich Feather in Green on their tongues. This indicated that they were speaking the Truth.

Lolly Cut and Shaped


Now the Feather was completed I moved onto the next part. I took two Lolly Sticks. One of them I simply cut off the ends. The other Stick I trimmed to a point.

I have to confess that making the point was a real pain. The wood kept splintering and it took me a good half hour to get both sides even.

Sword


When I had my two pieces as I wanted them I bound them together with some Thread. The Sword was often used in Ancient Times as an emblem of Authority


Thursday, 26 September 2019

Autumn Equinox Invocation 2019 Part 1


Autumn Equinox Invocation 2019 Part 1

This is going to be an unusual Blog. It is Monday 23rd September 2019 the Autumn Equinox. I am going to perform an Invocation Ritual.

I am Invoking The Egyptian Goddess Maat. She is the Goddess of Truth and Balance. She is the Primary Deity that deals with Justice.

Selection of Tools


In order to do the Invocation I need several objects that are connected with the Goddess Maat and Justice. Since I do not have them to hand I will have to make them.

Slice the Cork


One object that is synonymous with Justice is that of Scales. In Egyptian Mythology in order to pass on to the afterlife a person’s Heart was placed on one side of the Scales and a Feather on the other. If the Heart was heavier than the Feather then there would be no admittance.

In order to make the Scales I first need a base. This was done by making a small slit in a Cork then carefully slicing it in half Lengthways.


Lolly in Cork


After making the Base I put another slit in the Cork then tease the Lolly Stick into the Base.

Horizontal Lolly in Slit


Now I have the Vertical Stick in place I make a small slit at the Top. I then slide the Horizontal Stick into place.

Green Circles


To make the Dishes I cut out a pair of Green Circles. Although I won’t be putting anything heavy on them like a Heart I decide to make them out of Card to make them stronger.

Sew Circle


With Needle and Thread I sew a Loop on to the Card. Being a little clumsy I inadvertently added a Blood Offering.

Sew Crosswise


I next added another Loop. I have also Folded the Edge of the Card all the way around. This is too make it more Dish Shaped.

Finished Scales


Finally I add the Loops onto the Horizontal Bar. It took a while for me to get them to Balance even with them empty.

I could now start making the other items for the Ritual.