Showing posts with label Sewed. Show all posts

Monday, 20 July 2026

Dying Dilemma Additional 2026 Part 2

Dying Dilemma Additional 2026 Part 2

A short and sweet blog this week.

Thread Gold Coin


First I remove the Broken Thread from the Coin. I then put the Coin on new Thread

Three Gold Beads


I managed to find another Bead of the same size as the other two. I think these Beads are larger than the Original ones but I don’t think it will be noticed at a distance.

Reattach Coin


With the Long Thread I Sewed the Beads and Coin into place. You wouldn’t have known that they were ever missing.

Monday, 17 March 2025

Hereby Hangs A Tail 2025 Part 2

 Hereby Hangs A Tail 2025 Part 2

Now I have my Cord I can continue with my idea.

Attach End


I Attach one End of the Cored to the Bag. This is a good Thumbs Width from the Bottom Edge.

Attach Cloth


I have made a Hemmed Rectangle of Black Cloth. I am Attaching it to the Back of the Bag. I Sewed all along it.

Attach Other End


With the Black Cloth in place I Attach the other End of the Cord. I make sure that it is Secured so the Cloth will hide it when Folded.

Finished Cat


I have Sewed the Folded Material and now you cannot really tell that it was ever damaged. Also I can now hang this by its Tail.


Friday, 20 October 2023

Autumn Cape Bag 2022 Part 40

Autumn Cape Bag 2022 Part 40

I really feel like I have finally turned a corner and the Bag is coming into its own.

I-Cords


I had a couple of I-Cords left over and rather than Unpick them I had hung on to them. Now I can put them to use.

Sew on Cords


I Sewed the I-Cords approximately an Inch in from the Edge.

Lip Folded


I Folded the Lip of the Flap Over and Secured the I-Cords by Sewing across. Roughly, a centimetre either side. Then I Sewed all the way from one side to another.

Toggles Completed.


I had Two Large Toggles which I Sewed approximately a third of the way down the Bag. This is so there is a little give in the Flap for when the Bag has things inside it.

Thursday, 6 July 2023

Autumn Cape Bag 2022 Part 25

Autumn Cape Bag 2022 Part 25

Still struggling with jaw problems but have managed to do some Sewing

Move Down


Nearly forgot to Move Down the Backing before I Pinned it. Luckily, I remembered just in time. I Sewed the Backing all the way around.

New Stretch


I now need to Lengthen the Backing. I do not think that this New Stretch will be long enough so will have to do it in Sections.

 Sew Sections


That is the first two Sections Sewn together.

A bit Wonky


The other End that I have done has turned out a little Bit Wonky. I am hoping that it is just because I have not Washed it yet. Normally I would do that first.

Machine Wash


Okay I have now Washed and Pressed the End. I had other greens to do so put them all in the Machine to Wash. It appears that Machine Washing makes it far more likely to Fray than when I do it by hand. Something to remember for the future.

Thursday, 27 January 2022

Chaise Longue Chat 2021 Refurbishment Part 3

 Chaise Longue Chat 2021 Refurbishment Part 3

With two parts done I am moving on to the Front and Curve. I have to admit that the Front part was fine. However the Curve both Sides was a complete pig of a job. This is how I did it minus the cursing.

Glue Front


The Front Flat part was quite simple. I first applied plenty of Glue. This was not only to the Flat part but over the Curved Edges as well.

Cover Front


I Cut a large piece of material roughly shaped and fitted it on to the Flat part. I then smoothed it onto the Edged areas. The rest of the Edge will be Covered whilst doing the Curved area.

Piece for Curve


I was not happy with the first Piece I cut. Not only did it have a Mark right where you can see it but also it didn’t fit as far across as I wanted.

Rather than waste the material I put it aside to use at a later date. If you look at the photograph above you will see that this is before I had Covered the Backboard

Hem Curve


After Cutting another Piece which was not only Wider but also more than twice as Long I put it in position. This is so I could see what parts need to be Hemmed. Before I Glued it into position I Covered the Plastic Part with material knowing that this Piece would cover the rough parts.

Glue Curve


I could now Glue the Curved Piece into Place. Once done I Tucked the Bottom Part in with the Base.

Side Section Covered


Originally I was going to Cover this in 2 Parts. I was going to have the material go over the Curve and Finish after it Flattened. Then I was going to add a Second Piece down the Side.

Since I had to Recut the material I decided to make it Full Length. I Glued the material on the Curved part and left to dry. I then Glued the lower part. To give extra security I part Sewed it to the Edge.

I must admit I was very pleased how this section turned out.

Thursday, 13 May 2021

Autumn Cape – A Long Term Project 2021 Toggle & Loops

Autumn Cape – A Long Term Project 2021 Toggle & Loops

The year 2020 was for me the year of the Face Mask! I have finally managed to put away my Sewing and get my Knitting back out.

Matching Fox Overlap


Frankly it was so long since I have worked on this project I had to go back and read my blog - Autumn Cape – A Long Term Project 2019 Toggle & Loops to remember where I left off.

After I sorted out my Needle and I-Cords I got my Cape and opened it fully. I then Folded over the Fox Side so the Loops Matched where the Toggles were on the Badger Side Interior.

Sewing Fox Overlap


With the Tail of the I-Cord I Sewed it Opposite the Adjoining Loop. I Sewed it through itself as well as the Wool.

Fox Overlap Tied


I then double checked that the Tie would hold. There was plenty of Cord left to make a Double Tie if I wished.

I decided that for now at least I was only going to Sew in One Tie on that Side and see how it held when I was wearing it. This is because with the extra Rows on the Top of the Overlap I didn’t want to throttle myself with it being too high.

Badger Overlap


I repeated the process with the Opposite Side. You may notice in the above photograph that the Wool used is a slightly different colour. Therefore I had to be extremely careful not to go completely through the other Side.

Thursday, 28 January 2021

Mademoiselle Medic 2020 Part 3

 Mademoiselle Medic 2020 Part 3

This blog is entirely about Hats.

Nurses Hats


Technically I should make a Scrub hat but to be honest I am getting a little bored with all the Cords. Therefore I looked up Nurses Hats and found the above Poster.

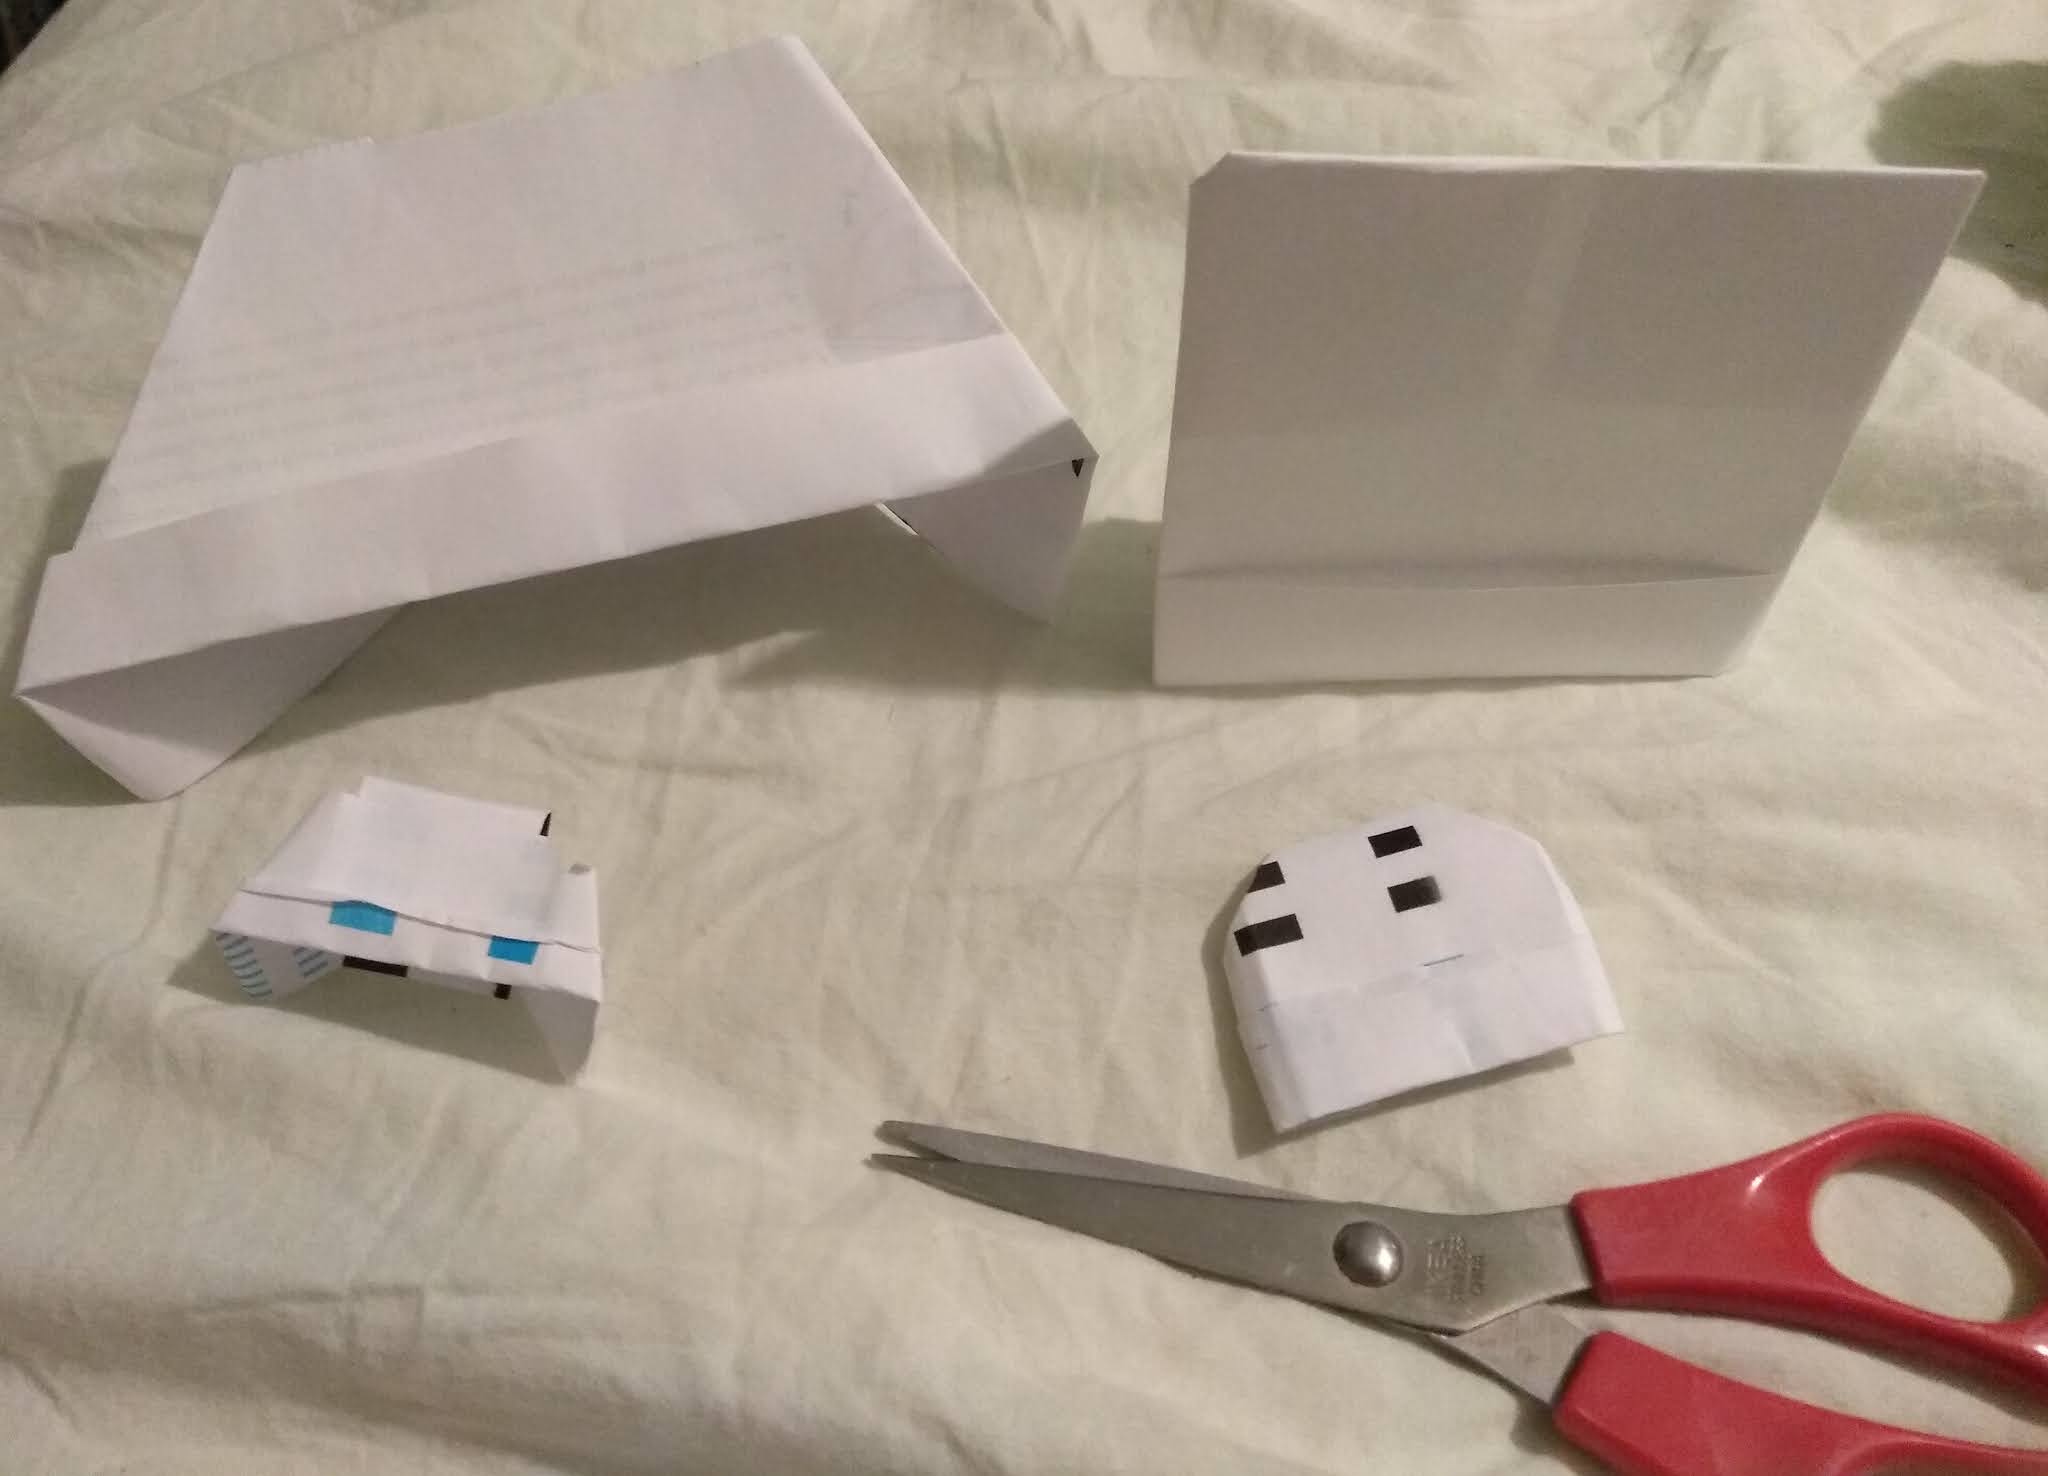
Paper Hats


After trawling through the ‘How to make a Hat’ sections on the internet and getting really mixed up I decided just to try and do my own.

I made two versions out of Paper and then tried to scale it down so it was Mademoiselle Marionette sized.

Paper Template

I preferred the T Shaped version of the Hat. I therefore undid my mini version. I found some material Pinned it to it and then Cut out.

Hemmed T Shape


I Hemmed the T Shape. I then turned up the Bottom as it is in the Paper Version. This left the untidy side on the Front. I decided I was not happy with it.

Blue Hemmed


My solution was to Sew Bias Binding all around the Edges. I thought Blue would be a nice colour. 

Overlapped Blue


I flipped the material over. I Overlapped the two Top Corners and Sewed together.

Press Stud Blue


I next added a Press Stud. This was a bit fiddly so after doing the one on the Top I turned it inside out to be able to add the second more easily.

The important thing doing this was checking that the Stud Halves would connect prior to Sewing the second one in place.

Front View


After turning the material the correct away around I fastened the Stud together. I then turned up the Front of the Binding as it should be.

Technically there really shouldn’t be Blue tips on the Hat but I couldn’t avoid that. Also a stray hair seemed to have snuck into the picture. At least it is the correct colour.

Back View


This is the view at the Back of the Nurses Hat. I am pretty pleased with the result. Obviously like the Mask it will have to be Pinned in place.

Mademoiselle Medic


The above photograph was kindly sent to me by Cayt Hewitt.


Thursday, 17 September 2020

Mademoiselle Marionette’s Comfy Christmas 2019 Part 1

Mademoiselle Marionette’s Comfy Christmas 2019 Part 1

Mademoiselle Marionette has some nice attire but for Christmas I thought she should be able to unwrap her presents in Comfort like everybody else.

Length of Pyjama Top


Starting the Pyjama Top I need to get some measurements. I found out my Template and measured the material against it. After Hemming it came to about 4.5 Inches in length.


Press Studs on PJ Top


I added Press Studs on the Outside of the Top

Press Studs on Inner


I matched up the Press Stud Parts and Sewed them in place on the Inner Part of the Pyjama Top.

6 Inch Shoulders


Next I needed to make the Shoulders. I made another Rectangle which was 6 Inches after Hemming.

Shoulders Pinned


Now I had the main Body of the Pyjama Top and the Shoulder Part I Pinned them together ready for Sewing.

Thursday, 30 January 2020

Dionne’s Draught Excluder 2019 - Part 10

Dionne’s Draught Excluder 2019 - Part 10

I am leaving the Rabbit’s Face for now and moving on to the Ears

Rough Drawn Ears


I took some Black material and Folded it in half. I Pinned it to make sure that it didn’t move. Then with a piece of Chalk I drew a Rough Rabbit Ear Shape.

I cut out the Shape and repeated so I had a pair of Ears. Next I Hemmed around the Pair of Ears.

Sewing Pipe Cleaner


The next part was a little difficult. I wanted to Stiffen the Ear with a Pipe Cleaner. Unfortunately it was a little short so one Side of the Ear would be a bit softer.

However I placed the Pipe Cleaner on the material and Folded the Hemmed Edge over it. I Pinned Sewed as I went along. I was also adjusting the Shape as I went.

Rabbit Outer Ear


Annoyingly I was half way through and the Pipe Cleaner had come out so I had to Unpick and redo. I then finished the other half of the Ear. Please note that I am only putting Pipe Cleaners in One Side of the Ear.

Rough Rabbit Inner Ear


Now the Outer Ear was complete I could now start on the Inner Ear.  I took a piece of White material roughly the same Size as the Outer Ear. I will continue this in the next blog.