Showing posts with label Press Stud. Show all posts

Thursday, 9 May 2024

Autumn Cape Bag 2022 Part 65

Autumn Cape Bag 2022 Part 65

Eureka! This is the final blog for this project. It has taken me far longer than I thought due to ill health. I am so happy that now I can move on to other projects.

Press Stud Leaves


I Sewed the Leaves above the Pocket. It took a while to get them placed. I needed to Cover enough of the Rat without messing up the way I had arranged the Leaves to compliment the rest of the Bags Colours.

I have matched up the Press Studs Sewn on the Pocket with the Leaves and Sewn on the other Halves. This was far trickier. I needed to Sew them on firmly but without coming through the other side.

Hidden Rat


As you can see in the above photograph, I managed to avoid Sewing through the Leaves. To make it easier I had used Thread rather than Wool. Since it was underneath, I did not chop and change Colours but used a simple Beige Colour.

Finished Front


Voila! One Autumn Cape Bag Front Side completely Finished.

Finished Back


Here is the Back. I love the little Rat Tail tantalisingly poking out from underneath the Leaves. I took it out yesterday for a test run and it worked beautifully.

It was a very long project but I am very happy with the result.

Friday, 3 May 2024

Autumn Cape Bag 2022 Part 64

Autumn Cape Bag 2022 Part 64

I finally feel like I am getting to see the light at the end of the Tunnel

Sew Pair


Naturally, all the Pins came out of the Leaves so I had to sort them all out again. Starting at one End I began to Sew a Pair of Leaves together. I did this by Partially Overlapping. I then Sewed with Yellow Wool down the Inner Edge of the Yellow Leaf.

All Sewn


As you can imagine it has taken quite a while to Sew All of the leaves together. I kept having to Swap Coloured Wool.

Curled Top


One of the main problems with Stocking Stitch is it tends to Curl. I am going to have to do something with the Top of the Pocket. It not only looks bad but also is slightly obscuring the Rat’s Ears.

Fold and Sew


I have Folded and Sewn the Top with a Backstitch. I am going to go across again with a Tacking Stitch to bring it together more.

Press Stud Pocket


I have a small collection of Press Studs. I selected the best size and Sewed them on to the Pocket. I put three on so as to spread the wear on the Top when Opening.

Thursday, 28 January 2021

Mademoiselle Medic 2020 Part 3

 Mademoiselle Medic 2020 Part 3

This blog is entirely about Hats.

Nurses Hats


Technically I should make a Scrub hat but to be honest I am getting a little bored with all the Cords. Therefore I looked up Nurses Hats and found the above Poster.

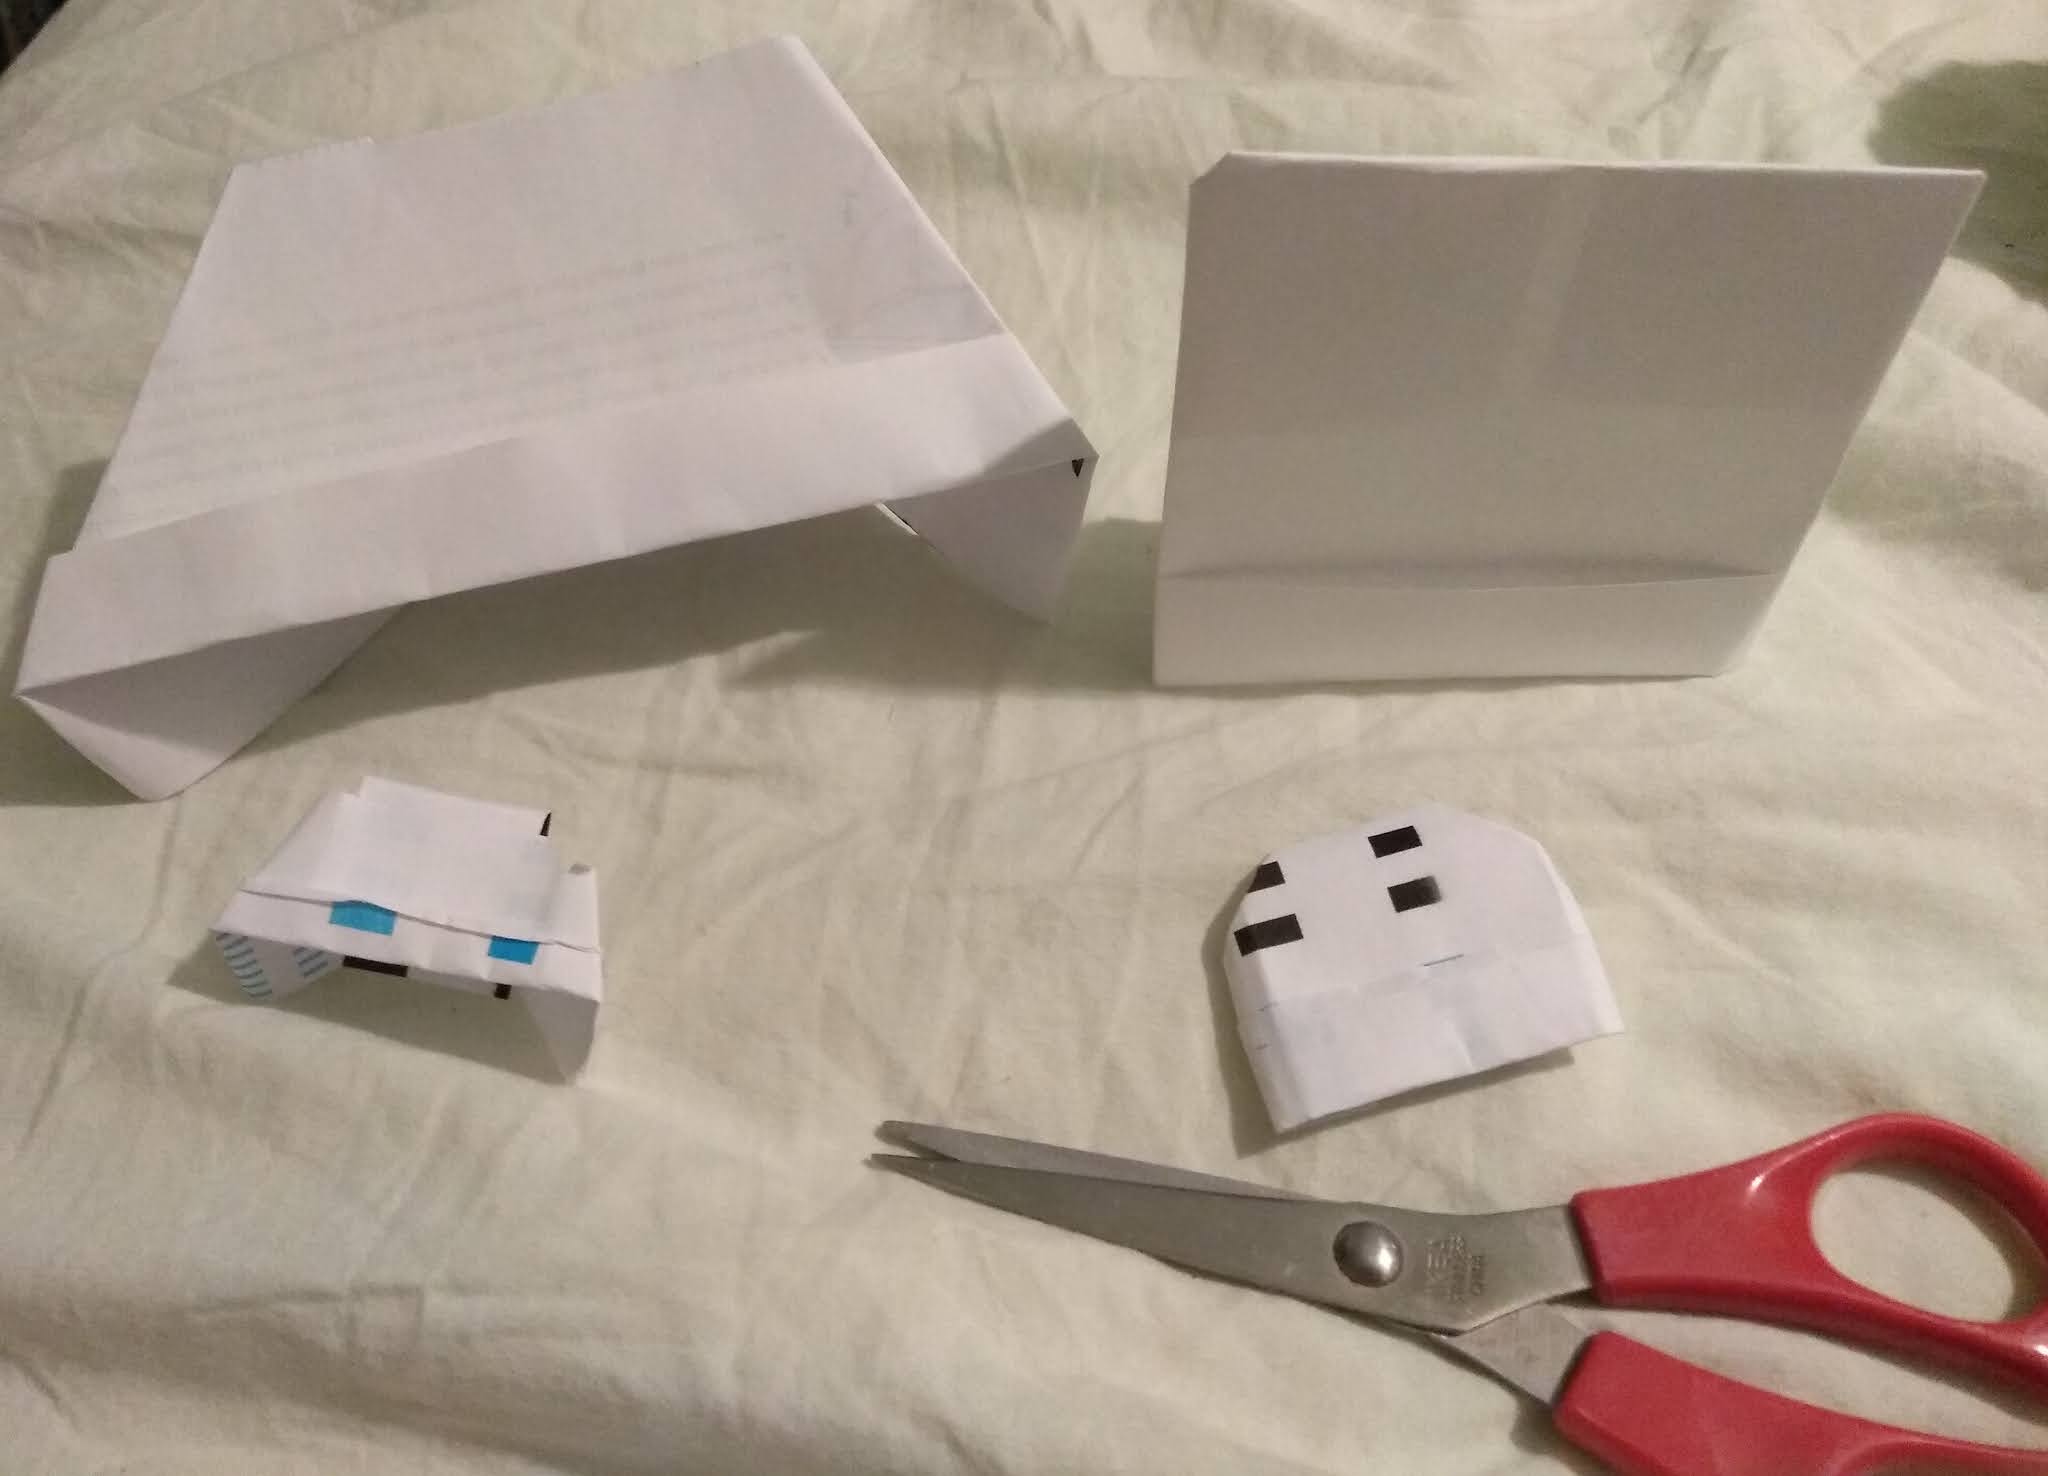
Paper Hats


After trawling through the ‘How to make a Hat’ sections on the internet and getting really mixed up I decided just to try and do my own.

I made two versions out of Paper and then tried to scale it down so it was Mademoiselle Marionette sized.

Paper Template

I preferred the T Shaped version of the Hat. I therefore undid my mini version. I found some material Pinned it to it and then Cut out.

Hemmed T Shape


I Hemmed the T Shape. I then turned up the Bottom as it is in the Paper Version. This left the untidy side on the Front. I decided I was not happy with it.

Blue Hemmed


My solution was to Sew Bias Binding all around the Edges. I thought Blue would be a nice colour. 

Overlapped Blue


I flipped the material over. I Overlapped the two Top Corners and Sewed together.

Press Stud Blue


I next added a Press Stud. This was a bit fiddly so after doing the one on the Top I turned it inside out to be able to add the second more easily.

The important thing doing this was checking that the Stud Halves would connect prior to Sewing the second one in place.

Front View


After turning the material the correct away around I fastened the Stud together. I then turned up the Front of the Binding as it should be.

Technically there really shouldn’t be Blue tips on the Hat but I couldn’t avoid that. Also a stray hair seemed to have snuck into the picture. At least it is the correct colour.

Back View


This is the view at the Back of the Nurses Hat. I am pretty pleased with the result. Obviously like the Mask it will have to be Pinned in place.

Mademoiselle Medic


The above photograph was kindly sent to me by Cayt Hewitt.


Thursday, 19 November 2020

Mademoiselle Marionette’s Crimson Christmas 2019 Part 2

Mademoiselle Marionette’s Crimson Christmas 2019 Part 2

I am now going to move on to the Bottom half of the Gown

Pin Markers


First of all I need to Mark out what I am going to do. I did this by placing Pins in the Material.

Pin and Cut


I am making the Gown Bottom Open in Sections. Therefore I need to Make 4 Slits.

Part Hemmed


In the photograph above you can see that I have Part Hemmed the Bottom.

Gown Press Studs


Once all the Bottom has been cut and Hemmed I can now add the Press Studs. I want 2 Press Studs. One at the Top and One at the Middle of the Gown.

Press Stud Doll


In this photograph you can see that the Gown has been Press Studded up the Front. The Ribbon is around the Rough Doll’s Neck. Obviously it will Fall better on the Marionette.

Gown On Doll


Here is a different view of the Rough Doll. In this photograph you can see the way the Bottom of the Gown Splits. I have made the Gown like this so the Marionette can move her Legs easily.

The Marionette’s Arms are not impeded as the Band will go around its Chest and there is no Shoulder Material.


Thursday, 29 October 2020

Mademoiselle Marionette’s Comfy Christmas 2019 Part 4

Mademoiselle Marionette’s Comfy Christmas 2019 Part 4

With the Pyjama Top finished I can now move onto the Bottoms.

Waistband


As always the problem with clothes for Mademoiselle is that they have to be able to put on without disrupting the String movement.

Since Pyjama Bottoms are often Elasticated I decided to use that as a basis. I Hemmed some material. I then added an Open Ended Hem and threaded through some Elastic creating a Waistband.

Waistband and Leg


I took a piece of material and wrapped around my thumb to give me an approximate size of the Marionettes Leg and then Hemmed it. I repeated this so I had two Leg pieces.

Legs with Press Studs


I then added a Press Stud on each end of the Material roughly in the middle of the Width edge. The tricky bit was now to add them in the right place on the Waistband Bottom.

I Pressed the Studs together on the Legs. I made sure that the Studs would open up on the outside of the Marionette’s Thigh when Sewn. I then flattened the Waistband and Pinned the Legs in place. I wanted to double check the position.

Complete Pyjama Set


Once satisfied I Sewed ONE SIDE of the Pyjama Legs onto the Back of the Waistband Bottoms. I repeated this with the other one and there we have it a Comfy Pyjama Set.

Thursday, 24 September 2020

Mademoiselle Marionette’s Comfy Christmas 2019 Part 2

Mademoiselle Marionette’s Comfy Christmas 2019 Part 2

On to adding the Pyjama Shoulders

Part Sew to Shoulders


I first made sure that the Press Studs were fastened. I then positioned the Body exactly in the Centre of the Shoulders. Next I part Sewed the Body to the Shoulders.

I left approximately one fingers width of the Body Unsewn. This is so there was movability for the Marionette.

Bend Top Corners


I took the two Corners of the Body and Bent them back on themselves and Sewed in place. This gave the look of a Collar.

Add Press Studs


Once the Collar was made I could add Press Studs to the Side of it. I added the other part of the Studs to the Corners of the Shoulder part.

Fold Corners


All I had to do next was simply Fold the Corners and Hey Presto there are the Shoulders.