Showing posts with label Doll. Show all posts

Sunday, 16 February 2025

Knitting Doll 2024 Part 4

Knitting Doll 2024 Part 4

After that hard Blog here is a nice easy one.

Different Cords


I made the Cords with all the Different Yarns that came with the Kit. They had various differences depending on which Crochet Hook or Grip that I used. (and how many mistakes that I made)

Double Thread


I Threaded Two of the Yarn Ends through a Needle. This made it a Double Thread.

Sew Together


I proceeded to Sew the Two Ends together and Trimmed off the Excess. I have Left the other Ends of the Yarn alone as they will be needed for the next part.

All Five


I have now Sewn all Five of the Cords together. I used the Black as the Centre and Worked outwards from that. I wanted to try and make all the Cords stand out as much as possible particularly on the Two Ends.

Saturday, 8 February 2025

Knitting Doll 2024 Part 3

 Knitting Doll 2024 Part 3

Now for the harder bit - especially to Photograph.

Pull Yarn Taut


The Doll should be facing and have 4 Loops. Take the Yarn Ends and Pull. It needs to be firm but not so Tight as hard to work with or come off.

Warning

From this point the work seems to have a mind of its own and can and does at least in my case try and Unravel itself.

Second Round


We are going to create a Second Round of Loops the same way as before. This has to be done One Loop at a Time not a whole Round. Wind the Yarn around the Hoop above the First Loop. This is important.

Crochet Hook Lower


This is where the Crochet Hook, Grip or Needle comes into Play. With the Doll facing you there are now Two Loops. Take the Crochet Hook and gather the Lower Loop.

Lift Over


Next Lift the Loop Up and Over the First one and remove the Crochet Hook. Gently pull the Yarn and it will Disappear into the Centre. This leave The Loop you have just made now on the Bottom.

I have to confess that I did this countless times before I got it right. I either got the Hook Stuck or pulled too hard and the whole thing Unravelled and I had to start from scratch.

All Four Loops


After successfully Creating and Lifting one Loop off I turned the Doll and started on the next Hoop. I continued this process going around and around. 

Though you cannot see it as it is inside the Doll a Chain or Cord is being formed. I carried on until it came out of the Bottom of the Doll and then a couple of extra inches.

To finish the Cord Rethread the Needle. Go through one of the Loops and Lift off pulling as you do so. Go through all Four of the Loops the Secure it by going through the Top of the Cord.

Friday, 31 January 2025

Knitting Doll 2024 Part 2

Knitting Doll 2024 Part 2

This is going to be a difficult Blog to write as it is done from the perspective of looking at the Top of the Doll. Try and bear with me. I seriously advise looking at each individual Photograph.

Round Hoop 1


This is the easy bit. First make sure that the Yarn is still out the Bottom of the Doll. It must never be allowed to rise back through so it is advisable to hold it.

Make sure the Dolls Face is towards you. This helps to save getting lost further on. Next take the Yarn from the Top. Wind the Yarn from Left to Right

Round Hoop 2


In order to make life easier for myself I am turning the Doll. The Face now is to my Right. Wind the Yarn around Hoop 2as you did for the First.

Round Hoop 3


Again I have Rotated the Doll. Its is now 180 degrees from where I started. Repeat the Winding process. You should now be able to see Loops forming at the Top.

Round Hoop 4

Unfortunately this Photograph did not come out but the process is the same.

Back to Start


After winding the Yarn around Hoop 4 turn the Doll again and you should be Back to the Start with the Doll smiling at you.

Saturday, 25 January 2025

Knitting Doll 2024 Part 1

Knitting Doll 2024 Part 1

Hello my lovelies. This time I am going to do some crafting with a Knitting Doll.

Knitting Doll


You can often find cheap Craft Equipment in Local Charity Shops. This Doll came in a Box with instructions for a mere £1.50. I had never used one before so I thought I would give it a go.

Thread Needle


Before I go on I would like to mention that you get various types of Knitting Dolls. This one is a little Boy with Hooks on Top. However you can get Girl Dolls as well as completely bare ones that have Nails rather than Hooks.

This Kit came with a variety of Yarn. I Threaded one of the Colours through a Needle.

Pull Through


Whilst using a Needle isn’t actually necessary it makes this next piece far easier. Taking the Needle and go to the Top of the Doll where the Hooks are placed. There is a Hole in the Centre of the Hooks.

This is a Hollow or Tunnel that runs from Top to Bottom through the Doll. Drop the Needle through until it comes out from the other End. (You can also push the Yarn through with something long but it is more difficult).

Crochet Hooks


There was a part missing from the Kit which had been replaced by a Hair grip. I tried with that and also with the Crochet Hooks. I am going to use the latter as easier to photograph.

Thursday, 19 November 2020

Mademoiselle Marionette’s Crimson Christmas 2019 Part 2

Mademoiselle Marionette’s Crimson Christmas 2019 Part 2

I am now going to move on to the Bottom half of the Gown

Pin Markers


First of all I need to Mark out what I am going to do. I did this by placing Pins in the Material.

Pin and Cut


I am making the Gown Bottom Open in Sections. Therefore I need to Make 4 Slits.

Part Hemmed


In the photograph above you can see that I have Part Hemmed the Bottom.

Gown Press Studs


Once all the Bottom has been cut and Hemmed I can now add the Press Studs. I want 2 Press Studs. One at the Top and One at the Middle of the Gown.

Press Stud Doll


In this photograph you can see that the Gown has been Press Studded up the Front. The Ribbon is around the Rough Doll’s Neck. Obviously it will Fall better on the Marionette.

Gown On Doll


Here is a different view of the Rough Doll. In this photograph you can see the way the Bottom of the Gown Splits. I have made the Gown like this so the Marionette can move her Legs easily.

The Marionette’s Arms are not impeded as the Band will go around its Chest and there is no Shoulder Material.


Thursday, 7 February 2019

Mademoiselle Marionette 2018 Part 17


Mademoiselle Marionette 2018 Part 17

This blog will deal mainly with the Front Piece of the Top

Blue Binding


First of all I need to add some more Blue Binding to make the Top wider and longer whilst at the same time securing and tidying the edges of the Stripped material.

First Corner


In the picture above you can see in the Right Hand Corner I have Folded the Binding at an Angle to make a Slant. This is where the Top needs to bend in order to go underneath the Doll’s Arms.

In the Left Hand Corner of the picture you can see that I have laid the Needle also in a Diagonal direction. Take note of this because this is where I am going to Fold the Binding.

Diagonal Fold


I make the First Fold as shown. Unfortunately the next photograph did not come out. Press the Fold so it doesn’t try and spring back.

Next Fold the same bit of Binding so that part is Level with the rest of the Binding and the Length runs along the Bottom covering up the White Stitches. I suggest you try a couple of times then pin it so it doesn’t move whilst sewing.

Sew to 2nd Corner


Sew along the Bottom of the material but leave a good gap before you reach the end. This is where the next Fold will be.

Corner Loop


I suggest again that you try this Fold out a couple of times then Pin it in place before attempting to sew. It is slightly trickier and I never like this part myself.

It can be Folded in the same way as before but if I had done that the direction of the Fold would not be the same. It is easier to show than explain – see below.

Second Blue Added


This photograph was originally the other way up but I have rotated it so that it is easier to see how both Corners have the Folds in the same direction.

I then added another layer of Binding to widen. You might wonder why I didn’t just use a wider piece in the first place. The answer is simple. I haven’t the foggiest idea what I am doing!

I have never made a Doll before so am not used to having to sew around a 3D object. Therefore I am having to constantly put the item on and re-measure bit by bit. Oh and of course it does need to match.

Hook and Eyes


The final bit of this piece is to add the Hook and Eyes. I put the heaviest section which is the Hook on the stronger part which in this case is the Hem. The Eyes are sewn to a very flimsy Fold.

It is imperative that you make sure the Hook and Eyes match up before sewing in place otherwise the Top will bulge. I did the one nearest the Arm first. That way I knew how the material would go underneath.

Thursday, 31 January 2019

Mademoiselle Marionette 2018 Part 16


Mademoiselle Marionette 2018 Part 16 

Now the Marionette is semi decent I can carry on making some out the outerwear.


Marionette Measurements


Before I start making more clothes I thought it would be a good idea to take some measurements. That way I would have a rough idea of the Dolls size if I want to make extra clothes at a later date.

Striped and Plain


I am carrying on with the French Theme and by chance a friend gave me some material that couldn’t be better. It was a lovely piece of Blue and White Striped Material.

However it is quite a small piece and frays easily. I thought the best thing to do was to give it a quick Hem and then add some Ribbon at a later date.

As there is only enough material for the Front the Back will have to be different. Therefore I decided to start the other side off with a simple Plain piece of Hemmed material.

Studs Added


All clothes need to be detachable so I decided to use Press Studs again. I attached some Blue Binding material around the Plain material then made some Straps and sewed them onto the Front Piece. This gave me something to sew the Studs on to.

Thick Stripes


Obviously I need to be able to attach and detach the Top at the Sides as well. Therefore I added some roughly measured Blue Binding to the Back.

This enables me not only to attach fastenings to it but also it mimics the Front piece albeit with much thicker Stripes.

I had to keep going from one part of the Top to the other for measuring so I decided the best thing for me to do would be to Blog the two sides in tandem.


Friday, 28 December 2018

Mademoiselle Marionette 2018 Part 13

Mademoiselle Marionette 2018 Part 13

I am now moving on to recovering the last parts of the Marionette which are the Hands

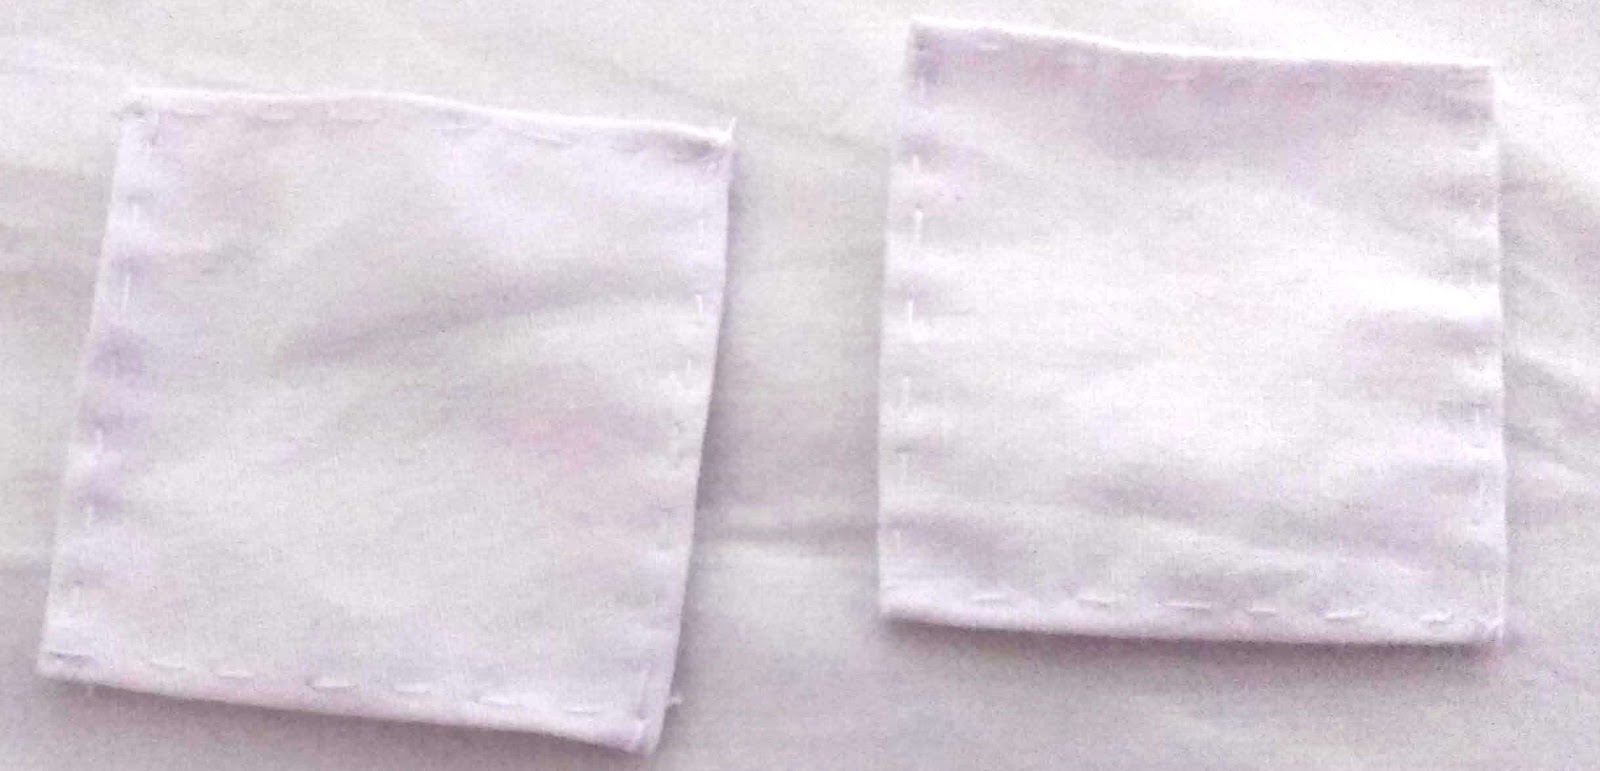
Hemmed Hand Pieces


I cut and hemmed a couple of pieces of White material

Covering Hand


I joined the material by sewing along the edge towards the tip of the Hand. However I only had a rough guess at how much material I needed.

Trimming Hand


I trimmed off the hem refolded the material and then hemmed it again.

Hand Done


The Hand is finished and all I have to do is cover the other one and that is the Doll part complete apart from the clothing.

Fastening the Cross


Taking some string I wound around the two sticks in order to fasten them together.

Joining the Cross


I then joined the end of the string from the Cross to the string from the Doll.

STOP
I am not carrying on with this part as I have been given some valuable advice from Helen (Laura’s mum*). I therefore have to do some rethinking.


* Laura and Helen of Alyssa Rose Boutique

https://www.facebook.com/Alyssa.Rose.designs