Showing posts with label Sticks. Show all posts

Sunday, 6 October 2024

Fan Folly 2024 Part 1

 Fan Folly 2024 Part 1

My mother has lost her Fans so I have offered to have a go at making one.

Lolly Sticks


My idea was to use these Lolly Sticks as the Struts of the Fan. This would mean Drilling through them. You might think this Folly due to the chances of Splitting the Wood.

Garden Labels


Divine Inspiration! Whilst looking for something completely different I found a Garden Label. These already have Holes in them. I searched for the rest of them and gave them a wash.

Screw It


Next was to find something to go through the Holes. I have found a selection of Screws and Nuts. I have matched them up and have a variety of Lengths.

Add Struts


I begin to add the Struts. I am starting with the smallest of the Screws to see how many I can fit on to the Screw.

Thursday, 17 October 2019

Mademoiselle Marionette Summer Apparel 2019 Part 3

Mademoiselle Marionette Summer Apparel 2019 Part 3

This Blog is about some essential Accessories for the ever hotter British Summer.

Parasol Parts


I decided that Mademoiselle Marionette could do with a Parasol. I still had some Circles that had already been Hemmed and I picked out 9 Cocktail Sticks.

Parasol Configuration


I laid the Circle flat and placed all but one of the Cocktails Sticks on top of the wrong side of the Material. I placed them evenly spaced in a Configuration similar to a Compass.

Spokes Adjusted


Once I was satisfied with the layout I broke the Cocktail Sticks into parts. These were to be the Parasol Spokes. I had the Pointed end hanging a little over the Material.

The other end of the Stick was just short of the Centre. I didn’t want any of the Spokes actually touching.

Spokes Glued


When I had all the Spokes at the correct length I Glued them into position

Spokes Sewn


Once the Glue had completely dried I could proceed with the next part. I took some White Thread and Sewed the Pointed end to the Material.

Parasol Ironed


The next part was to very carefully Iron in between the individual Spokes. This creates the Folds.

Parasol Ready


Lastly I Glued one of the Cocktail Sticks underneath in the Centre. Now the Pair of Parasols were ready.

N.B.
Although technically the Parasols will Fold it is inadvisable to do so as there is no strengthening Circle in the Centre. Therefore with constantly Furling and Unfurling they are likely to Break.

Thursday, 4 April 2019

Mademoiselle Marionette 2018 Part 25


Mademoiselle Marionette 2018 Part 25

This is the Final Blog on this project. Unfortunately some photographs appear to have gone astray. However I am sure you can follow it without them.

Paper Mache Hook


I went through the process of making the Sticks suitable for stringing by adding Hooks. If you go through the other side a little bit as in the above photograph it can be easily rectified.

All you need to do is to get a few pieces of Paper and some Glue and go over it until it is safe. Then simply colour when dry and continue with other Hooks

Crossed Sticks


Unfortunately this is where some of the photographs I took are a bit allusive. I think though you can see where the Hooks were placed. Find the Middle of the Stick and Mark it. That is where you will Bind it.

Half way between this point and the end of the Stick make another Mark. This is where you will put your Hook. Do likewise on the other side of the Centre Mark.

Left Stick


Adding the Strings is the easy part. Putting them in the right place isn’t. When you start turning the Sticks it becomes difficult to remember which part was the first one. I had an idea.

The first time I gave the ends Numbers which worked so far but it was when you had to join the Strings to the Marionette it got confusing. Therefore I changed from numbers to Letters. In the photograph above the end shows L L – this stands for Left Leg.

Right Stick


Here in this photograph is R L – This stands for Right Leg. Obviously this system depends on how many Strings you are using. There are many different types of Marionettes with variations in number of Strings. Unfortunately the diagram I was using seems to have disappeared into the ether.

If you scroll down to the bottom of the page you will find Links *. There is a good simple String method similar to what I used in the Storm the Castle Link. Now is time for a Photo Shoot.

Lady in Red


Would you credit it? After all that palaver getting the Strings on correctly they have had to be taken off again! Unfortunately she seems to have been too tempting a target for Merlin the Dog.

It is no wonder Mademoiselle Marionette looks worn out. To add insult to injury one of her earrings has gone astray.

Radiant in Red


If you look carefully the little Minx is flashing a bit of Garter to the Boys.

Blue with a Party Twist


Looks like she is rushing from her day job to a night out. At least this time she has both earrings.

Party Girl Blue


Here she is all ready to party the night away. What Ho! Is that the errant earring I spy?

Pure White Lady


So Pure and White. Going to a Christening?

White Lady with a Party Twist


Mademoiselle Marionette. Elle trés chic! Où allez-vous?

C’est Fini.

Links *


N.B
I admit I had to check my French with the translator. I got the words right but in the wrong order.

Friday, 28 December 2018

Mademoiselle Marionette 2018 Part 13

Mademoiselle Marionette 2018 Part 13

I am now moving on to recovering the last parts of the Marionette which are the Hands

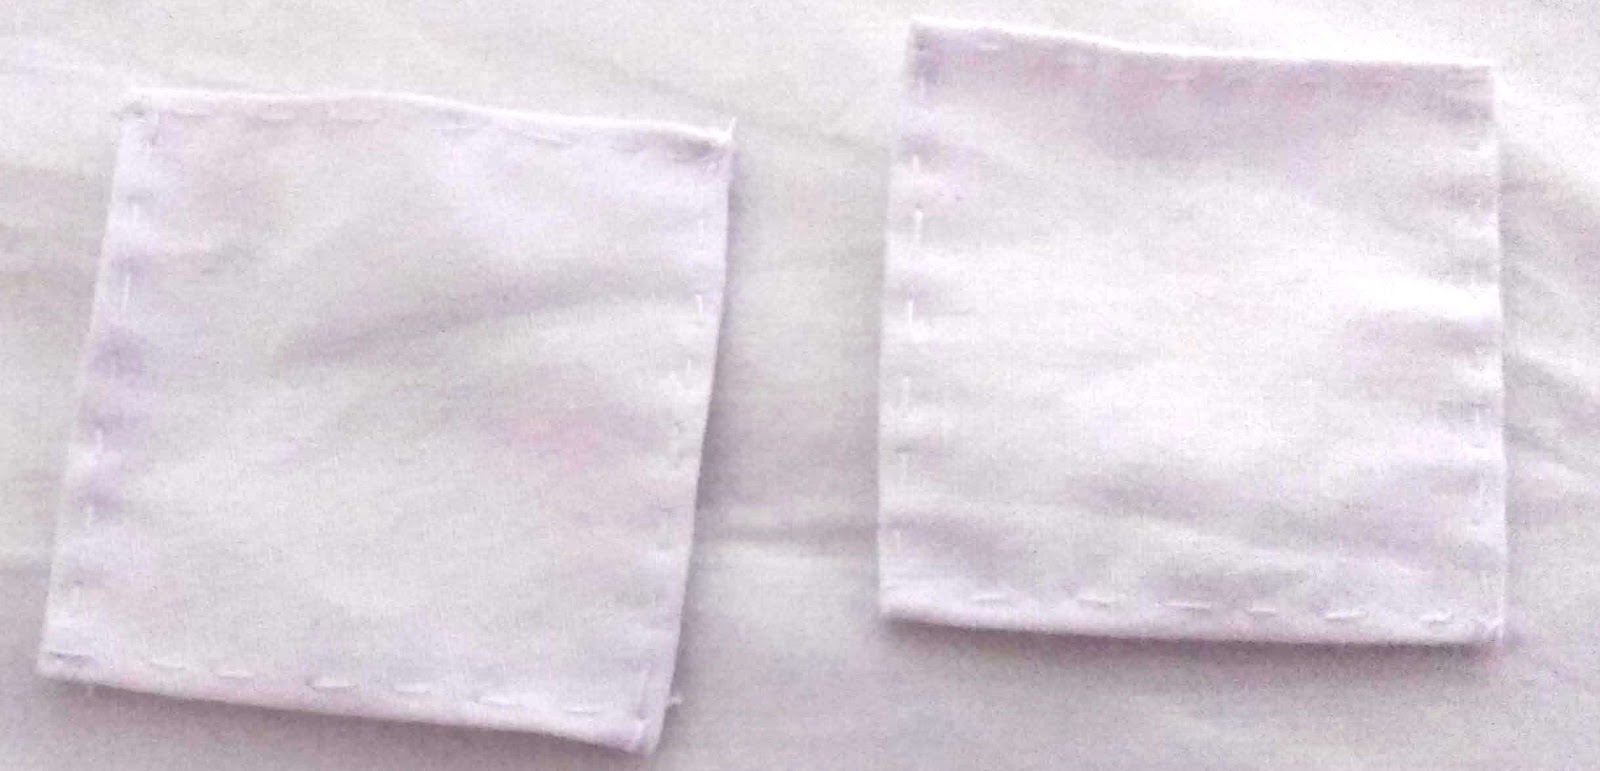
Hemmed Hand Pieces


I cut and hemmed a couple of pieces of White material

Covering Hand


I joined the material by sewing along the edge towards the tip of the Hand. However I only had a rough guess at how much material I needed.

Trimming Hand


I trimmed off the hem refolded the material and then hemmed it again.

Hand Done


The Hand is finished and all I have to do is cover the other one and that is the Doll part complete apart from the clothing.

Fastening the Cross


Taking some string I wound around the two sticks in order to fasten them together.

Joining the Cross


I then joined the end of the string from the Cross to the string from the Doll.

STOP
I am not carrying on with this part as I have been given some valuable advice from Helen (Laura’s mum*). I therefore have to do some rethinking.


* Laura and Helen of Alyssa Rose Boutique

https://www.facebook.com/Alyssa.Rose.designs


Thursday, 25 October 2018

Mademoiselle Marionette 2018 Part 5

Mademoiselle Marionette 2018 Part 5

After all that sewing I felt like a bit of a change.

Colouring Sticks


One thing I need to do was to colour the sticks I was going to use to suspend the Marionette from. At first I was going to paint them but in the end I decided to use a permanent marker.

Coloured Circles


If you follow my blogs regularly you may recall one entitled ‘Oh What A Busy Sewing Bee I am’. I cannot remember the reason why but there were some circles of the material in the kit. I delved into the remains of the project and cut them out.

Circles Pinned and Cut Out


After cutting the coloured circles out I pinned them to some white material (again left over from the kit). I then carefully cut out the circle.

Head verse Circle


I now have one circle which I will use later with the Head. I now repeat the process and cut out the other circle.

Head Circle Hemmed


I very carefully hem the circle to avoid losing as little material as I can. Believe me that it is not an easy task whilst watching England in the Semi-finals!

I also hemmed the other circle after all it is a case of two halves ahem.

Before I go on making any alterations to the Legs, Head or Arms I will give the sections a good wash to remove any trace of pencil outlines.