Showing posts with label Owl. Show all posts

Thursday, 13 October 2022

Time to throw in the T-owl 2022 Part 4

 Time to throw in the T-owl 2022 Part 4

The reason that I did not fill in all the Feather details is in two parts. First I only want a Template at present. Second I want to cut out some Card and add Colour to the Owl.

Heavy Pencil


Using a Pencil I went over the Outline of the Owl. The idea was to imprint the Template onto the Inside so I could use that for the Inner Drawing.

Black Marker


To my Horror I found the Imprint had not come through even after several tries. I thought perhaps using a Black Marker would work.

No it didn’t. Therefore my whole idea has been thrown out. I am going to have to have a complete rethink.

One Eye


I had spent so much time trying to get the Template to come through I now was running out of time. My friend would be here to pick me up in the morning and it was now coming up to midnight.

I therefore decided to cut my losses. Instead of doing the Card Feathers I was going to have to Draw them on. This meant that the Card would be quite bland to my mind. I hit upon the idea of adding a Googly Eye

UB40


This sparked a spot of inspiration. I added an Inner Sheet of Green Paper and glued it down. I quickly wrote a message on to the Paper. You are 40 Today. I filled in all the Letter O’s with the Black Marker. This would form the base.

Eye-Eye


I then selected various sizes and added 3 Googly Eyes. I added my personal message on the opposite page.

My friend arrived and I gave her the Card and she loved it. I then explained what it should have been along with the Rough Sketches,

She quite understood. It goes to show that True Friends will accept stuff that isn’t perfect because they recognise the effort that it put in. That is the Real Birthday Gift!

Thursday, 6 October 2022

Time to throw in the T-owl 2022 Part 3

 Time to throw in the T-owl 2022 Part 3

Time to move on to the real thing. I apologise for the pure quality of the photographs.  I may have changed the order to make it easier to follow

Draw Circle


I had a hard time choosing what colour Card to use as my Friend dislikes certain colours. Naturally those were the colours I had in stock. Finally I found some Green Card. I Drew a Circle using the Outside of the roll of Tape.

Draw Inner Circle


I used the Inside of the Tape to Draw the Inner Circle.

Rub Out Excess


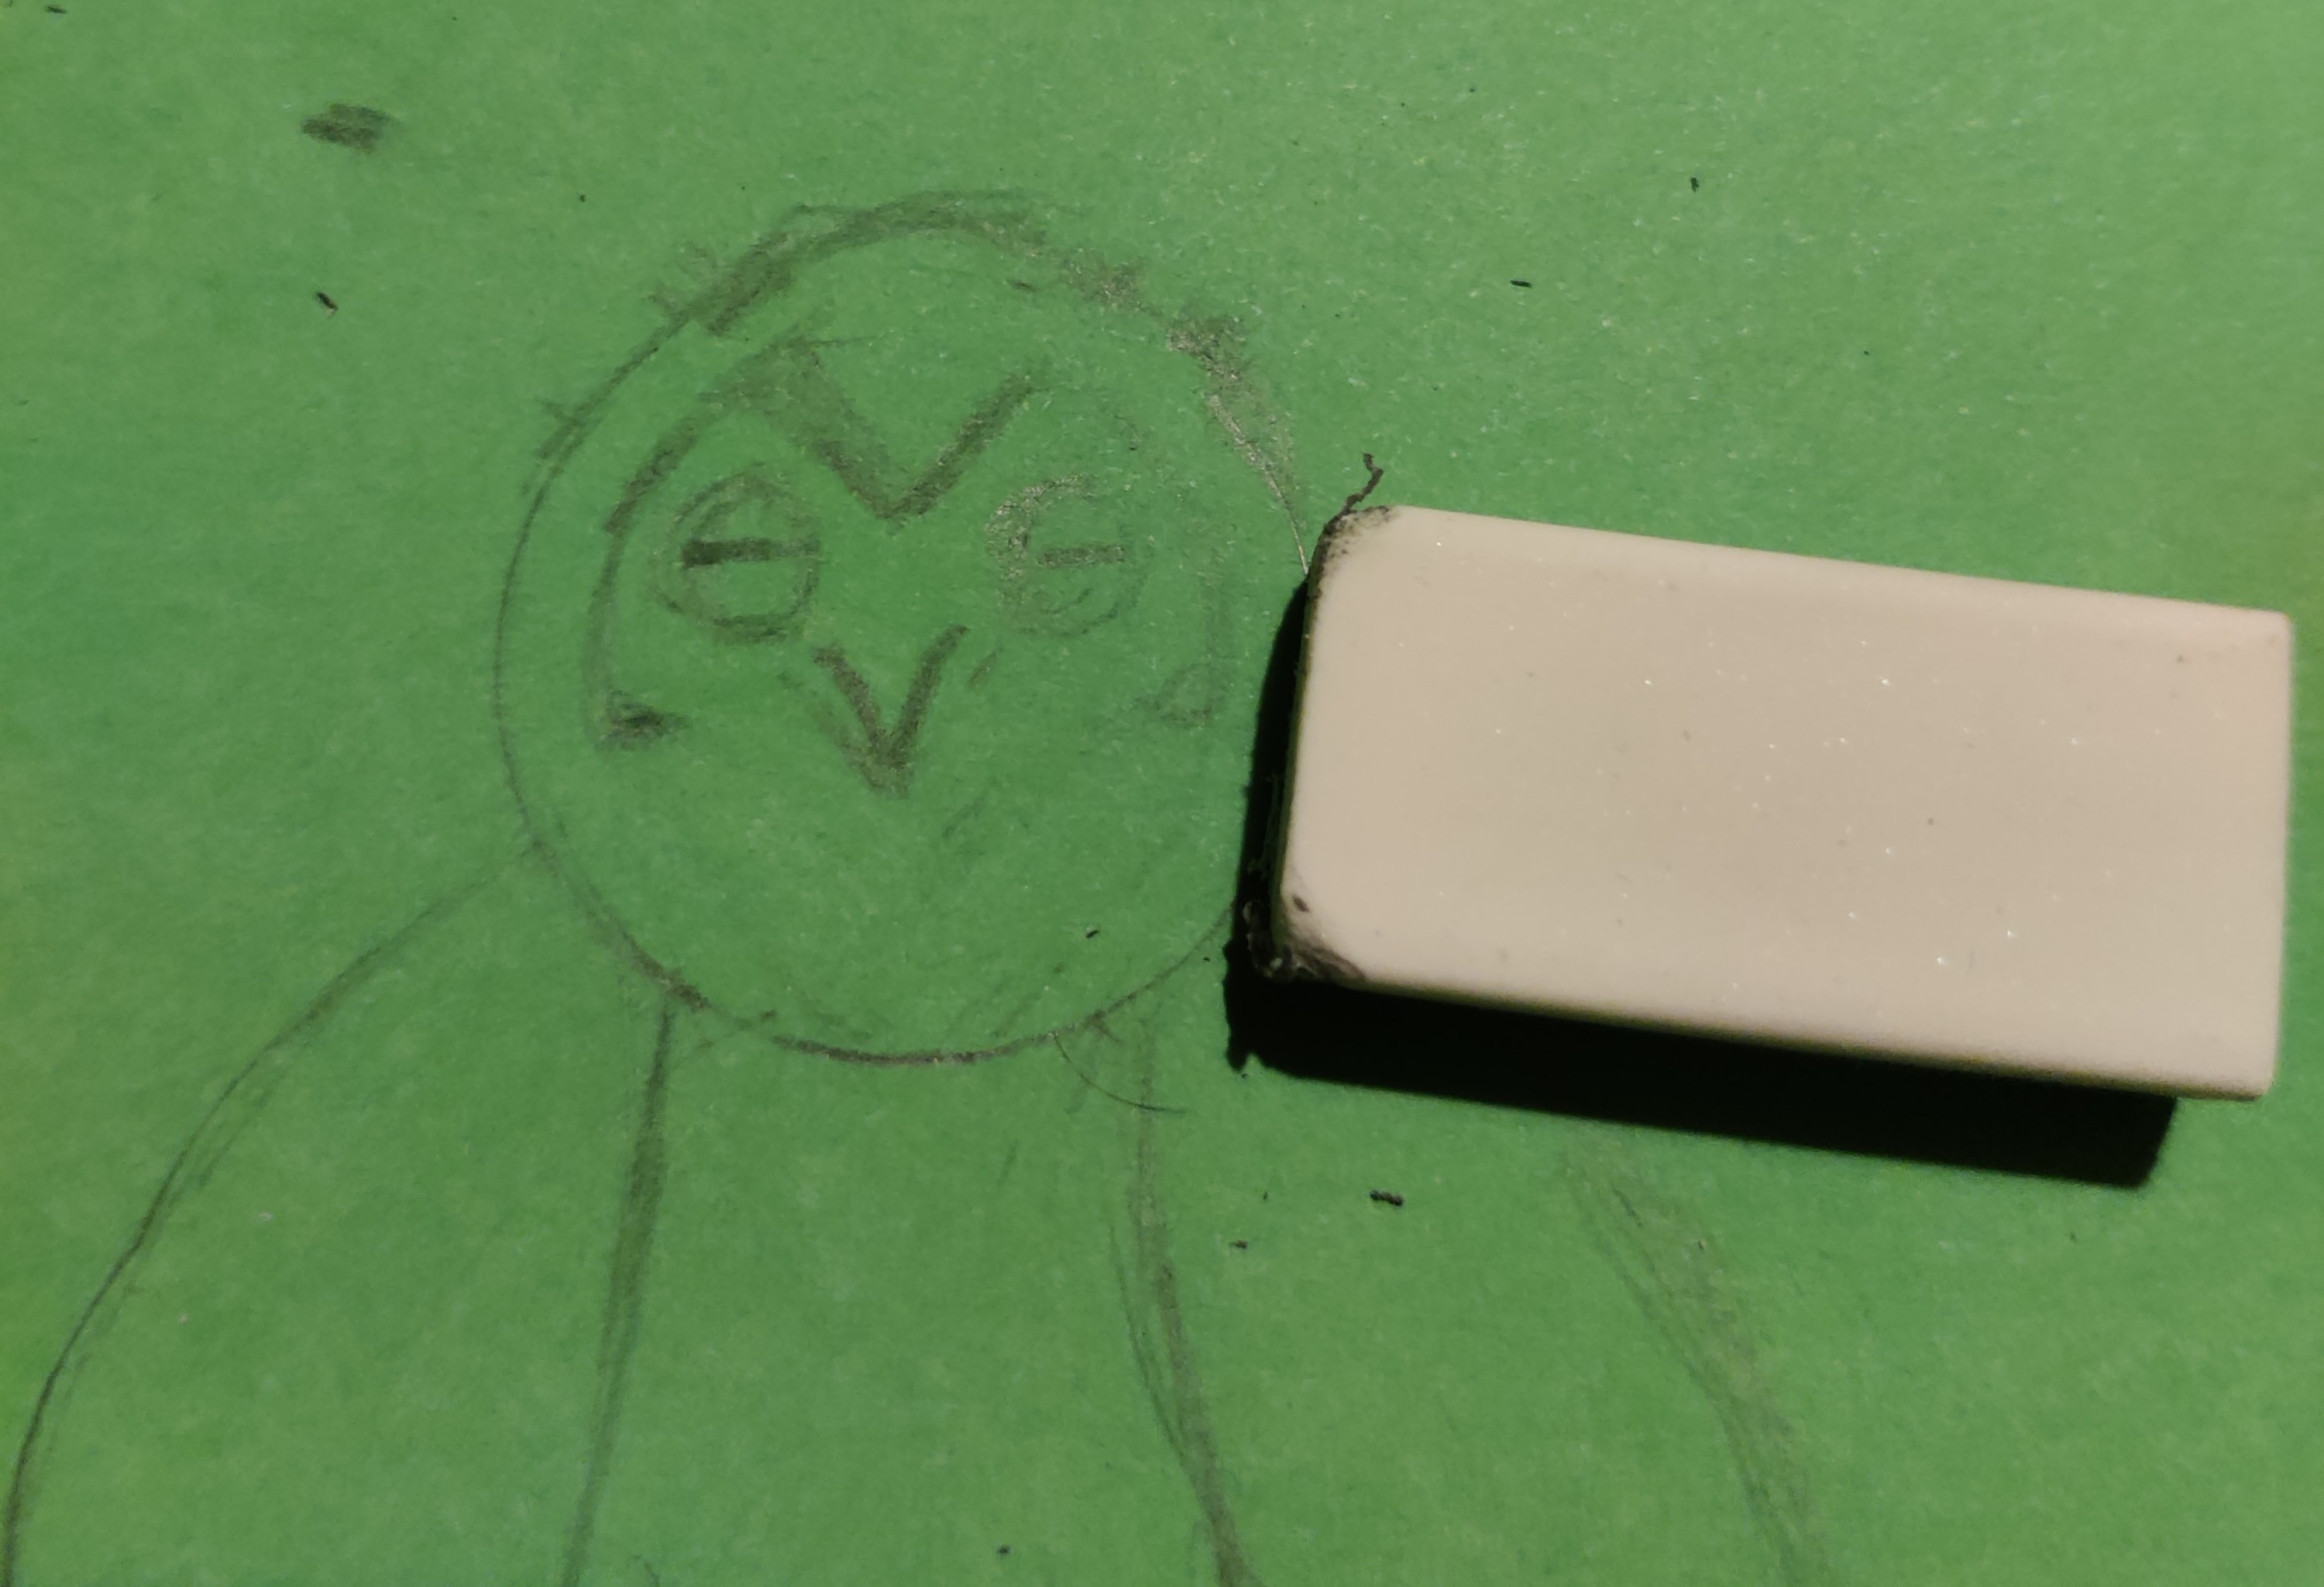
I Rubbed out the Excess lines before I moved on. I am going to use the Eraser a great deal I think.

Adjust Face


Some photos didn’t come out at all so I have had to mess around with the order. I had drawn the Face but now I needed to Adjust it.

Tape Curve


To make the Wings I used the Tape as to make sure that I had the same kind of Curve. This is was easier said than done trying to place it in the right position.

Adjust Talons


I need to make better Talons. I decided the best way was to Draw seed like ones on the ends of the legs. Then I could add the Sharp parts.


Pencil Outline Complete


I have finally got the Pencil Outline that I want. I haven’t added all the Feathers for a reason. I will discuss this in the next blog.

Thursday, 29 September 2022

Time to throw in the T-owl 2022 Part 2

 Time to throw in the T-owl 2022 Part 2

I never like to make things easy for myself. In this case I decided that I wanted to have an Owl on the inside too.

Rough Inner Sketch


The idea was to have the Inner Owl awake. Therefore I needed to open the Wings.

More Bat than Owl


I decided to start another Sketch to work on. Okay I know I wanted the Wings open and more Feathery but even to my unseasoned eye this looks more Bat than Owl.

Inner Sketch Feathers


I suppose that the Feathers made it more Owl like but I cannot pretend that I was entirely happy.

Edit Face


I decided to return to my first Inner Sketch. I wanted to fix the Face. It was too cartoony for my liking. I had been puzzled by what was wrong with the Face. Then it struck me. It was the Ears.

Now some Owls have Ears you can see and some do not. However what they certainly do not have is Ears on top like a Cat. I began to Edit the Face starting with the Ears. I have to confess that I searched for Images of Owls on the Internet.

Edit Talons


I Edited the Talons. I made them thicker and sharper. I also changed the underbelly of the Owl. You can just see the outline of the Branch that I have it sitting on.

Edit Front


As you can see from the above photograph I have added more detail. I have added V shaped Feathers to the Wings and long V shapes to the Front.

Compare the Two


I have now completed my two Rough Sketches. They are quite different. Naturally I will be using the Inner Sketch as a Basis for my Front Page of the Card.

Thursday, 1 August 2019

Neighbourhood Watch Banner 2019


Neighbourhood Watch Banner 2019

This year I held a triple celebration. It was my Birthday, 20 years of being a resident where I live and last but not least 15 years since I set up a Neighbourhood Watch Scheme I therefore decided to throw a party combining these events

Naturally when making the Banner I picked one of the most difficult materials to work with - Net.

Give me an H


I used Net as I had a large piece to recycle. Speaking of which I sought out bits and pieces of the Owl material I had left. I thought using Owls was ideal for the Watch Banner.

I cut out strips to make the Letters N, H and W. I then glued them together.

Secure Thread


Now came the difficult part. I had to sew the Letters to the Net. First of all I secured the thread with a couple of Stitches.

Sew at Top


I started with the Letter H as that was the middle section and therefore I would be able to place the other Letters evenly either side.

I sewed the Owl material to the Net at the top of both sections of the Letter H.

Missing N


As I feared moving the Owl material around whilst working has inevitably led to pieces coming apart.

Sew Across


I have gone back to all my glued Letters and before adding them to the Net I have sewn them at the cross sections. I then proceeded to go back and finish sewing the H in place at both the top and bottom.

Placing W


Now the H was firmly in place I could measure whereabouts on the Net to place the W then the N.

NHW Placement


In the photograph above you can see the N, H and W sewn onto the Net. The next part was to be able to attach the Banner to where it needed to go.

Holey Hell


The top part of the Banner was going to be attached to the fence by drawing pins. The bottom however needed to be tied.

By time I had finished adding the Letters to the Net this was the state of the bottom. I therefore had to mend the bottom before I could go any further. I had an idea.

Ties for Banner


I folded the Net over and sewed. This mended the rips and provided a section that I could sew the Ties on to.

NHW Banner in Place


Here is the Banner in place. It isn’t meant to be a work of art merely an indicator of where the party is being held. All in all with it being a rush job and the materials I had at hand I was quite pleased. At least everybody found me – and of course the cakes.


Thursday, 10 January 2019

Owl say that’s an unusual Yule Gift 2018/19 – Part 2


Owl say that’s an unusual Yule Gift 2018/19 – Part 2

If you haven’t guessed what I am making yet maybe the next few pictures will give you a clue.

Foam Circle Cut Out


I take some Foam approximately a thumb joint thick. I draw two Circles and cut them out.

Stick Foam Pad


If you look carefully at the above photograph you should be able to see one of the Inner Circles that I drew.

This is because before sticking the Pad down I have shaped it slightly. I do not want the Foam to be flat. I want it to be slightly Dome Shaped

I made the Dome Shape a little piece at a time as I didn’t want the curve to be too sharp.

Tie Dry


Once I had finally got the shape I wanted then stuck a Foam Pad to each piece of Owl material. I have tied the Strips around it whilst it dries.

Purple Material


I have cut out two circles of Purple Material which I place over the Dome I then stick them to the Foam. Since the item is Circular the material needs to be folded over slightly.

Underside of Pads Part Sewn


In the photo above you can see that the material is folded over at an angle following the curvature of the Foam. The Pad on the right is not quite dry yet.

Tools of the Trade


One thing you have to be sure of is to use the right tools when crafting. I am trying to sew through both Foam and PVC material and in consequence have broken two of my needles.

Fortunately I possess quite a few. I have changed to my leather work needles to work with.

Owl Material Drawn


I sew around the material with my leather-work thread and then I pull it tighter. It now reminds me a little bit of a shower cap.

Velcro


When I had finished with the Pads I turned my attention to the Strips around it. I trimmed and hemmed the ends of the Strips then proceeded to add Velcro to them.

I stuck the Velcro on with glue then I waited for it to dry. Next I sewed around the edges of the Velcro to make sure they were secure.

Velcro Wrapped


Since these Strips are going to be Straps I had to make sure that I put the Velcro on the right way. Therefore I did one strap at a time.

I found that one part of the Velcro had to be on Top of the Strip and the other half had to be on the Bottom.

The above photograph shows this better than describing it. The left one is just stuck together. The right one is wrapped up to be tidy.

There you have it a pair of customised Owl Knee Pads.