Showing posts with label time. Show all posts

Thursday, 13 October 2022

Time to throw in the T-owl 2022 Part 4

 Time to throw in the T-owl 2022 Part 4

The reason that I did not fill in all the Feather details is in two parts. First I only want a Template at present. Second I want to cut out some Card and add Colour to the Owl.

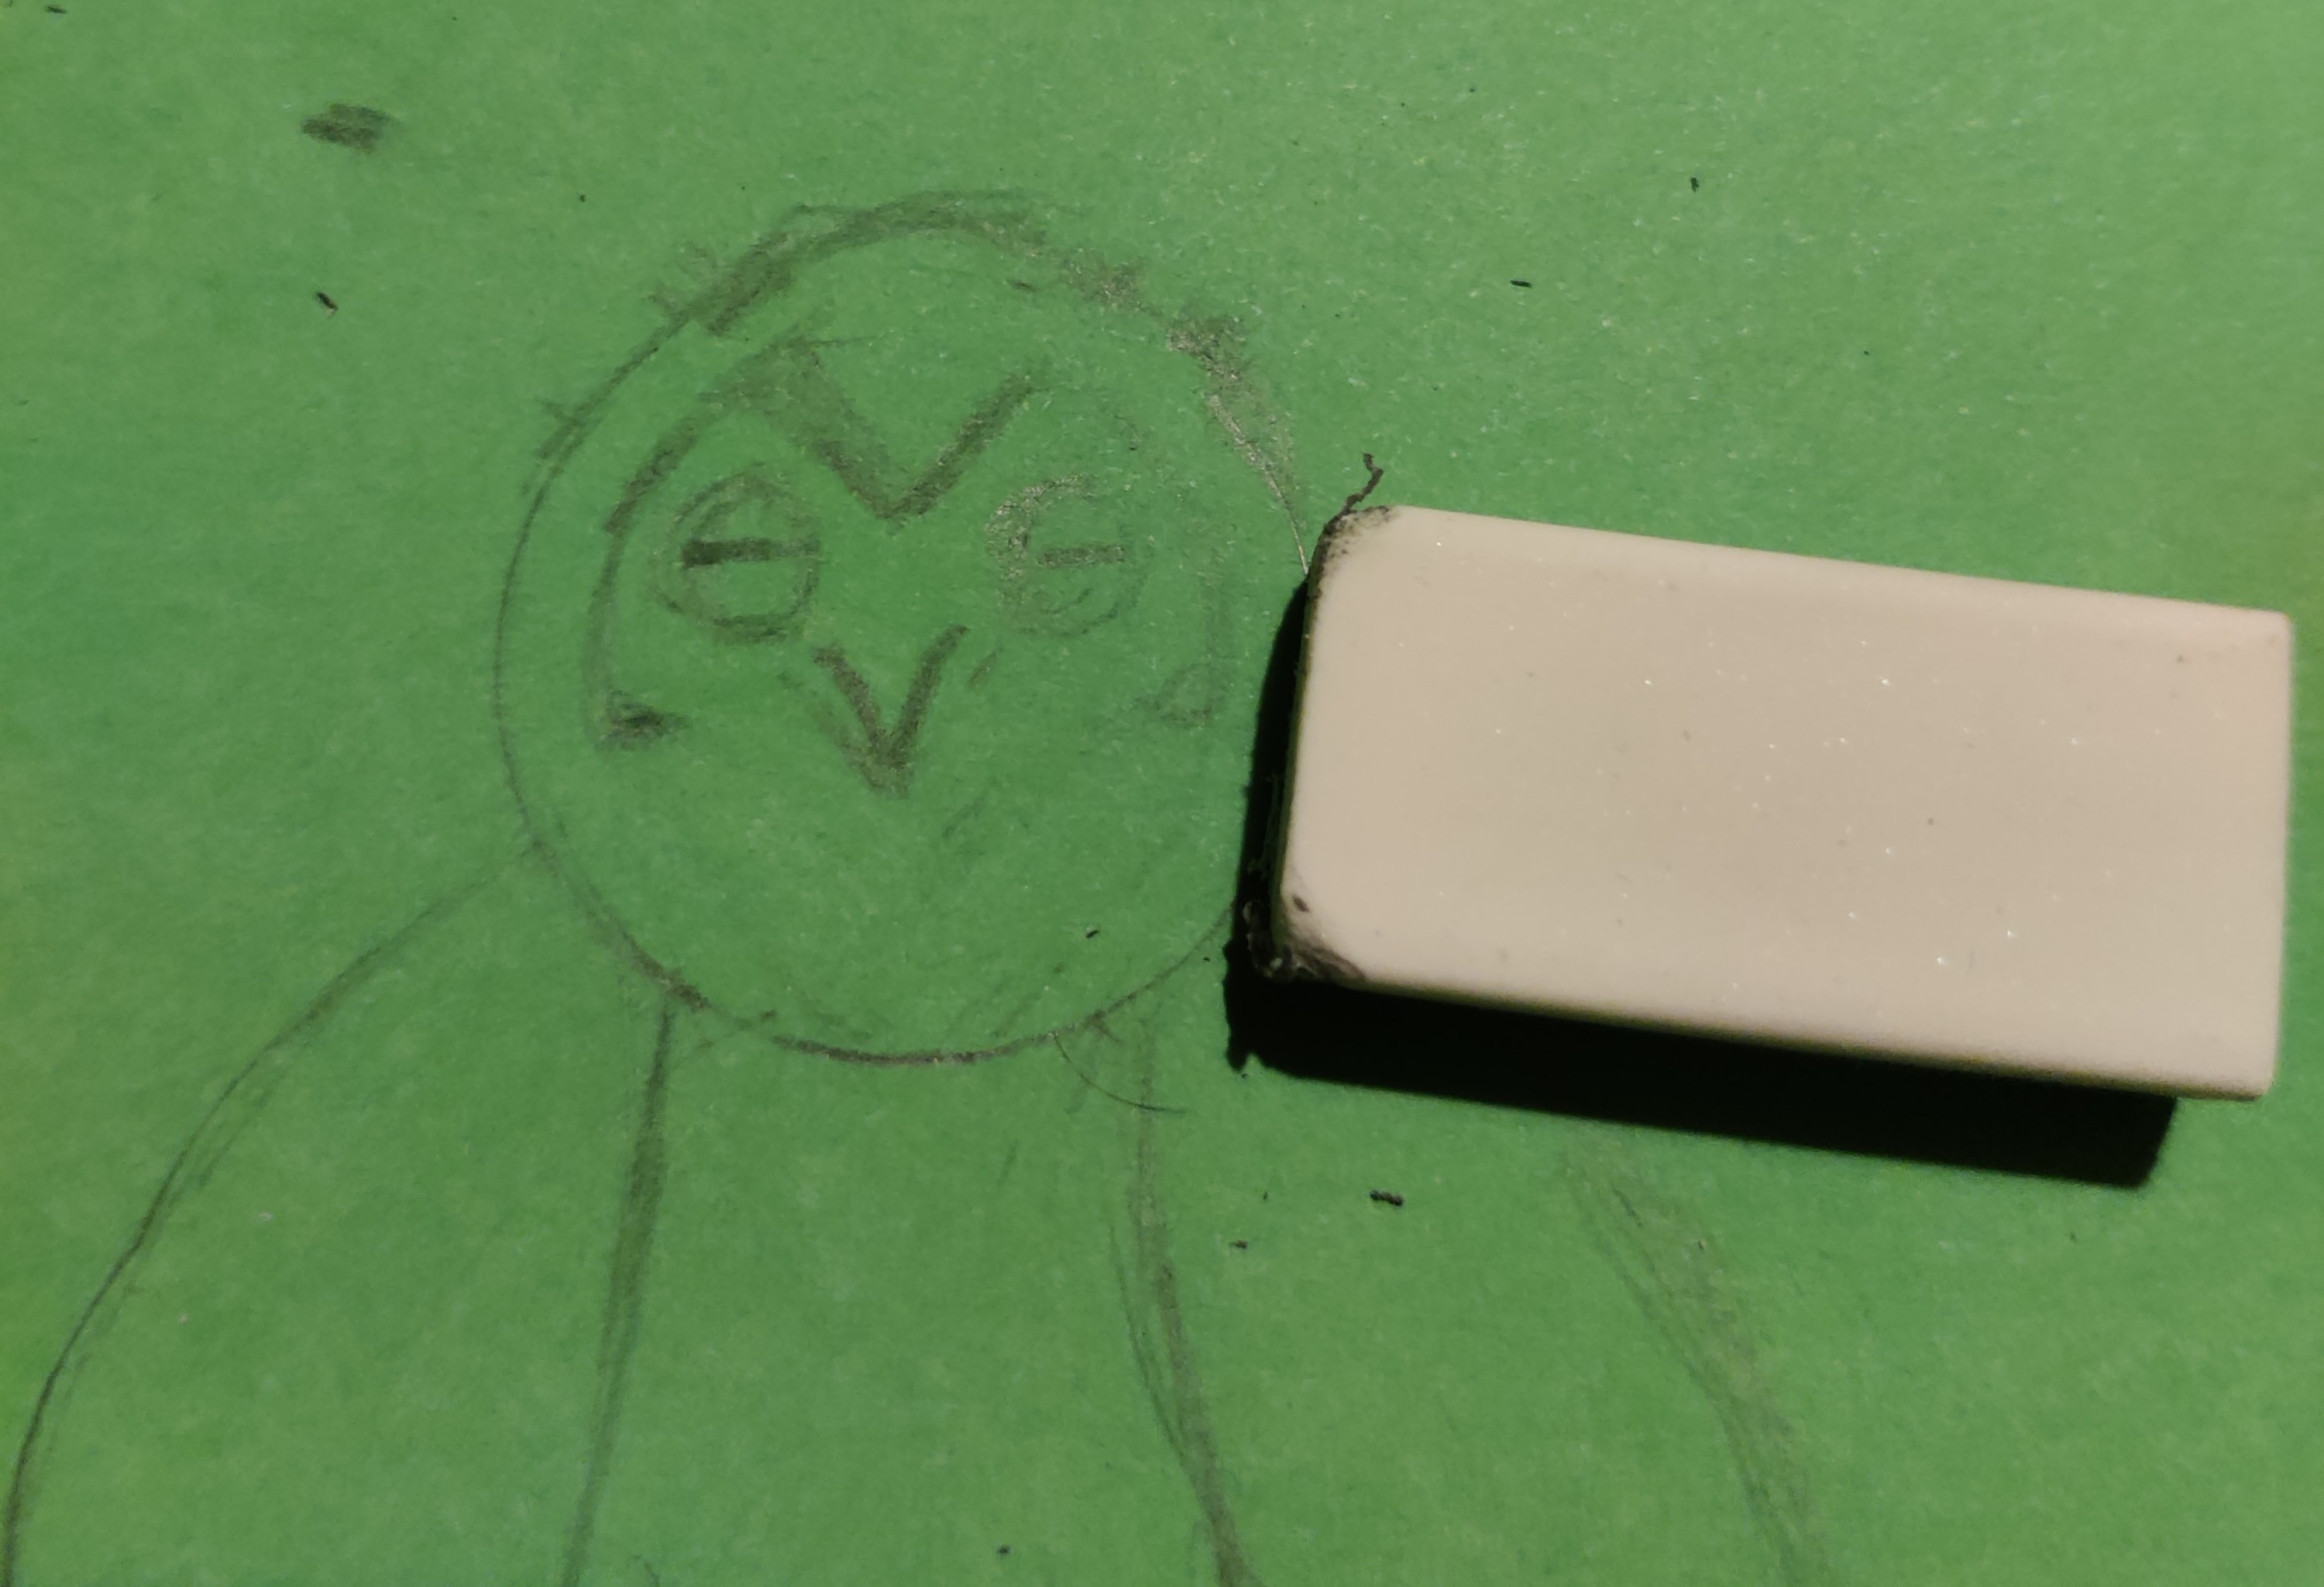
Heavy Pencil


Using a Pencil I went over the Outline of the Owl. The idea was to imprint the Template onto the Inside so I could use that for the Inner Drawing.

Black Marker


To my Horror I found the Imprint had not come through even after several tries. I thought perhaps using a Black Marker would work.

No it didn’t. Therefore my whole idea has been thrown out. I am going to have to have a complete rethink.

One Eye


I had spent so much time trying to get the Template to come through I now was running out of time. My friend would be here to pick me up in the morning and it was now coming up to midnight.

I therefore decided to cut my losses. Instead of doing the Card Feathers I was going to have to Draw them on. This meant that the Card would be quite bland to my mind. I hit upon the idea of adding a Googly Eye

UB40


This sparked a spot of inspiration. I added an Inner Sheet of Green Paper and glued it down. I quickly wrote a message on to the Paper. You are 40 Today. I filled in all the Letter O’s with the Black Marker. This would form the base.

Eye-Eye


I then selected various sizes and added 3 Googly Eyes. I added my personal message on the opposite page.

My friend arrived and I gave her the Card and she loved it. I then explained what it should have been along with the Rough Sketches,

She quite understood. It goes to show that True Friends will accept stuff that isn’t perfect because they recognise the effort that it put in. That is the Real Birthday Gift!

Thursday, 6 October 2022

Time to throw in the T-owl 2022 Part 3

 Time to throw in the T-owl 2022 Part 3

Time to move on to the real thing. I apologise for the pure quality of the photographs.  I may have changed the order to make it easier to follow

Draw Circle


I had a hard time choosing what colour Card to use as my Friend dislikes certain colours. Naturally those were the colours I had in stock. Finally I found some Green Card. I Drew a Circle using the Outside of the roll of Tape.

Draw Inner Circle


I used the Inside of the Tape to Draw the Inner Circle.

Rub Out Excess


I Rubbed out the Excess lines before I moved on. I am going to use the Eraser a great deal I think.

Adjust Face


Some photos didn’t come out at all so I have had to mess around with the order. I had drawn the Face but now I needed to Adjust it.

Tape Curve


To make the Wings I used the Tape as to make sure that I had the same kind of Curve. This is was easier said than done trying to place it in the right position.

Adjust Talons


I need to make better Talons. I decided the best way was to Draw seed like ones on the ends of the legs. Then I could add the Sharp parts.


Pencil Outline Complete


I have finally got the Pencil Outline that I want. I haven’t added all the Feathers for a reason. I will discuss this in the next blog.

Thursday, 29 September 2022

Time to throw in the T-owl 2022 Part 2

 Time to throw in the T-owl 2022 Part 2

I never like to make things easy for myself. In this case I decided that I wanted to have an Owl on the inside too.

Rough Inner Sketch


The idea was to have the Inner Owl awake. Therefore I needed to open the Wings.

More Bat than Owl


I decided to start another Sketch to work on. Okay I know I wanted the Wings open and more Feathery but even to my unseasoned eye this looks more Bat than Owl.

Inner Sketch Feathers


I suppose that the Feathers made it more Owl like but I cannot pretend that I was entirely happy.

Edit Face


I decided to return to my first Inner Sketch. I wanted to fix the Face. It was too cartoony for my liking. I had been puzzled by what was wrong with the Face. Then it struck me. It was the Ears.

Now some Owls have Ears you can see and some do not. However what they certainly do not have is Ears on top like a Cat. I began to Edit the Face starting with the Ears. I have to confess that I searched for Images of Owls on the Internet.

Edit Talons


I Edited the Talons. I made them thicker and sharper. I also changed the underbelly of the Owl. You can just see the outline of the Branch that I have it sitting on.

Edit Front


As you can see from the above photograph I have added more detail. I have added V shaped Feathers to the Wings and long V shapes to the Front.

Compare the Two


I have now completed my two Rough Sketches. They are quite different. Naturally I will be using the Inner Sketch as a Basis for my Front Page of the Card.

Thursday, 22 September 2022

Time to throw in the T-owl 2022

 Time to throw in the T-owl 2022

Another last minute idea. Only this didn’t come out so well.

What Design


It was my friends 40th Birthday coming up as in less than 24hours and I couldn’t find a single card that I like not even on the web. I decided to do an Owl which is one of her favourite Animals.

Rough Circles


Firstly I have to say that I am not a good Drawer. Therefore I need to start from the very Basics. Therefore a Rough Draft would be prudent. Firstly I Drew 2 Rough Circles. One on Top of the other. I now have a badly shaped Snowman.


Adding Face


Okay I now have Ears, Nose and Eyes. Something doesn’t look right but I can’t work out what at the moment.

Add Wings and Claws


I added some Claws though as it is an Owl I suppose I should say Talons. I also Drew some Simple Curves as Wings.

Elongate Wings


As I needed to make the Wings more realistic I Elongated them by adding a few extra Lines. The former Lines would be rubbed out later.

Add Curves


I added some Curves to give me an idea of Feather Spacing.

Feather Lines


I added more Lines to give more detail for the Feather Sections.

Wake Up


I added some Eyelids, a Mouth and a notice saying Wake up.

I now had an extremely Rough Draft and a Concept. I was going to have a Sleepy Owl on the Front of the Card.

Thursday, 20 May 2021

Autumn Cape – A Long Term Project 2021 Filling Time

 Autumn Cape – A Long Term Project 2021 Filling Time

Would you credit it? I have had the Leaves I Knitted under my nose for months and now when I want to use them they have gone walkabout.

Gap Fox Side


Since I cannot do what I planned until I find the Leaves or make some more I am reduced to doing a spot of Maintenance.

As you can see in the above photograph there is a Gap at the Top where I have added extra Rows.

Fox Side Sewn


I proceeded to Blanket Stitch the Two Parts Together.

Gap Badger Side


I have the same problem on the Badger Side.

Badger Side Sewn


This was easier to Sew as I had left a long Tail when I Knitted whereas on the Fox I had to find the Wool to Match.

Top Rim Tidied.


Finally I Sewed the Top Rim to make it Tidy.


Thursday, 6 May 2021

Triple Treat Time 2021

 Triple Treat Time 2021

It was my Boyfriends Birthday recently. I decided to make him a Cake. So much effort went into it I decided to take photographs and turn it into a blog.

Basic Ingredients

12 Oz’s Flour, 12 Oz’s Butter, 12 Oz’s Caster Sugar, 3-4 Large Eggs, Packet of Marzipan, Large Bar of Chocolate, Teaspoon Baking Powder, A bit of Water and Butter for greasing.

Flavourings

Vanilla Essence, Chocolate Powder, Maple Syrup

Made to Measure


My first Challenge is lack of equipment. My scales battery was dead so I was forced to use the old fashioned way of measuring Ingredients by using a Marked Measuring Jug. Therefore a great deal of this recipe was done by eye. So adjust wisely.

Like Breadcrumbs


Add Flour and Sugar together in a Bowl. I didn’t have enough Caster Sugar so I ground some Granulated Sugar with a Mortar and Pestle. Then add the Baking Powder and Butter and Mix until you get Fine Breadcrumbs.

Next add the Eggs. The number depends on the size. I put in 3 then thought the Mixture was still a little thick so added another one.

Vanilla Swirl


When the Mixture is smooth add the Vanilla Essence. Either use a Capful at a time or use a Spoon. I tend to be heavy handed so put a good dollop in.

Divide in 3


Next fun part. I didn’t have enough tins of the right size or shape. Hence the reason it is a Tower instead of a Circle. I used Bread Tins. The Two Outer ones are the same size. I tried to Divide between them reasonably equally. There is more mixture in the Centre one as no more Ingredients are to be added to it.

Chocolate, Vanilla and Maple


I added Chocolate Powder into the Left. Technically it should be Coco Powder but I didn’t have any. In the right I added Maple Syrup. I Mixed both well in.

Well Raised


Cooking was a little tricky. I preheated the Oven at 180 degrees. With two different sized Tins and 3 slightly different levels of mixture this is definitely a watch the oven recipe.

I gave it a good 20-30 minutes then tested with a knife. The Cakes were all still gooey. Therefore I put them back in and checked every 5-10 minutes.

A Little off the Top


After waiting for them to completely cool I used a breadknife to slice off the Tops.

Triple Tower


The Chocolate one broke I will simply put that one in the Middle of the Tower. I then levelled off the Edges to make it smoother to cover.

Off Cuts


I put all the Off Cuts into a tub. These are ideal for either having with custard or as a base for another Cake. Remember these can be frozen for another day.

Franken-pan


My kitchen is often too hot for certain types of cooking. Marzipan can be a nightmare. I did this at 1am but still had problems. I rolled it out flat but it broke on lifting. Therefore the result looks like a Doctor Frankenstein creation.

Smooth Operator


In order to make it easier to add the coating I used a bit of water to Smooth down the Marzipan to make it a little more presentable.

Melt Chocolate


Break the Bar either of ordinary or Cooking Chocolate and place in a bowl. Get a pan add water and place bowl in. Normally you heat the water first but I started with cold and heated so I could control the melting process. DO NOT LET WATER BOIL DRY OR BUBBLE OVER THE TOP.

Happy Birthday


Let the Melted Chocolate cool until it starts thickening slightly. I poured it over the Cake a bit at a time and smoothing it over with a knife. Once completely hardened I added the candles.

Triple Treat Inner View


This is the Inner View of the Cake when sliced.  The amount it feeds depends on how you slice it. We had at least 3 portions each and fed several of the neighbours into the bargain.