Showing posts with label Flower. Show all posts

Thursday, 1 December 2022

Butterfly Banquet 2022

Butterfly Banquet 2022

First of all I have to say I can claim no praise for this idea as it is not my own. I was given as a present a subscription to a well-known wildlife charity.

As I was flicking through I came across the concept for making a Butterfly Feeder. Though designed as something to occupy children I couldn’t help myself.

Inverted Dish


First of all you need a Paper Plate. I didn’t have any in stock. Therefore I decided to use a Paper Dish. Now the Inside of the Dish is Shiny and unlikely to hold Colour well. So I simply Inverted or simply put turned Inside Out so I could work on it.

Centre


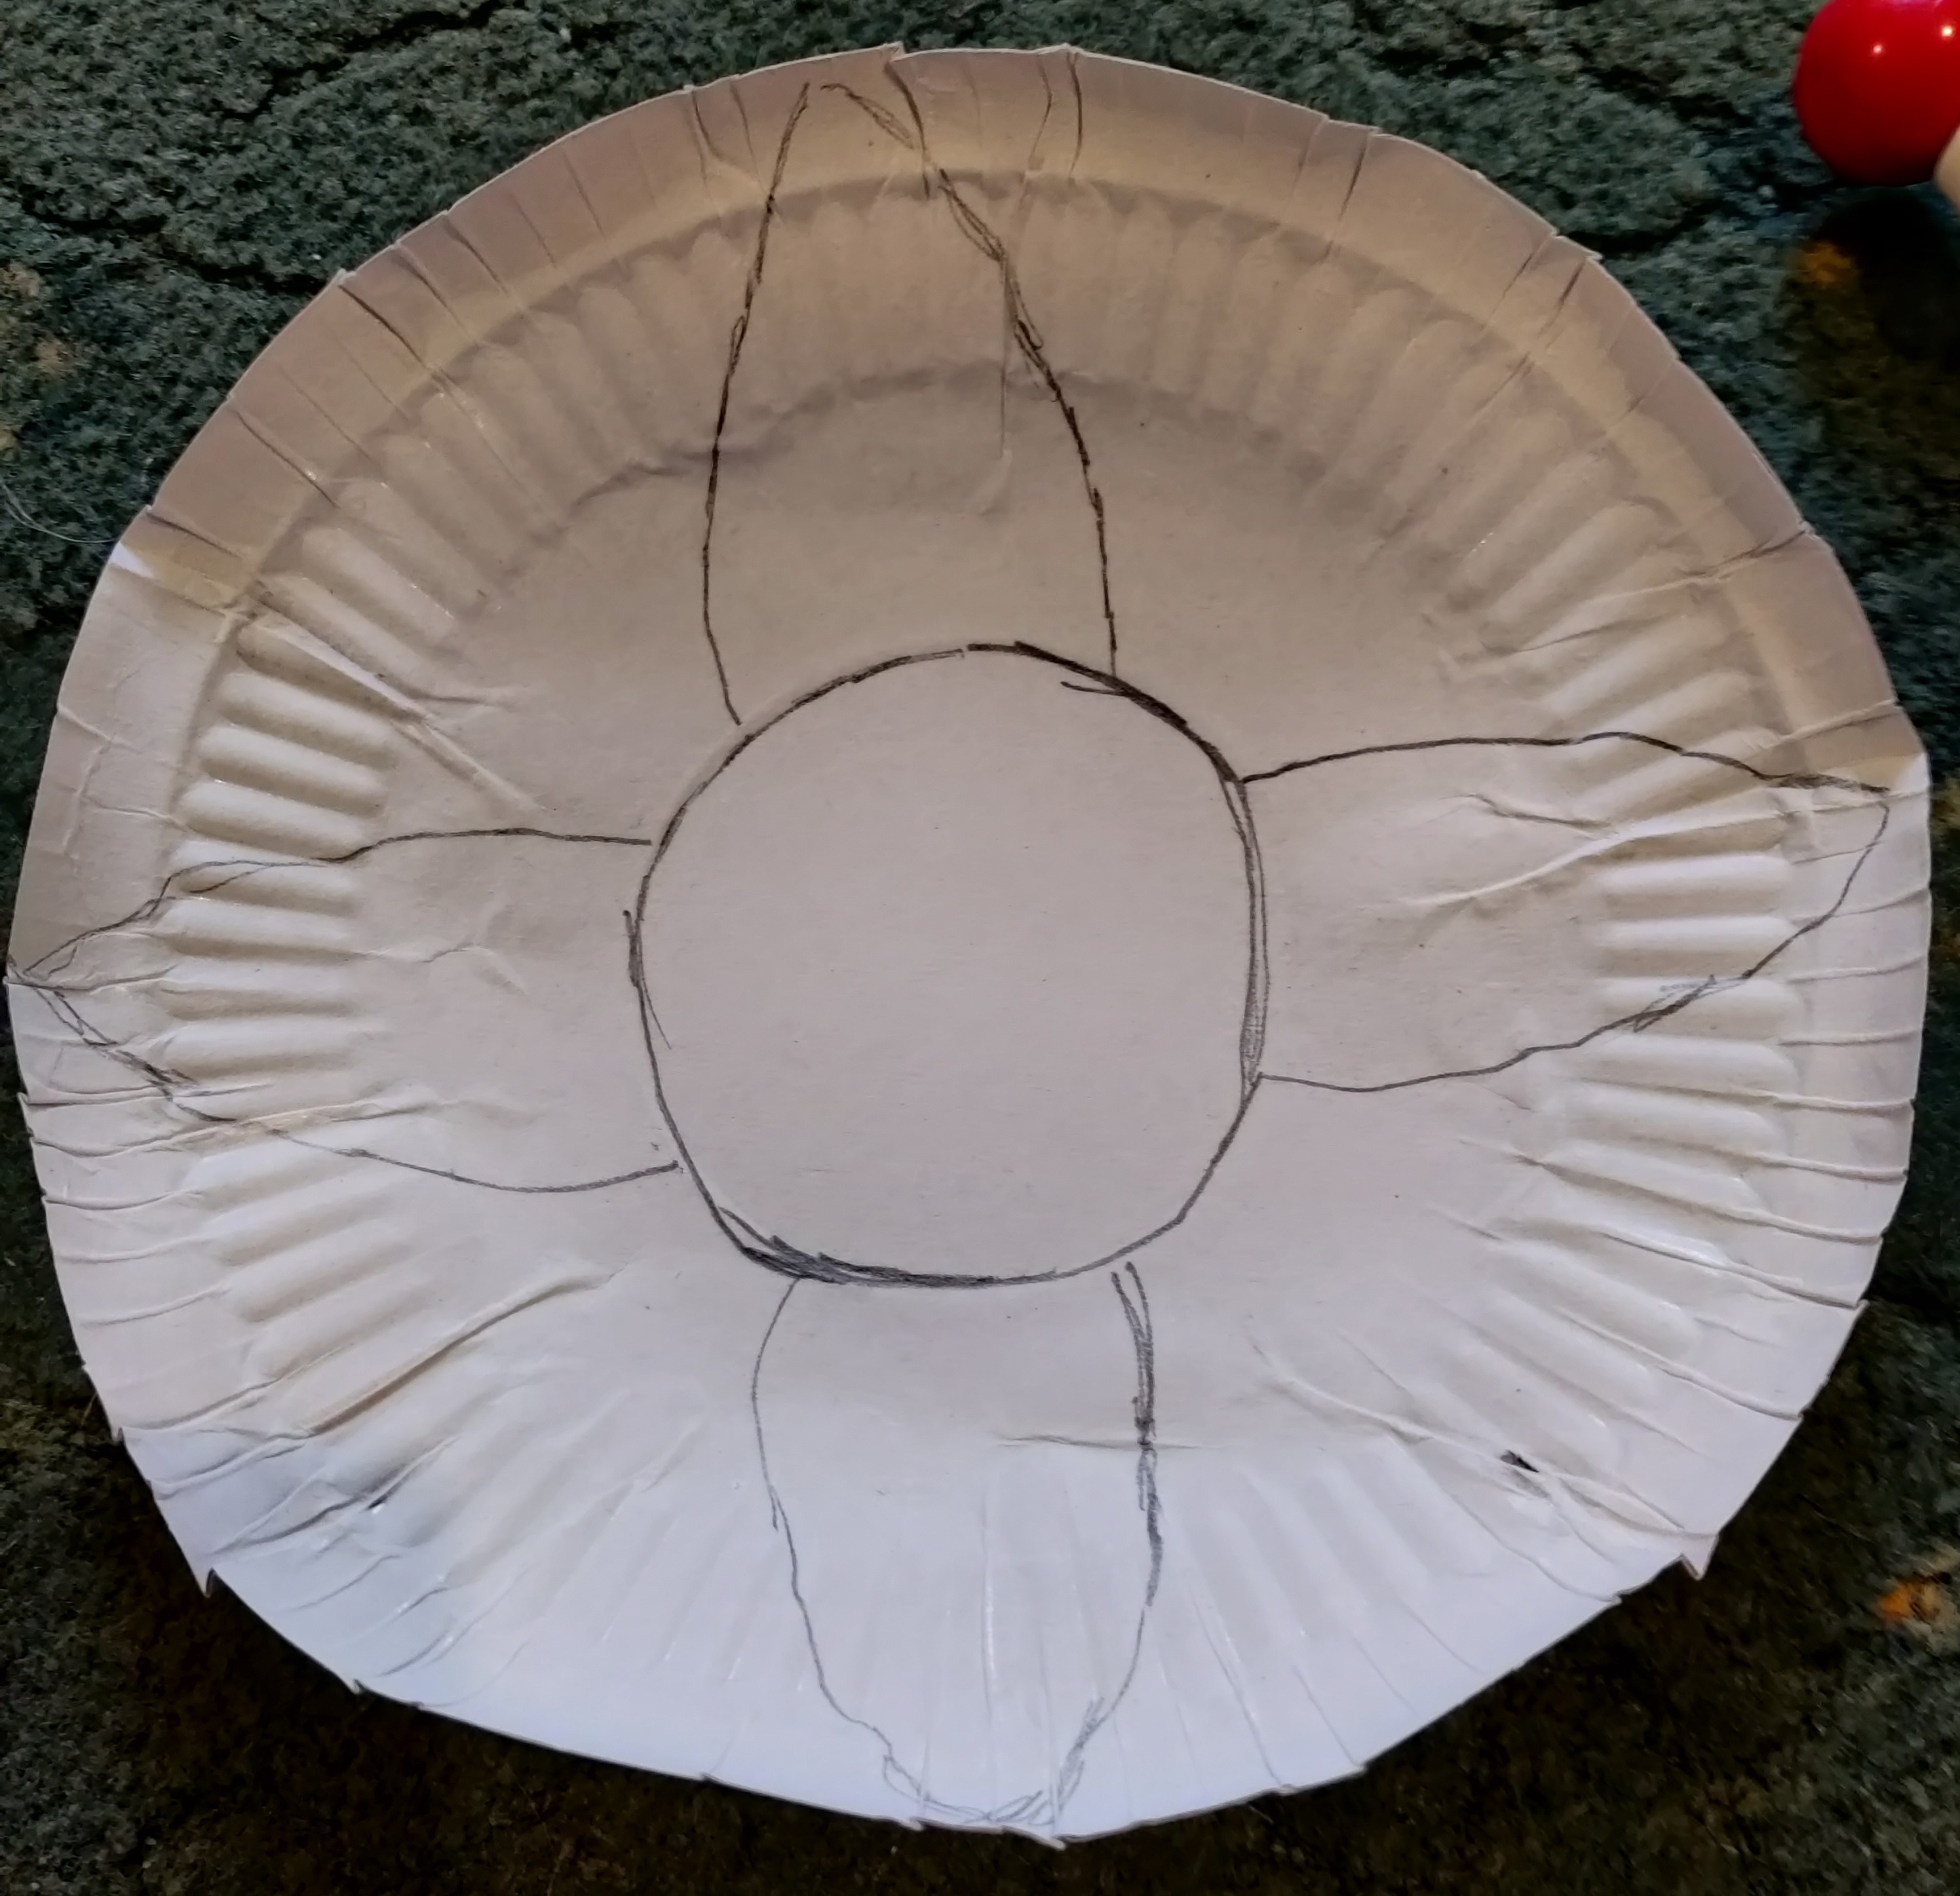
I didn’t want to bore you with lots of photographs so this is a two part one. I found the Centre and hand drew a Circle. I did this by eye rather than mess about with measuring.

Next I added some Petals. I had no particular Flower in mind so I decided to add them Compass Style. I.e. North, East, South, West. When I was at school we learnt the compass points to the phrase ‘Never Eat Shredded Wheat’. However apparently that isn’t allowed anymore and now it is ‘Naughty Elephants Squirt Water’.

Extra Petals


Once the main 4 Petals were drawn I simply filled in the Gaps. As well as making a Feeder this is a pretty good way to teach Children the Compass.  The remainder points starting from the Top Right are of course.

North East, South East, South West, and North West. Thankfully I am not adding the others but for those that might want to add a few Leaves here is the rest.

North North East, East, North East, East, South, East, South South East, South South West, West South West, West North West and finally North North West. Who says my blogs aren’t intelligent?

Thursday, 20 September 2018

What Blooming Flower Is It? 2018 Part 7

What Blooming Flower Is It? 2018 Part 7 

I have finally finished the embroidery part of the project – I hope. Therefore I have to sort out the embellishments.

Finding the Edging


I cannot count the amount of Edgings we (Laura and I) went through to try and find the best way to decorate the Bottom of the garment.

Since there were different coloured Flowers we had many colours and shades to choose from. In the end we decided that since the one thing all four Corners had in common were the Leaves we should edge it in Green.

This was easier said than done but we finally found a shade and type of edging that we both liked. As you can see in the photograph the Tassel Fringe has more than one colour in its make up.

Neckline Mistake


Finding the right colour for the Neckline was not quite as difficult as we now had an idea what colour we should be looking for.

The only slight snag is when it was done I found that I had cut the Neckline a little too snuggly. Although I could get it on it was a little tight getting over my head and I certainly couldn’t do it without knocking my glasses off.

Laura bless her little cotton socks was kind enough to cut and resew the Neckline for me.

Blue Blooming Flower


The lighting in my flat isn’t very good so I decided to take it outside and hang it on the line. This way you can see it as if it was being worn.

Purple Blooming Flower


Here is the view of Purple side. I have to say I am very pleased with the way it has turned out. We are still debating whether or not to add anything else to the Neckline. However if we do it will be next year as the weather has now taken a turn for the cooler.

Garment Care


One subject I haven’t really touched on is what to do after I have finished my Blooming Flower Poncho. Needless to say with all that time with parts on the floor and oil from fingers it needs washing.

I generally hand wash items I have made. This is because firstly I want to make sure any colour doesn’t run and secondly in case some of my stitching is a bit loose in places. The last thing I want is it unravelling in the washing machine.

Therefore I use medium hot water with detergent to wash and rinse. I then squeeze out as much water as I can then give it a good flap around to help eliminate some of the creases.

I generally iron when items are wet. In the case of Linen I think this is a must as it can be very difficult to get the creases out. Now usually with any kind of decoration e.g. transfers or sequins you iron on the Back. I however due to the stitching being hand sewn have ironed on the Front.

Doing it this way I avoid snagging on any of the threads. I can also gently stretch out the material as ironing it. Then when still damp I hang it up to air dry. It doesn’t have to be done this way but I prefer it.

Thursday, 30 August 2018

Boxes Galore 2018 Part 5

Boxes Galore 2018 Part 5

I have entitled this Box my Flower Power Box because of its flowery pattern.

Flower Power Box


I have decided on a change of colour. I am starting with Red, Bright Pink and Pale Pink

Inner Petals


After the initial Inner Petals were finished using a Red, Pale Pink and Bright Pink I changed the order.

The alternative Inner Petals were Bright Pink, Red and finishing with the Pale Pink

All around Inner Petals


Now I had the basic pattern on all the Inner Petals I needed to join them up. This involved adding two extra Gems on the longer Petals.

Towards the Centre


I continued the process of adding extra Gems working towards the Centre.

Full Bloom


Once I had finished the Inner Petals I could start work on the Outer Petals. In addition to using the Red and Pink Gems I also added a Pale Purple. This helped spread out the other Gems and gave me flexibility when it came to designing the pattern.

There were two other possibilities with this Box. I could add more to the Centre and I could also put Gems around the Square lid. In the end I decided that less was more. Next blog is a new Box with a new pattern.


Wednesday, 27 June 2018

What Blooming Flower Is It? 2018 Part 5

What Blooming Flower Is It? 2018 Part 5

Two corners down two to go. Since the first pair of corners were quite dark in nature being Purple and Blue I wanted a change.

Crocus Corner 2


I am going to start work on Crocus Corner 2 beginning once again with the stems.

Crocus Corner 2 Leaves


I was still undecided what colours to use so I carried on with the Leaves

Crocus Corner 2 Yellow


Once again I edged the stamens in Yellow. I had toyed with using a different colour but in the end I decided to stick with what I had done previously

Corner 2 is in the Pink


Finally I decided to use Pink threads and did the outline in various shades

Crocus Corner 2 Outer Petals


I had quite a bit of fun with the Pink Crocuses or should that be Pink Croci?* I had lots of shades so I went  from quite vivid right through to pale.

Crocus Corner 2 Yellow infill


As I said last time I was getting bored with finishing with the yellow infilling of the stamen area. Therefore this time I reverted to the original format.

Crocus Corner 2 Pink Complete


Here we are with another corner finished. Actually due to lighting problems and the boredom of the Yellow infilling I have been naughty. I have been simultaneously working on Crocus Corner 4

*
For those wondering Crocuses and Croci are both acceptable.


Thursday, 14 June 2018

What Blooming Flower Is It? 2018 Part 4


What Blooming Flower Is It? 2018 Part 4

This is quite a short blog this week. I am covering the last part of Crocus Corner 3

Blue Outer Petals


Using the same technique as in Crocus Corner 1 I began to fill in the Outer petals in a series of mainly Dark to Mid-blues.

Blue Inner Petals


In this section I decided to have a bit of a change. On the previous corner I had filled in the Yellow parts. This time I decided to fill in the Inner Petals first.

Blue Crocus Corner Complete


Merely filling in the Yellow parts to finish off seemed tedious. I am wondering whether on the next corner to go back to the original order.


Thursday, 24 May 2018

What Blooming Flower Is It? 2018 Part 3


What Blooming Flower Is It? 2018 Part 3

I am now moving onto Crocus Corner 3. No you haven’t missed a blog I have skipped Crocus Corner 2 for now.

Crocus Corner 3 Stems


I know it seems strange to skip a corner but I do have my reasons. If you consider the shape of the material not as a square but diamond shape it makes more sense.

The first corner I have sewn in shades of Purple. It has made that corner quite dark. Therefore I want to make its direct opposite corner dark as well.

Crocus Corner 3 Leaves


For the leaves I have used various shades of Green as I did for the initial corner.

Crocus Corner 3 Stamen


Once the leaves were finished and I had checked that this time I hadn’t missed any I began in filling the stamens with a similar shade of Yellow.

Crocus Corner 3 Outline


Finally after all the stamens were finished – which is one of my least favourite jobs because they are so fiddly I could then start on the outlines of the blooms.

I was a little short on very dark Blue silks so I had to use some Mid-Blues to do some of the outlines.