Showing posts with label Knot. Show all posts

Saturday, 22 February 2025

Knitting Doll 2024 Part 5

 Knitting Doll 2024 Part 5

Have to confess I am not looking forward to writing this Blog. It is trying to split down a task that I do automatically and then stop at try and photograph whilst holding it. If all else fails google Slip Knots.

Pinch Loop


Taking one Tail End I am going to make a Slip Knot. However in order to show you I am having to make it Higher up. Therefore afterwards I will redo it at the correct point.

First form a Loop with the Tail End and Pinch it between Finger and Thumb. After that I Wrapped the Yarn around the Back of the Loop and brought the Tail around. See Photograph.

Double Wrap


I am Creating a Double Loop though it is not strictly necessary. It is helping me keep it in place whilst photographing.

Lift Bottom Loop


Lift the Bottom Loop using either your Finger of a needle. I recommend the Latter. Don’t Catch part of the Yarn like I have done.

Push Through Top


Push the Loop you Have through the Top one.

Pull and Slide


Then pull this Loop firmly then Slide up. This one was made deliberately High up for photographing purposes.

Loop at End


I have redone the Slip Knot. I started it nearer the End of the Cord so I could Slip it into its Correct Position at the End of the Cord.

The Major Problem I found doing this is that normally I do it at speed and often using a knitting Needle. Since doing this I found a Youtube video with a great description.

https://www.youtube.com/watch?v=oj21JDDSrgM

Here are some more methods of making a Slip Knot

https://www.youtube.com/watch?v=P4yMvLONsY0

These describe various methods. Not one of which was the one I was taught lol.

Friday, 17 January 2025

Xmas Hang Ups 2024 Part 2

 Xmas Hang Ups 2024 Part 2

Well after the silly mistake I have Restarted with the Correct Needles.

10 Rows


I have now completed roughly 10 Rows and the Cord is beginning to take shape. As you can see in the above photograph it is resembling Tinsel.

Finished Tinsel


I have finished Knitting and Cast Off. The Tinsel is now at least a Yard long or for those that use metric nearly a Metre.

Adding Decorations


I can begin to start Adding the Decorations. Taking one end of the Tinsel I start to Slide the Decoration on. Once in the right place I then make a Knot in the Tinsel. This secures the Decoration where I want it.

I continue Sliding the Decorations on and Knotting in place. I try to spread them out evenly.

Hanging Icicles


Voila. I know have a new Hanging Icicle Decoration for Xmas and it didn’t cost me a penny.


Friday, 27 December 2024

Mini Pudding Puzzle 2024 Part 7

 Mini Pudding Puzzle 2024 Part 7

The next Section of the Pattern calls for Ladder or Invisible Stitching. I have never done this before so I had to look it up. I will try to explain as I go along. You might want to read this a couple of times. Or do what I did and google it.

Knot


I am going to show you it along the White part so it can be seen better. First make a Knot. Then put your Needle through the White material.

Stitch Along


In the above photograph it is Showing you the White Section. In fact this the second time I have done this .( I did the knot. Then came across and put Needle through the Brown then returned across to the White)

Push the Needle Along the White Material a short way. Then Crossover and put the Needle through the Brown.

Forming Ladder


I kept repeating the process and as you can see the Thread is forming what looks like the Rungs of a Ladder. I did this until the End.

Difference Between


In the photograph above you can see the Difference Between my normal Blanket Stitch and the Invisible Ladder Stitch. I repeated this process for the other three Seams.

Remove Tacking


With all the Stitching done I could now Remove all the Tacking Stitches. I trimmed any threads that were awkward and wouldn’t come back out.

Bakewell Museum Link

https://www.oldhousemuseum.org.uk/

Thursday, 15 December 2022

Butterfly Banquet 2022 Part 3

 Butterfly Banquet 2022 Part 3

On to the next stage

Make a Hole


I had to add some Holes so I could put Thread through to hang it. I needed it equal so I decided to put the first one through near the Top or North North East if you prefer.


Thread and Knot


I cut a piece of String and Thread it through from the Back of the Dish. I then Tied a Knot to stop it coming through.

All Tied up


I then proceeded to repeat this process 3 more times. To strength I added extra Knots at the edges. Once done I Tied them altogether with a Central Knot. It would now be ready for use.

*****

As I stated previously the above Dish is just for show. This is because I neglected to take photographs when making the original. Here are some photographs of the Original in use.

Blueberries


Before you can Feed the Butterflies you need to add something to the Dish. Have you ever seen the expression of a Market Vendor when asking if they have any Rotten Fruit? 

This is because Butterflies are attracted to the decaying juices. I obtained some Blueberries and my Boyfriend kindly Hung up the Feeder for me. We had to hang it up High because of the Cats in the area.


Gone Windy


Just one thing. Don’t do it on a Windy day because this is what happens!

Thursday, 22 April 2021

Out of Zone Accessories 2020 Part 3

Out of Zone Accessories 2020 Part 3

On to making the Brooch.

Brooch Edging


I took a piece of black material approximately 3 inches Wide. It was quite long so I Folded behind and Hemmed it all the way around. I took my Copper Wire and made a Knot.

I Sewed through the Knot to secure the Wire. I then Sewed through the Copper Wire Links all around the Edge.

Brooch Timepiece


Amongst the items that my friend Laura of https://www.alyssa-rose.co.uk/ was a delightful little Button Timepiece. I Sewed this into the middle of the Cloth.

Brooch Cog 1


I started in the Bottom Right Corner and began to Sew some of the Copper Wire onto the Cloth towards the opposite Upper Corner.

I Sewed the 1st Silver Cog into place then bent the Wire around it and secured it.

Brooch Cog 2


I continued Sewing the Copper Wire and placed a Bronze coloured Cog on the Material. I Sewed the Cog in place then manoeuvred the Wire around it and under the Button.

Back Brooch Pin


At this point I thought it would be a good idea to tidy up the Back of the Brooch. I used a Backstitch along the two Edges.

I Sewed the Flap and added a Safety Pin after I had finished adding the rest of the Cogs and Copper Wire.

Brooch Cog 3 & 4


Starting from the Upper Left Corner I added another Knotted Copper Wire. Using the same technique I added two more Cogs. 

Finished Brooch


I had found one more Cog hiding amongst my bits and pieces. I had Sewn the Copper Wire in place and slipped it into place and secured. I now had a Finished Brooch to add to my collection.


Thursday, 8 April 2021

Out of Zone Accessories 2020 Part 1

 Out of Zone Accessories 2020 Part 1

Continuing on from Out of Zone Mask 2020

I couldn’t just stop at the Mask. I had to Accessorise. I had tonnes of Copper Wire already Plaited so all I needed was the inspiration.

Copper and Cog


I hadn’t used all the Cogs up on the Mask as sometimes less is more. The little beauty in the above photograph was dying to be used.

I therefore made a Knot in one end of the Wire and slipped it through one of the Cogs holes.

First Washer 


The next part was slightly trickier. I Looped the Wire through the Washer and pulled firm. I had to undo and redo this several times to get the Distance that I wanted between the Cog and the Washer. I then ran the Wire under its back then Looped it again around the other side.

Second Washer


Now I had one Washer in Place I repeated the process with another Washer. I am not putting any more on since they are metal and I don’t want it to be too heavy.

Earring Hoop


Earring Hoops were the one thing I didn’t have so I ended up buying a job lot off eBay. I sorted out which colour looked best then slipped the Wire through the Hole. I then Cut the Wire and Wound it back upon itself.

I made the other one and tried them on. They weren’t only still pretty light but also looked Fabulous!

Wednesday, 13 January 2021

Mademoiselle Medic 2020

Mademoiselle Medic 2020

2020 has not been a good year for anybody. Queueing, Social Distancing and Face Masks have become the new norm.

They say necessity is the mother of invention and I have been coming up with a few nifty Face Masks. So I thought why just stop at friends and family?

Mini Mask Outline

I have decided to make a Mini Mask for our old friend Mademoiselle Marionette.  This isn’t as easy as you think as it is not just a case of scaling down.

Mademoiselles Face is different to a Human one both in shape and of course firmness. Neither does she have ears. I will have to sort problems as I come across them.

Hemmed Mini Mask


I have found a small lid to make a rough outline. It wasn’t rectangle but it doesn’t matter. First of all I make a Hem to prevent Fraying.

Elasticated Mini Mask

After the initial Hem I make a second one but only at the Vertical Sides. I leave a gap large enough to thread through some Elasticated Cord which I then Knot.  This will enable me to have something to put a small pin through so she can wear it.

Cut Out Apron


Once I had completed the Mini Mask I thought why stop there. I drew a template for an Apron, folded it in half and Pinned so both side would be equal when I Cut Out.

Apron Hemmed


Once again it is back to the Hemming. I seem to do more of that than anything else these days.

Completed Apron

When the Hemming was finished I found some White Ribbon and after Hemming the ends to prevent Fraying I attached them to the Apron.

Thursday, 10 December 2020

Evening Masks 2020 Part 3

Evening Masks 2020 Part 3

With the Ribbon added I can continue with the Embellishments.

Dismantle Earrings


I bought some Earrings but lost one of the Beads. Therefore I have decided to Dismantle them and use them on the Mask.

Single Strung Bead


I take a Single Thread, double it and Knot it through the Bead leaving a long double strand.

Strung Beads


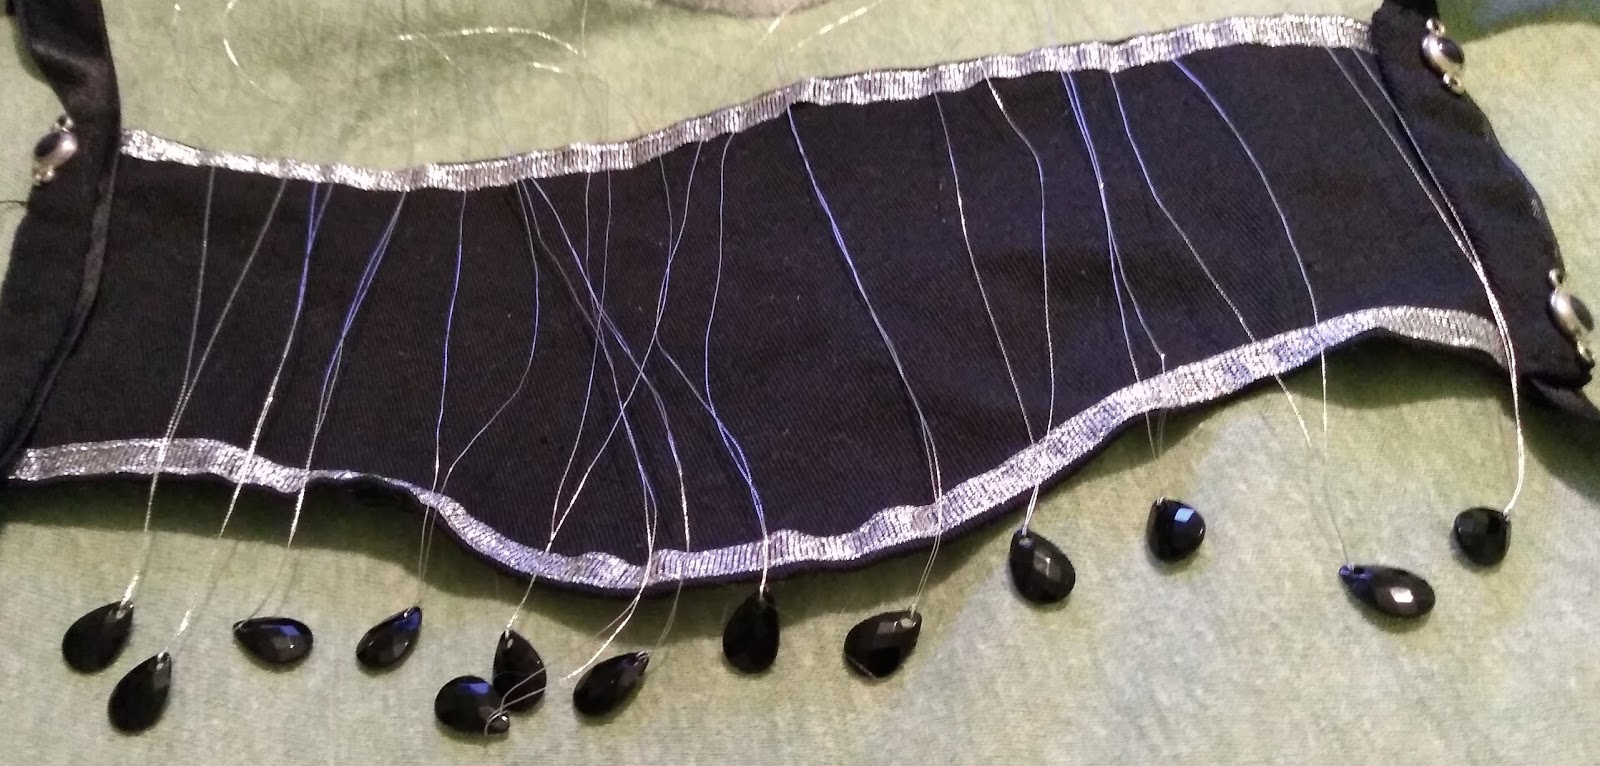
I then continue to Thread the rest of the Beads.

Sewn Beads


I Sewn the Beads on starting at the Centre and the Two Edges. This will help me check the spacing.

Matching Earrings


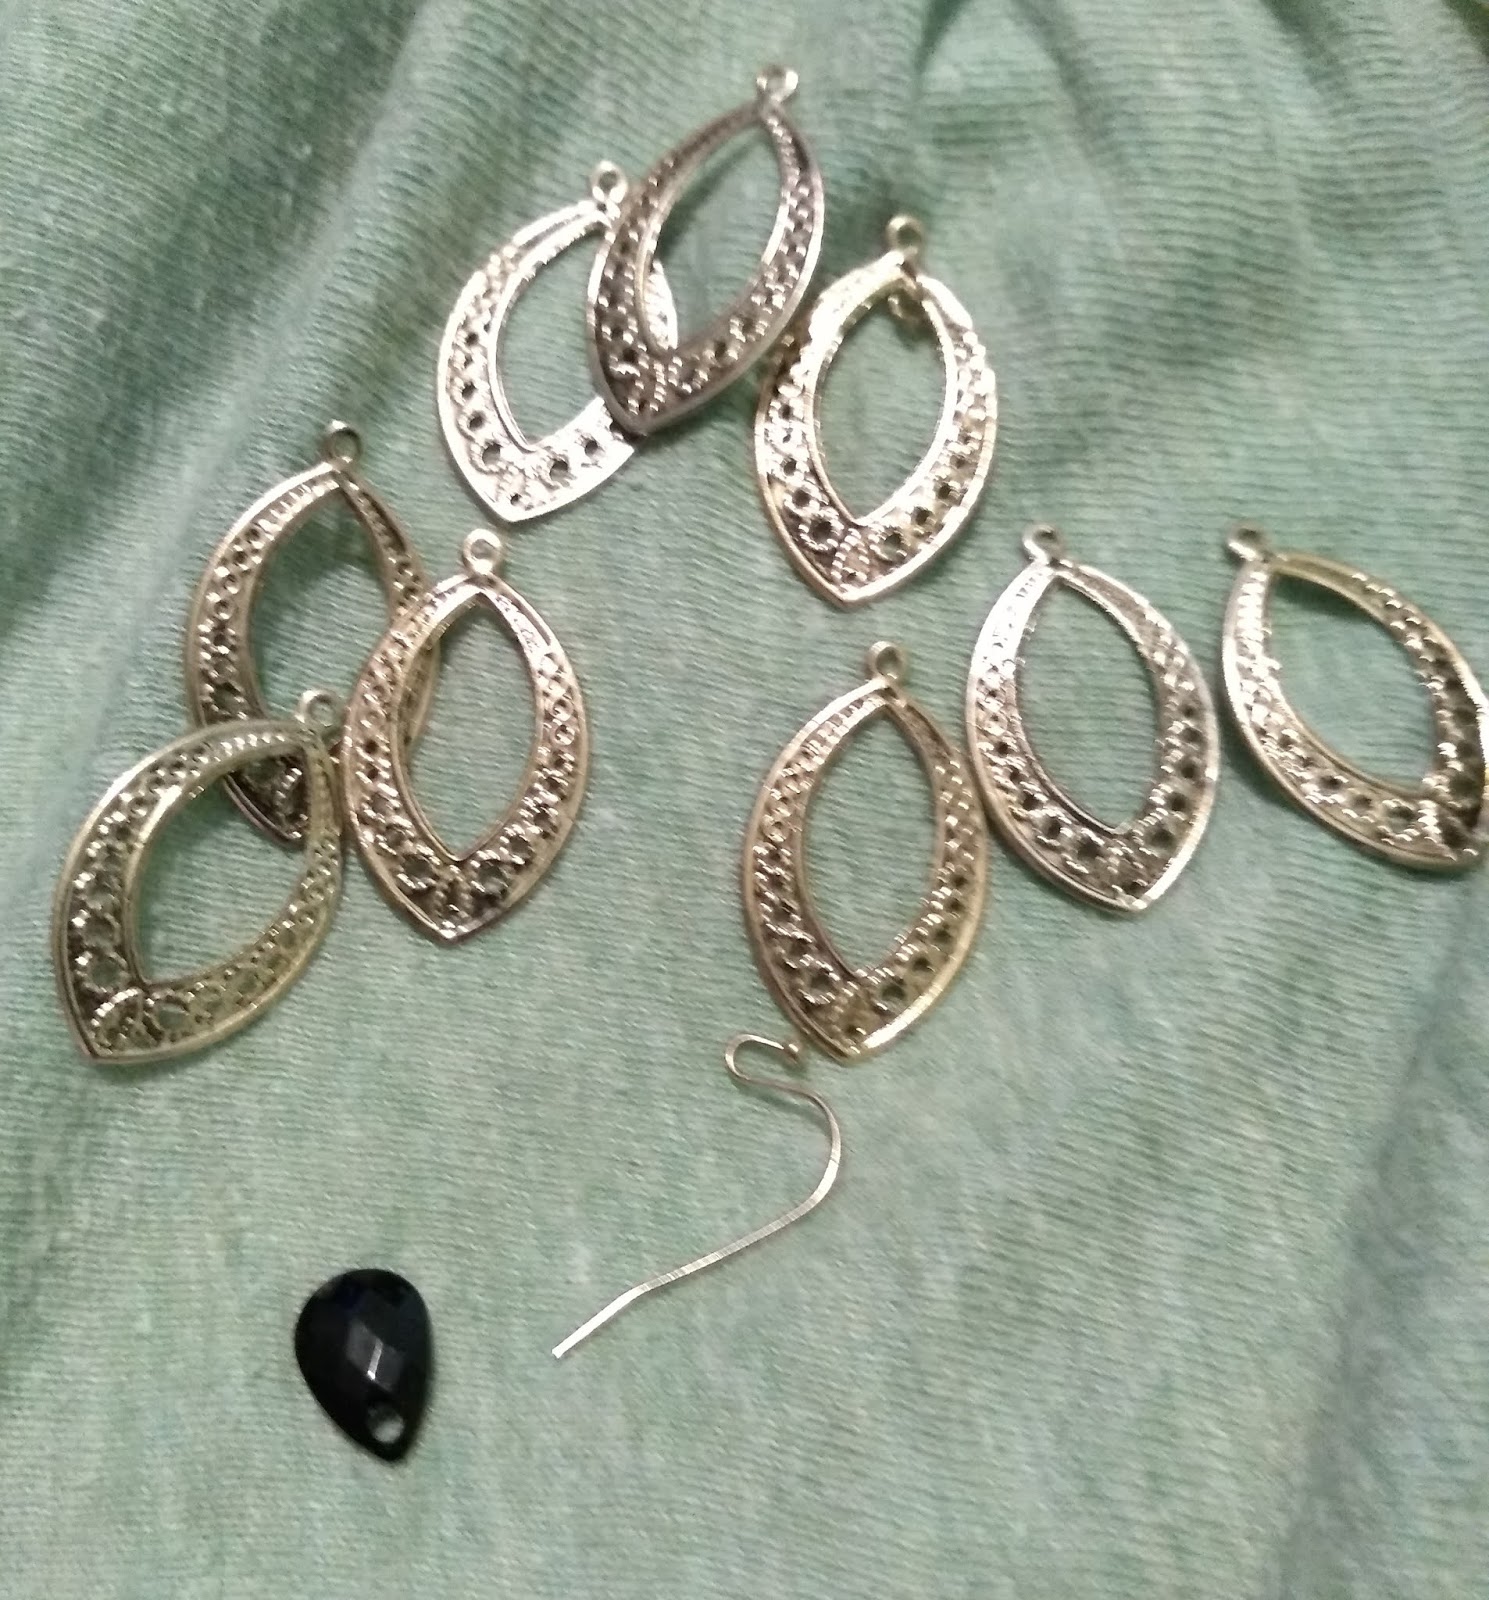
I found that I had some spare Beads. I removed the Thread and slipped them onto the Hooks that I had fortunately saved.

Front Mask View


The above photograph shows the Mask along with the outfit I wore for my Birthday.

Side Mask View


Here is the Mask viewed from the Side. As well as being nicely shaped it is quite comfortable. It certainly made an impression on the Manager of the Mount Gurkha Restaurant.

When he found out that I had actually made it he asked if I had a shop. I think he was hoping to buy some for the ladies of his family. I was so proud. In all it was a wonderful Birthday.


Thursday, 25 July 2019

Watch Out There’s A Minx About 2019 Part 4


Watch Out There’s A Minx About 2019 Part 4

Now I had the outfit I wanted to add an Accessory. This was in the form of a Catapult. I would like to point out that this is not designed to actually work.

Catapult Material Selection


I found a Twig and then gathered a selection of materials that I thought I might need.

Twig Excess Removed


The first thing I did was level off the ends and remove any excess bumps that I might catch myself on.

Catapult 1st Elastic


I found a few pictures of various types of Catapults. I picked one that had thin Elastic. I tied one end of the Elastic around the Right Side of the Twig.

Threading Catapult


This Catapult has a Leather part that is used to hold whatever is to be fired. I was lucky enough to have a section of an old Leather Belt with holes in that I could use.

Knotting Catapult


Once I had threaded the Elastic through the first hole I made a Knot so it wouldn’t pull back through.

Final Thread


I then threaded through the rest of the Elastic and Knotted it. On the other side before I tied the rest of it to the other side of the Twig.

Finished Catapult


This gave me my finished Catapult. So on to getting the whole Ensemble together. I dyed my hair and then after donning the outfit I was ready for the Carnival.

Minnie the Minx 2019


My boyfriend took this photograph of me after the Carnival enjoying a Minx Sized Milkshake. Needless to say we had a brilliant time. In fact some folks in the Parade stopped to take photographs of us (He was dressed as Dennis the Menace). Also it is not often you get a Hi Five from somebody dressed as Spiderman.