Showing posts with label Knit Nottingham. Show all posts

Thursday, 19 January 2023

Autumn Cape Bag 2022 Part 1

 Autumn Cape Bag 2022 Part 1

I have had a break from Knitting for a good while. Now I am getting back into it and I know Exactly what I want to make.

Wool and Needle Selection


I want to make a Bag to match my Autumn Cape. This is partly due to the numerous Balls of left over Wool. It was Knit Nottingham’s 12th Anniversary so I bundled up what I had and went to get advice.

3.25mm Circular Needle


Eleanor was her fabulous self. Since the Bag would have to hold weight I wanted to discuss what size Needle I needed. We settled on my 3.25mm Circular Needle.

This is so when I Knitted and Joined I would only have to do a Plain Stitch but the Resulting Pattern would be Stocking Stitch.

Split Wool


Trying to decide how many Stitches to Cast on was tricky. I thought I would put an even number on to make life easier. I cannot remember exactly but I think it was about 200.

The way I Knit it doesn’t make much difference because I can guarantee that I will end up either Dropping a Stitch or Making New ones. Probably both knowing me.

Piles of Split Wool


Disaster! As soon as I had got to the End of the first Row I found the Wool had Split. I decided not to continue until I got home. I got back and unpicked everything.

I decided to be on the safe side and completely Unravel the Ball of Wool. It is a good job I did. I found that the Wool was Split in several places.

Joining the Round


Eventually I found a Small Ball that was long enough to Cast on and Knit the first Row. I could now begin to Join and Knit in the Round.

https://knitnottingham.co.uk/


Thursday, 15 February 2018

Two Tone Blue Beret 2018 -Chock full of mistakes

Two Tone Blue Beret 2018 -Chock full of mistakes
  
As you know by now when I write a craft blog I try to include all the mistakes I have made and how I overcame them. Well this blog is full of blunders.

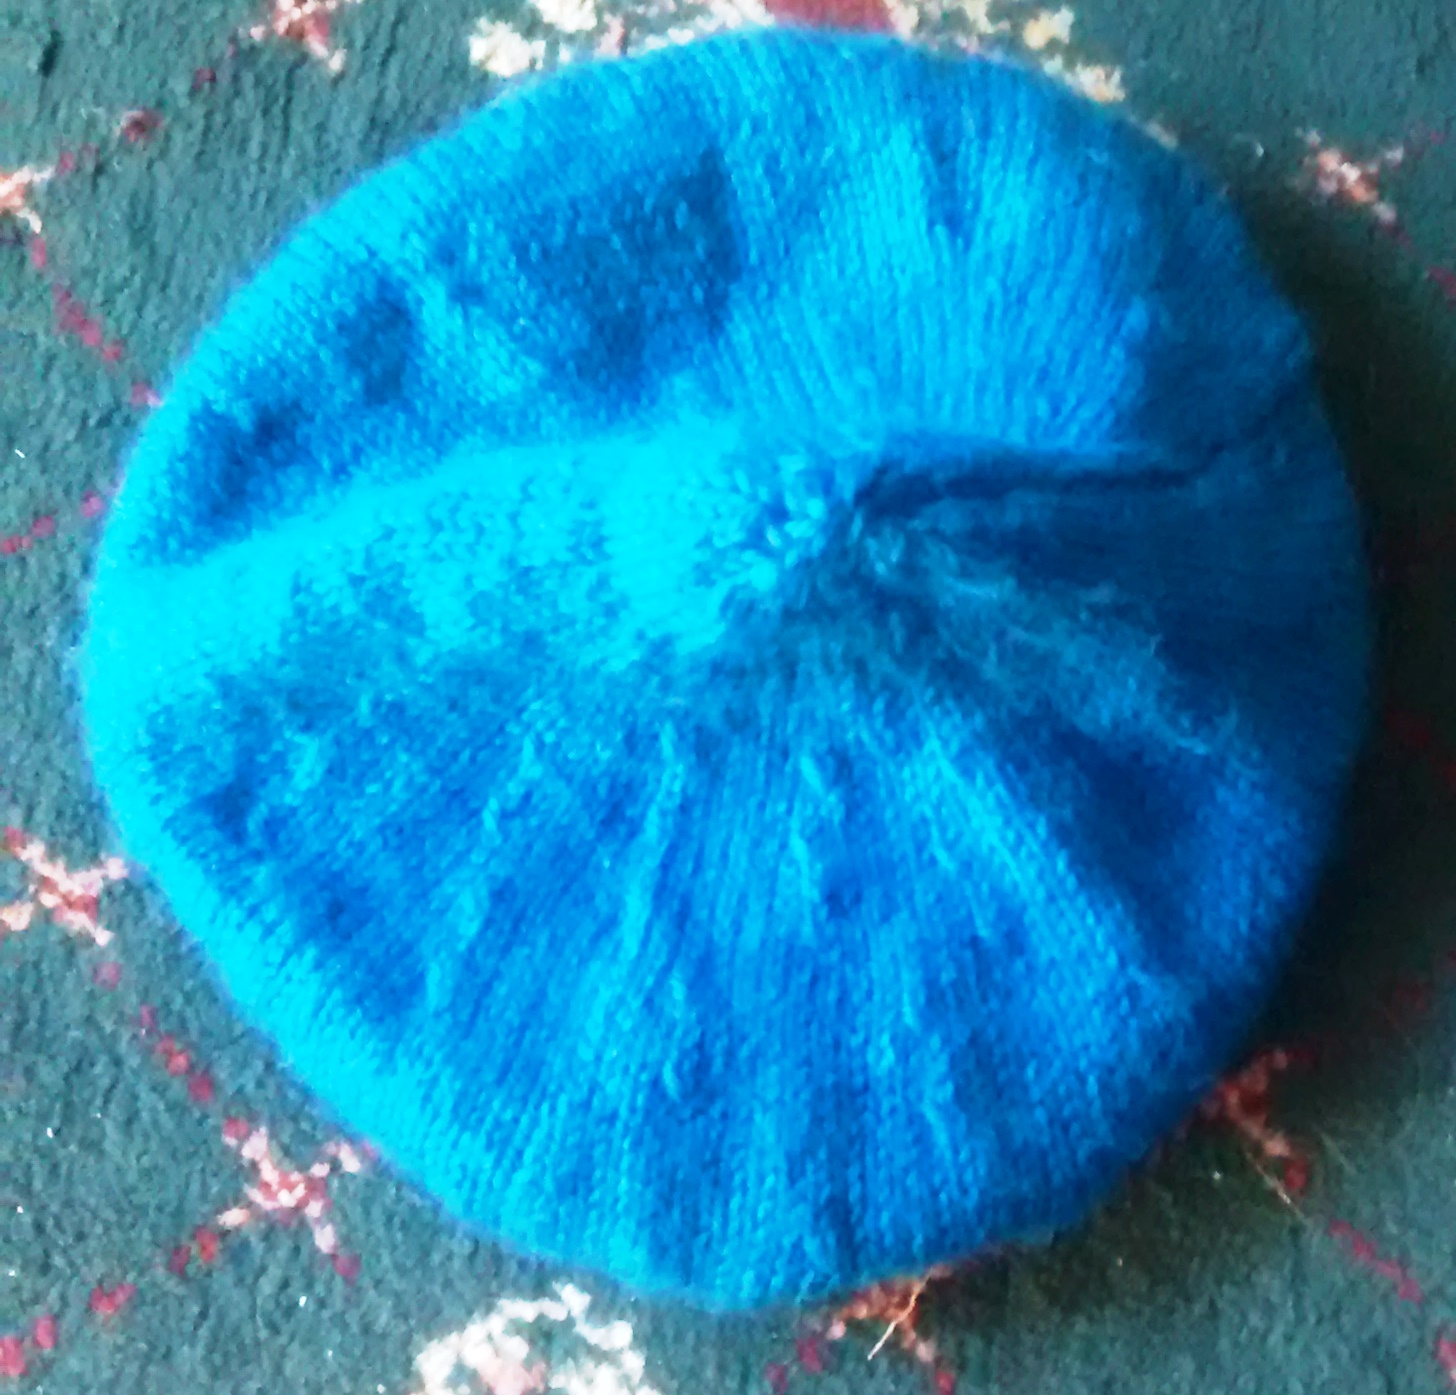
Two Tone Blue Beret Underneath


On a trip to my favourite wool shop Knit Nottingham https://www.facebook.com/knitnottingham/
I purchased some more wool – no surprise there. Unfortunately there wasn’t enough in either colour I liked so I thought why not knit a Two Toned Beret for a change.

Two Tone Blue Beret Mistake


The wool shades in question were called Petrol (main colour) and Kingfisher (Rib colour). I have found the last few Berets I made have been wrong on the stitch count but not as bad as this one. Instead of being flat this one looks – well I will leave that to your imagination.

Two Tone Blue Beret Corrected


I unravelled quite a few rows and tried to compensate – it still isn’t right but far better than before. I worked out where I had been going wrong. Instead of counting how many decreases I was supposed to do on each row I decreased to the end. This led to losing stitches and having to compensate.

Two Tone Blue Gloves


The last pair of gloves I made was uncomfortably tight. It was like the thumbs were in the wrong places. When I got to the thumbs on this set I could have kicked myself. As with the Beret I had just gone on my merry way instead of Checking The Pattern!

There is more than one way to add stitches KFB (Knit through front and back of loop) and M1 (Make a stitch by picking one up). I hadn’t checked which it one it was. Therefore I didn’t have enough stitches in the right place.

Two Tone Blue Scarf


I had no technical problems with this scarf. I started with the Petrol then added Kingfisher then carried on with the Petrol. The Scarf is a little shorter than I would like so hopefully I will pick up some more wool the next time. I would prefer more Kingfisher but Petrol will do.

Blue Brooch


Since I had more Petrol than Kingfisher I used that to make the Brooch. I may make one in Kingfisher if I get some of that to finish the Scarf.

Purple Bamboo Cotton Brooch


Whilst I was sorting out some craft stuff I came across something I had completely forgotten. I had knitted a Purple Brooch in Bamboo Cotton a long while ago and had put it aside, with the bead tin at hand I finished this one off too.


Hopefully the next time I knit one of these sets I will remember to Check the Pattern!


N.B

I ended up making an unexpected trip to Nottingham Bus Station to retrieve my mobile phone which had fallen out of my pocket on the bus. So whilst there I took the opportunity to nip into my favourite shop.

Unfortunately after Eleanor rang the suppliers we discovered that the Kingfisher has now been discontinued. Therefore the Scarf will have to be finished in Petrol Blue.


So now I have to wait for it to come into stock and be posted to me. On the bright side I have bought additional wool to carry on with my ever growing collection of Beret, Scarf and Glove sets.

Thursday, 26 October 2017

Other Bits and Bobs 2017 Part 3

Other Bits and Bobs 2017 Part 3

With the warm weather gone for another year I have turned my mind to winter projects

King Cole Patten Selection


As you can tell from the condition this is one of my favourite patterns bought many years ago from Knit Nottingham.

King Cole Patten Set No 2


The Green Scarf I posted about the other week was made from this pattern. I have a set in the purple colour shown above.

This time I wanted something a little brighter. I selected a Coral Pink.

Merino DK Blend


I bought 2 balls of 50g Merino DK Blend Pink Dye no 52152. It wouldn’t be enough to the whole set but it would be enough to start with.

Pink Beret Too Many Rows


It started off all right with me casting on 120 stitches on 3.25mm needles. Whether due to tiredness or being distracted I don’t know but I managed to knit an extra row and therefore had to undo it before adding the increase row.

Pink Beret Not Enough Stitches


Another mistake! I am not sure if I merely miscounted or it was something to do with undoing the row and twisting the stitches but somehow I have little holes in the knitting. In addition to that I am also 7 stitches short.

I have two options. I can either undo the knitting again or I can add extra stitches. I chose the latter option. The next part requires changing needles from 3.25m to 4mm needles.

I accordingly started transferring the stitches across to the new size whilst at the same time making new stitches. I was supposed to have 172 stitches but only had 165.

I decided to add 3 stitches towards the beginning of the row and 4 towards the end. That means once the Beret is sewn up the mistakes should be hidden around the back.

New Ball


One ball of this goes as far as the decreasing on row 10. That is useful to know if I make another one in a different colour.

13 Stitches


Yet another problem has arisen. Firstly I must have missed a slip stitch because I was supposed to have 39 but instead I had 40. I fixed that by knitting two together at the end of the row before the next decrease.

After the decrease I should have 20 Stitches but instead I had 26. These stitches had to be purled together to finish. I therefore still purled two together and ended up with 13 Stitches.

7 Stitches


I was unsure what to do at this point. I was supposed to pull through the 10 remaining stitches. However I was a little concerned that with the extra stitches it might make a big hole at the top of the Beret.

In the end I decided to knit two together 6 times and knit the last stitch. Thus I was left with 7 stitches on the needle. I could then pull the wool through and sew together

Pink Beret Finished


I sewed the Beret together and though it is a little untidy at the back I don’t think it is a bad job considering.

Handy Tip
If you are going to knit something when you have to count don’t do it whilst other people are chatting to you!


Thursday, 19 October 2017

Other Bits and Bobs 2017 Part 2

Welcome to my 100th Blog

Other Bits and Bobs 2017 Part 2

I decided to make a present for a friend of mine who was due to have a baby. I have done other baby items in the past so I looked for my pattern. Where this pattern had disappeared to I have no idea so I ended up buy a new one.

Baby Set King Cole Pattern


Once I found a pattern I liked from Knit Nottingham I discussed the yarn. I have difficult using acrylic yarn as I have a reaction to it. I normally use wool but since this is for a baby I was hesitant to use wool because of the mittens going in its mouth.

The mother wanted the items in white so after putting our heads together we decided to use the Bamboo Cotton. This was a win-win situation as since the baby is due in December and the size knitted is from 0-3 months it will be excellent for the spring.

White Baby Ribbed hat


The selection was a bit of a mixture. Even though she is expecting a girl we both preferred the boy’s patterns. The Ribbed Hat was chosen from the top right

White Baby Mittens


Since the Hat was ribbed we decided to match it using the pattern from the bottom left for the Mittens.

White Bootees Mistake Side View


I have absolutely no idea what happened here. I am using the pattern from the bottom left corner. However if you look at the photograph in the pattern it clearly shows a cord through it. So where are the holes for it?

White Bootees Mistake Front View


Unsure of what to do I part sewed one up the seam and took to show the mother. I explained that I could try and squeeze a cord or either a ribbon through the bootees. Alternatively I could fold over the top of the bootee and thread through that.

White Bootee Top Folded


It was decided that we would go with the folded over version with a ribbon.

Ribbon Added


As you recall the yarn I am using is white. However I think there had been a problem with the dye. For some reason the items have a lemony tinge. Therefore we have chosen to add a splash of colour by using a Yellow Ribbon.

Normally when I sew I hem the item then thread the cord through with a safety pin. Here I wanted to make sure the ribbon didn’t get twisted so I put the ribbon underneath and sewed along below it.

Ribbons Finished


I had folded over and hemmed the ribbon to stop fraying. Once done I simply then tied the ribbon off with a bow.

Full Knitted Set Finished


Here is the full set finished. I am quite pleased with them. I hope the mother feels the same.