Thursday, 26 August 2021

All Steam Ahead 2021 – Belt Up Part 2

 All Steam Ahead 2021 – Belt Up Part 2

Now I have my Belt the correct Colour I have to tackle my next problem.

Measure Up


There are only a few Holes in the Belt. However for what I have in mind I need Holes all the way around. As I do not have a tool for making Belt Holes I have had to Improvise.

My friend Laura suggested using a Dremel but after trying that I changed to a Hook. I used the Ruler to get the Holes evenly spaced.

Fold Back


Well that didn’t work out to well! It was so tough to get through and not only that I didn’t seem to be getting the Holes even.

On top of everything else when I looked closer I saw that the Holes already in the Belt weren’t actually round they were more Oval in Shape. I had to rethink.

Scratch and Snip


I decided to Fold the Belt over until the Holes matched up. I then Scratched the Shape by using a pair of Scissors. I then Unfolded the Belt.

Using the Scratched Shape as a guide I then Pushed the Scissors through. I carried on doing this back and forth until I had a decent sized Hole. Once the Hole was large enough I had to trip the Back so it was nice and neat.

Thursday, 19 August 2021

All Steam Ahead 2021 – Belt Up Part 1

 All Steam Ahead 2021 – Belt Up Part 1

This is following on from my Out of Zone Series. I had my Mask and Jewellery but now I came up with another daft last minute idea. – A Belt and Hat.

I would like to point out to any Purists that this is not supposed to be Steam Punk but like my previous efforts it is Steam Punk Esque

Brown Belt


First I needed a Belt that I could Embellish. My boyfriend had bought a pair of jeans but he didn’t like the Belt. So hey presto one Belt ready to be Upcycled.

Permanent Marker


There was a slight snag. This Belt was Brown and I needed it to be Black. Using a Tip I got from my friend Laura I decided to colour it in using a Permanent Black Marker Pen.

I started Colouring the Belt. It was coming up pretty good. I then realised that doing the Front was not enough because when Fastened the Belt would Dangle and show the Back.

Black Belt


It took several Colourings until I was satisfied that the Belt was completely Covered both Back and Front. I nearly forgot to do the Buckle area.

One tip when doing this sort of thing. Make sure that you put it on some paper or cardboard before Colouring in. Otherwise you will have to try and shift Permanent Marker off your surfaces.


Thursday, 12 August 2021

Pyramid Power 2021 Part 2

 Pyramid Power 2021 Part 2

I was finding Cutting these Matchsticks very Time Consuming.

Clever Clippers


I remembered a Tip whilst I had been doing some Researching on the Internet. One suggest was to Clip Matchsticks with a pair of Nail Clippers.

Due to lack of Instructions I had decided what I was calling the Base would actually be the final Top part of the overall Pyramid. I would have to work out how to do the Hollow part later.

First Layer


I found using the Nail Clippers made things a little better and was soon ready to add my First Layer to the Base. In order to strengthen it I decided to put the Matchsticks the Opposite Direction.

It wasn’t just the Length of the Matchsticks that had been giving me problems. If you look at the above photograph you can see that many of them were Warped. This meant they didn’t lay snuggly together.

Two Short Planks


After the First Layer was dry I began to Add the Second. However this Time I was one Matchstick Minus at either End.

Pyramid Steps


I continued to Add a Layer at a time. Each Layer was 2 Matchsticks Fewer than the Previous Layer. Not only that I was Clipping the Matchsticks I was Adding Shorter each time.


Poly Cement


I was finding the Sticking very hard work. Half the time the Matchsticks were coming off again in my hand. Not only that the whole thing seemed extremely Brittle.

Since this part of the Pyramid was going to be the Top I was going to need something far better than the PVC Glue I had been using for the Main Structure. I decided to seek professional advice from Heaps our local Art shop. He recommended Poly Cement.


Thursday, 5 August 2021

Pyramid Power 2021 Part 1

Pyramid Power 2021 Part 1

This project started as a Joke. During Lip Reading class we had to pretend we were making a Building out of Matchsticks. As a Joke the tutor said we could while off for two weeks build whatever we had thought of.

A splendid notion. I am always up for a New Challenge. I don’t think I have ever made anything out of Matchsticks before. Certainly not as an adult anyway. So off I go and get some Matchsticks.

 New Challenge


Obviously the Instructions didn’t include making Pyramids. I did try and Google Making Pyramids but they didn’t have what I wanted. Naturally I always do things the hard way and what I wanted wasn’t just a Pyramid which was difficult enough. I wanted a Hollow Pyramid!

Counting Matchsticks


It didn’t say how many Matchsticks were in the bag so I thought it would be a good idea to count them. That way I would know how many I am using up.

Beginning Base


My first problem was the Base. I soon realised that if I put 2 Across and 2 Down I would have a Rectangle. Therefore I had to come up with a solution. This was to add End to End. It is easier to see than describe so look at the above photograph.

Tri-Angles


It took a while for the Glue to set. Once it had I tried working out the next step. If it was Paper it would be easy. You just have Triangles on all 4 sides.

Unfortunately it doesn’t work like that with Matchsticks. I tried putting the Points together so I could Glue them but they kept moving. I really wish I had some of those knobbly things they had in science when you were making atoms.

Sticky Situation


After more attempts than I would like to remember I gave up on the Triangle idea completely. I decided to start filling in the Base. At least that way I would have something to work from and it would make the Square more stable.

Of course now I had another problem. The Matchsticks were too big to go inside the Square. I found a knife and started cutting away at some. I popped a few inside and added some Glue.

Thursday, 29 July 2021

Repairing Robin 2021

Please note that this was written before Boris ordered the Pandemic to be over by the other Monday. Being a mere muggle I am still wearing my mask.

 Repairing Robin 2021

Maintenance is something that never stops.

Not Holding


The more complex a project is the more likely it is to go wrong or need maintaining. For some reason I found my Christmas Robin kept getting flattened by Pumpkin Patch.

Velcro Undone


At first I thought it might be something due to the constant washing. However I found that some of the Stitching had come away and in parts the Velcro was Undone.

Sew from Inside


Normally this would be a simple fix. However because I didn’t want to accidentally Sew the two Pictures together I had to Sew from the Inside.

Melted Eye


Another thing I spotted was the Eye. Obviously whilst not thinking I had Ironed over the Eye by mistake and Melted it. I now know what was on my Iron. I could clean it so had to buy a new one.

Repaired Robin


I Stuck a New Eye on the Robin and after washing I made sure I pressed everything around it this time. Voila one Repaired Robin.

Thursday, 22 July 2021

Cooper Concoctions 2021 Part 8

 Cooper Concoctions 2021 Part 8

I have now Hemmed the Bottom of the Bag.

Carpet Thread


As this Bag needs to take Weight I have decided to Blanket Stitch along the Bottom using a strong Carpet Thread.

Hem Top of Bag


With the Bag still inside out I do a quick Hem cross the Top of the Bag all the way around.

Place Cord


This is where I had a bit of luck. Instead of using an ordinary piece of Cord I found that I had an old Toggle and Cord that I had taken off the Bottom of a Coat. I placed it along the Length of the Hem.

Pin Cord


So it didn’t move whilst I was trying to Sew I Pinned it Section by Section.

Back Stitch over Cord


To make it both Stronger and Neater I used a Back Stitch over the Cord.

Laundry Bag


Here we have it one nice new Laundry Bag

Thursday, 15 July 2021

Cooper Concoctions 2021 Part 7

 Cooper Concoctions 2021 Part 7 

We are now on to the last Legs of this project if you will forgive the pun.

Leg Material


I have a great deal of Material left from the Legs.

Leg Material Inverted


The above photograph shows the other Leg. I felt that it was easier to do this Upside Down hence the inverted look. (Please note that sometimes I reverse the order to make it more intelligible so photographs may show some discrepancies).

Pin Sides


To make life easier Pin the Sides of the Material together along the Length. Then you can get a more accurate cut across the Bottom.

This saves you from mucking about with part Sewing like I did.

Secure Fold


I turned the Material back to back and Secured the Fold at the Top of the Hem. Remember that I have inverted this so we are in fact working from the Bottom Hem of the Cooper Jeans.

Blanket Stitch


Once the Fold is Secured I can Blanket Stitch nearly to the Bottom on both sides. I left a couple of Inches Unsewn.

Pin Bottom Hem


I can now Pin the Bottom Hem ready for Sewing.

Thursday, 8 July 2021

Cooper Concoctions 2021 Part 6

 Cooper Concoctions 2021 Part 6

This is a quick blog due to photographs disappearing.

Pocket Outline


If you remember I unpicked the Pockets from the Original material

Pocket Stitched


This time I didn’t bother Hemming the material. I just placed it back to back (I know it shows the material the right way around in the above picture but as I said I lost some photographs) and Blanket Stitched up the Sides.

Pocket Poppers


I decided to use Poppers or Press Studs on the Pocket to Fasten it. This was partly due to the back of the Button being in the way.

I Sewed the Poppers on one Side taking care not to go through the material. Then (making sure I had them the right way around) I Sewed the other halves on the opposite Side.

Pocket Finished


All I had to do then was put the Poppers together and there we have it a Small Bag that can slip inside the others.


Thursday, 1 July 2021

Cooper Concoctions 2021 Part 5

 Cooper Concoctions 2021 Part 5

Carrying on with this Concoction

Hem to Rip


After finishing the Bottom I can start on the sides. Not a task I am looking forward to. One side was reasonably easy to Hem. However I was slightly careless on the other side when cutting.

I have taken a piece out which I will need to sort. For the mean time I am just going to Hem up to that point.

Blanket Stitch to Rip


I have decided the best thing to do is to put the material back to back and Hem up to the Rip.

Pin Diagonally


I folded the Ripped side Diagonally and Hemmed. Once that was done I Pinned the other side to match. Then I could carry on Blanket Stitching to the Top

Glue Velcro


This time I have decided to have Velcro to Open and Close the Bag. I am sticking it on with Fabric Glue. I have Glued one side and stuck it down.

I am now going to Glue it on the Top of the Velcro then place the material firmly down on it.

Weigh Down


In order to hold it in place I have Weighed it down using my Iron until the Glue sets.

Secure Velcro


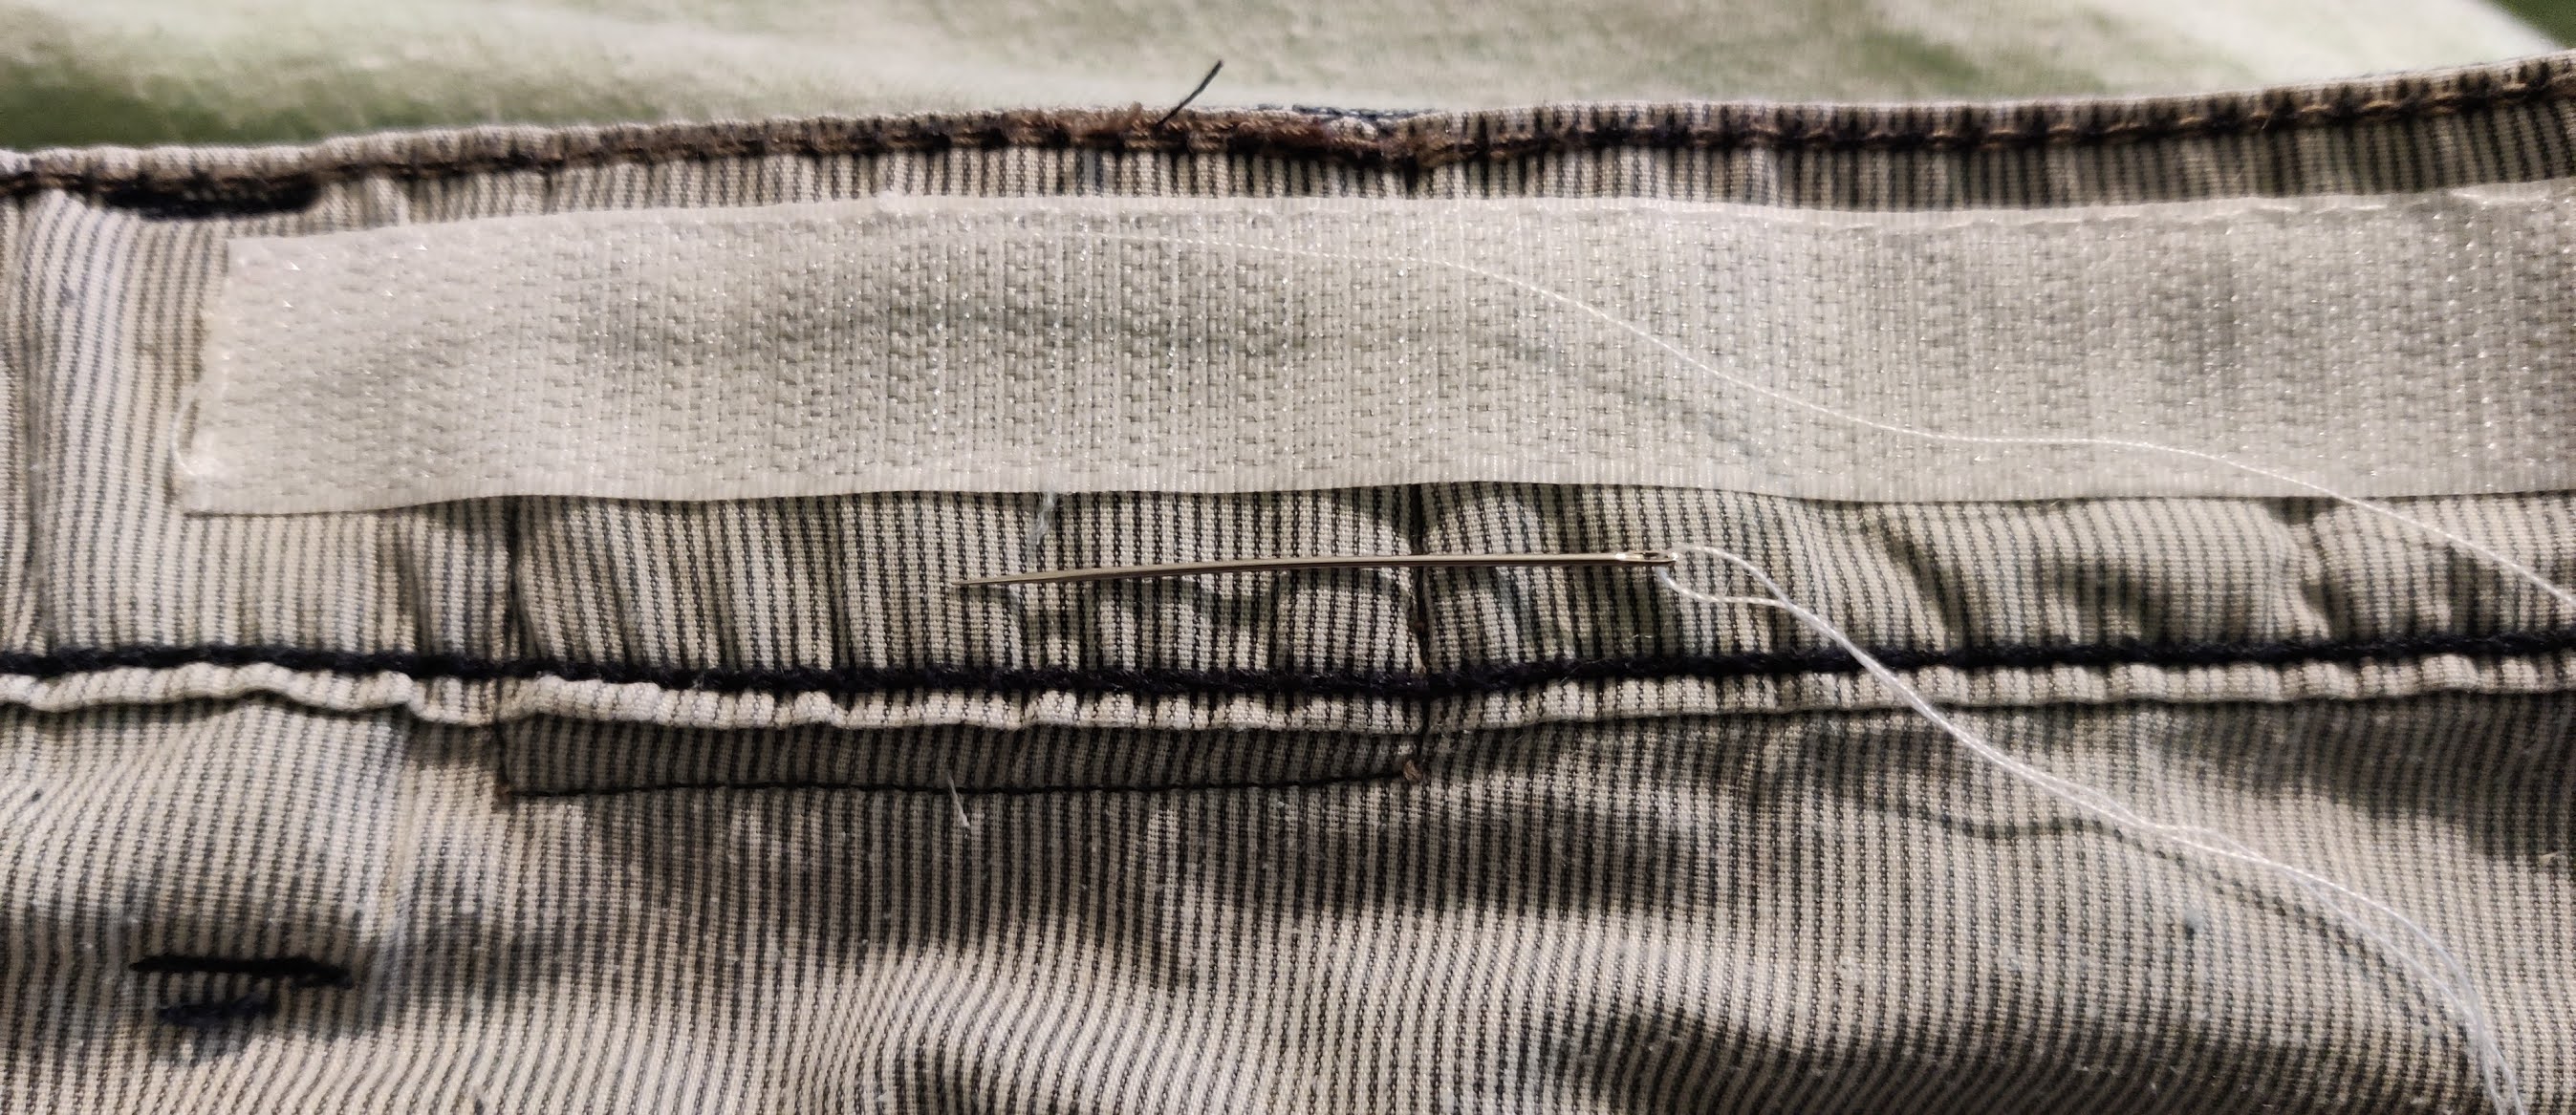
The final part is to Secure the Velcro. I do this by Stitching all the way around both parts of the Velcro. 

Finished Bag Front


Finished Bag Back


There we have it another finished bag.