Thursday, 24 April 2025

Crawling Creatures 2025 Part 6

Crawling Creatures 2025 Part 6

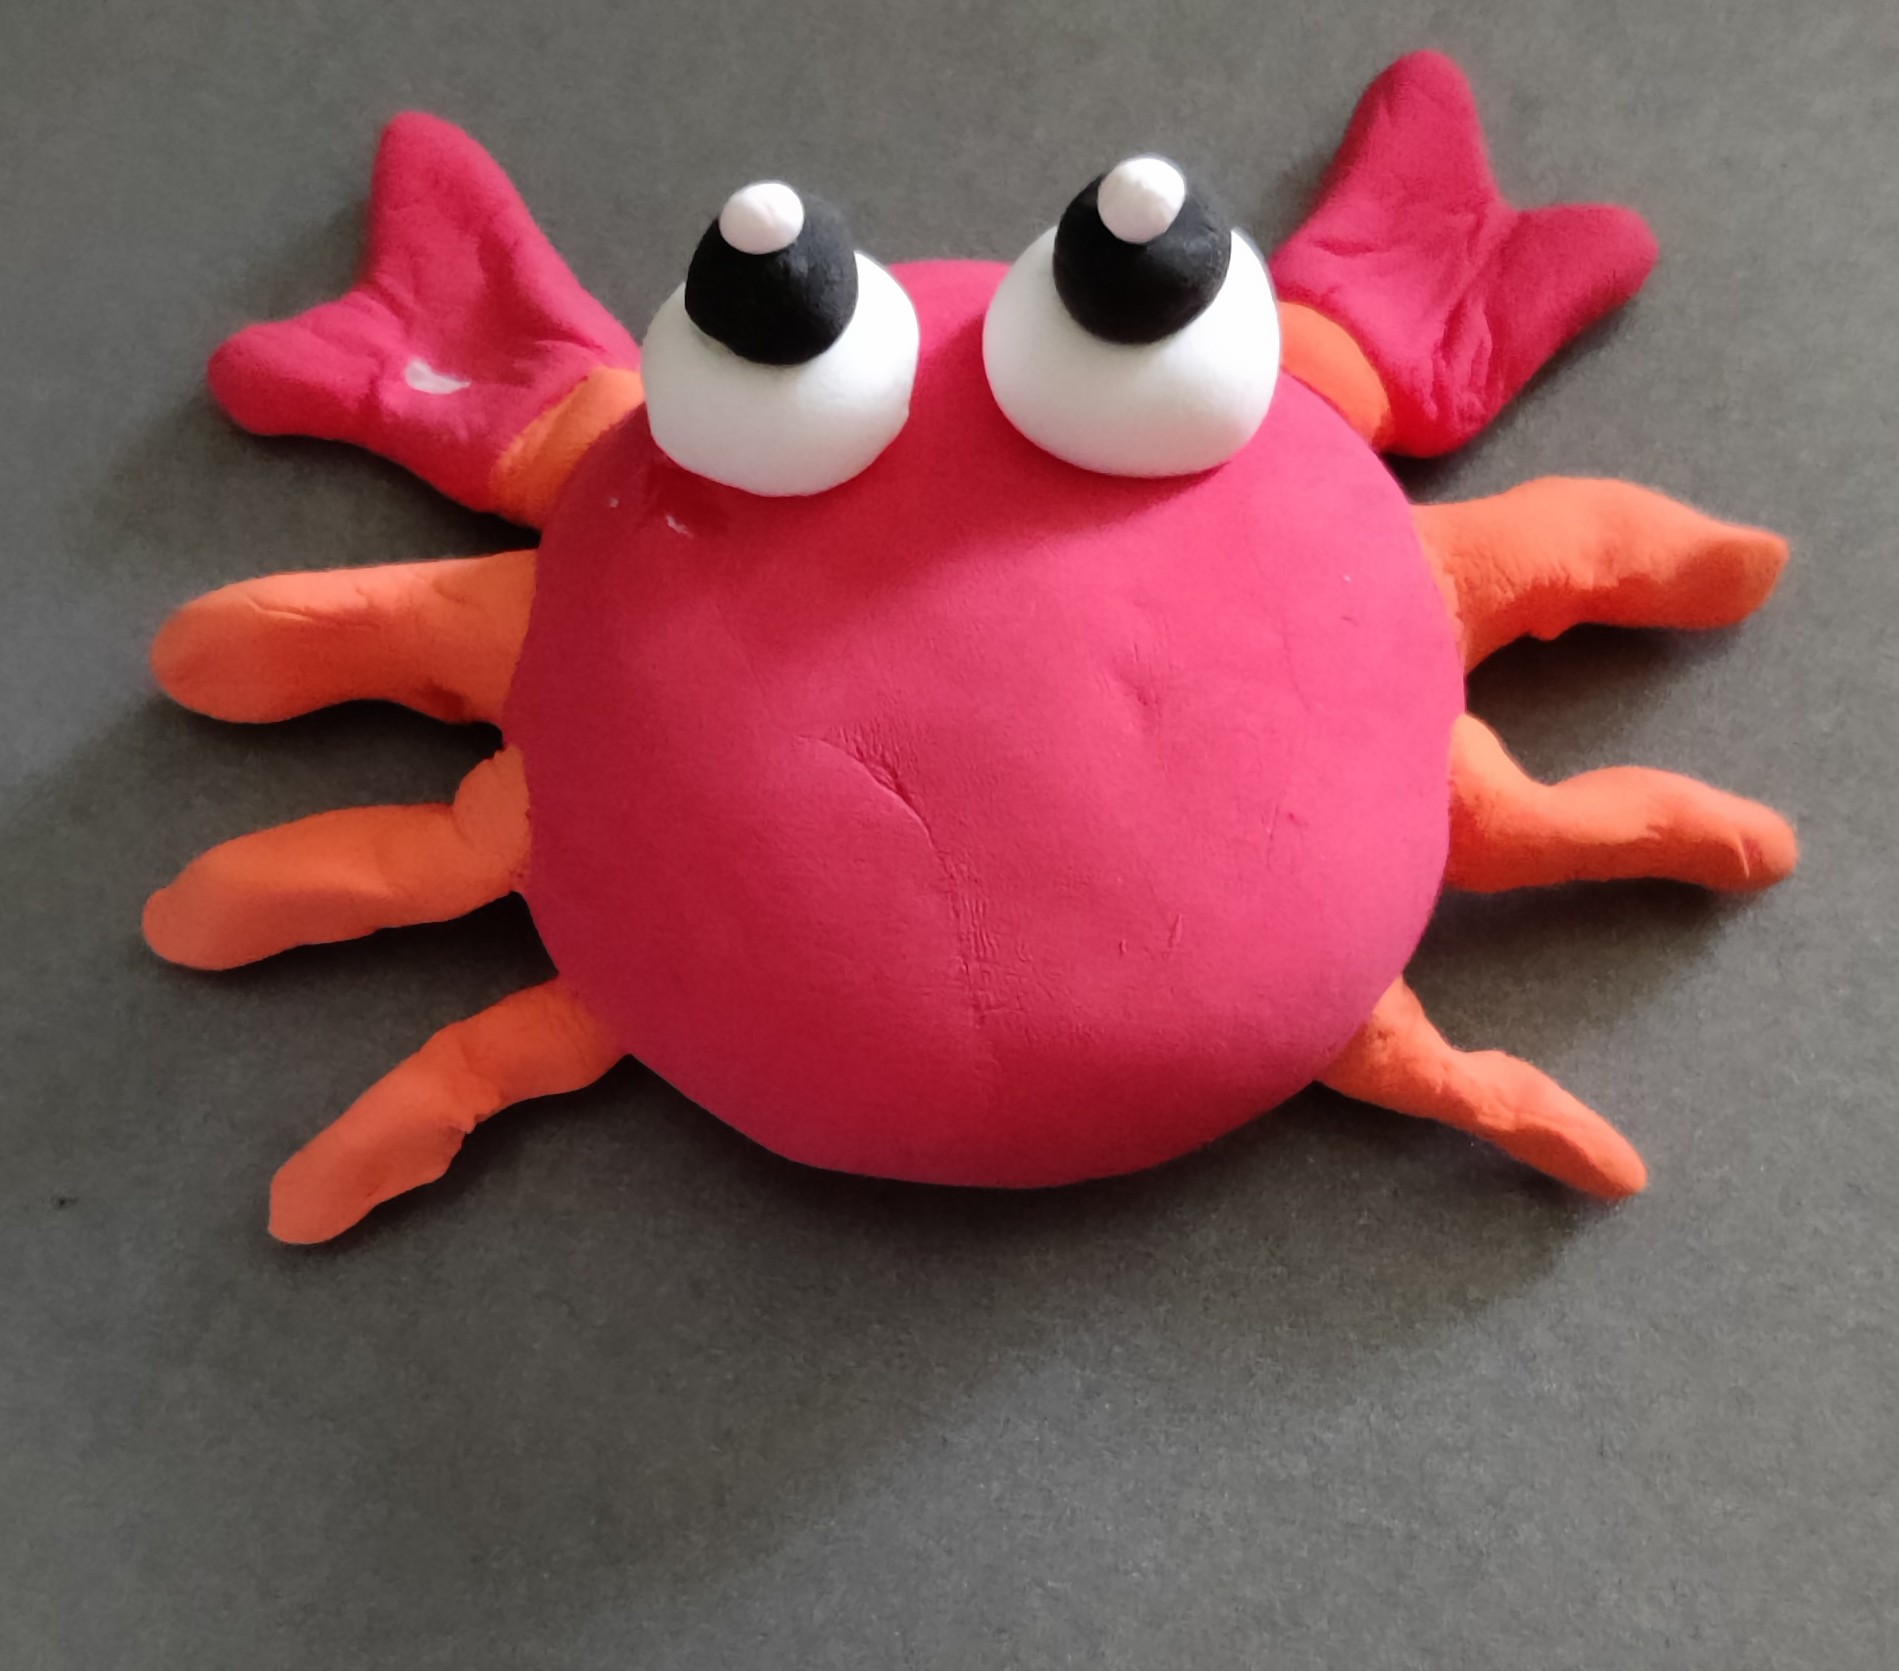
I have so much Clay left that I have decided to continue with more Creatures.

Orange Ball


I have lots of Orange left so I first make a large Orange Ball

Mould Upwards


I now Squeeze the Ball at the Top to Mould it Upwards. It reminds me of a big nose minus the nostrils.

Red Dot


I next part the Bottom into two so it has little legs. Where the hell did that Red Dot appear from?

Star Shape


Okay this looks like a very fat Star at the upwards point. I think the Red is putting me off.

Depression


I have tweaked it so it is more even and added a Depression. That is also a good word for how I feel about the Red. Why did it have to be on the Front and not the Back? I will have to sort it.

Sunday, 20 April 2025

Crawling Creatures 2025 Part 5

Crawling Creatures 2025 Part 5

I had made a mistake last time so I thought it better to have a break. Now I am ready to go again.

Redone


In order to cover up the mistake I have made the base of the Eyes slightly bigger.

Tiny Black


It is hard to tell from the above photograph but this is roughly the same size as the base. I will halve it and Roll it to make two Tiny Black Balls.

Add Pupils


I have placed the Black Balls on top of the White to make the Pupils. Now they really do look like Eyes

Super Tiny


The Crabs Eyes have Flecks of light in them. Therefore I need to make some Super Tiny sections.

Flawed


The Eyes look great. Unfortunately it is being Flawed by that bit of White on the Claw. I will need to fix that.

Smiles Ahoy


All sorted. I have turned it around and added a Smile.

Sunday, 13 April 2025

Crawling Creatures 2025 Part 4

 Crawling Creatures 2025 Part 4

Need to continue with next part. Legs go. Get it?

Lift Legs


I have noticed that the Crab seems to be starting to Stick to the pan. I decided to Lift it to a new place before continuing.

Mould Legs


The Legs got a little damaged whilst Lifting so I have had to Mould them again.

White Ball


Change of Colour. I need to make a White Ball. Like before I will divide it in half.

Roll Eyes


Now I have two parts I have Rolled them into Small Balls. These will become the base for the Eyes.

Grr Wrong Place


Grr I dropped it on the Wrong Spot. I have taken it off but of course some residue has stuck fast.

Sunday, 6 April 2025

Crawling Creatures 2025 Part 3

 Crawling Creatures 2025 Part 3

Now I am moving on to the Orange parts.

Selection of Orange


I have broken up a Selection of Orange pieces as I am going to need quite a few of different sizes.

Small Joining Orange


The first bit that I am going to work on need to be small. This is for Joining the Claws to the Body. I will break this ball into two smaller Halves.

Adding Claws


I have attached one piece to the Main Body then Added the Claw to it. I then repeated with the other side.

Large Rolled Orange


Next I take two Large (in comparison) pieces of Orange Clay. I have rolled them into Sausage Shapes.

Attach Front Legs


I have Attached the Orange Clay to just underneath the Claws. These will be the Front Legs.

Second Legs


I have repeated the process to make the Second Pair of legs.

Third Legs


The final pair of Orange pieces make the Third Pair of Legs. These look slightly further back because of the angle.


Sunday, 30 March 2025

Crawling Creatures 2025 Part 2

Crawling Creatures 2025 Part 2

I am slightly altering the photographs from what I actually did to make it simpler to follow.

Small Red


I took a Smaller piece of Red clay.

Knifed


I chopped it in Two with a Knife. I managed to break this one cutting a swede and decided to keep it for Craft.

Mini Red Balls


I rolled these into two Mini Red Balls

Mini Red Flattened


This time I used the Knife to Flatten the.

Cut Out


I Elongated the Balls so they were like a Cartouche. Then using the Knife I Cut Out a section like a Cheese Triangle to both of them.

Claws


Finally I moulded them into a Pair of Claws

Sunday, 23 March 2025

Crawling Creatures 2025 Part 1

 Crawling Creatures 2025 Part 1

Here is a blog about a little gift my boyfriend gave me. Since it is supposed to be from age 5 it should have been simple. How wrong could I be?

Crab Clay Kit


I now have one Air Dry Crab Kit to play with. I have used Air Dry Clay before so it should be easy.

Instructions


I first read the instructions. This is going to be a piece of cake. It will  probably only take me about 10 minutes to finish.

First Booboo


Oops. I dropped the Red Clay whilst taking it out. Hang about this isn’t right. This is NOT like other Clay I have used at all. I thought that I would just dab it on and pick up the Red.

However it doesn’t work. In fact exactly the Opposite. Instead of picking up it sticks to the other Clays. Now I have got Red Clay on all of them.

Red Ball


Rather than carry on trying to sort out the bits that were stuck I put the Lid on the Pot and carried on. Taking nearly all of the Red Clay I rolled it into a ball.

Palm Flattened


I have now Flattened the Ball with my Palm. This will make the Base for my Crab.


Monday, 17 March 2025

Hereby Hangs A Tail 2025 Part 2

 Hereby Hangs A Tail 2025 Part 2

Now I have my Cord I can continue with my idea.

Attach End


I Attach one End of the Cored to the Bag. This is a good Thumbs Width from the Bottom Edge.

Attach Cloth


I have made a Hemmed Rectangle of Black Cloth. I am Attaching it to the Back of the Bag. I Sewed all along it.

Attach Other End


With the Black Cloth in place I Attach the other End of the Cord. I make sure that it is Secured so the Cloth will hide it when Folded.

Finished Cat


I have Sewed the Folded Material and now you cannot really tell that it was ever damaged. Also I can now hang this by its Tail.


Sunday, 9 March 2025

Hereby Hangs A Tail 2025 Part 1

 Hereby Hangs A Tail 2025 Part 1

I had a lovely Xmas. One thing that struck me as funny was my friend and my boyfriend both bought me the same gift, A Cat Bag.

Xmas Cat Gift


I absolutely loved it. However I needed to get rid of the Ticket,

Xmas Oops


Oh Dear. I wasn’t paying attention whilst Cutting and I have Damaged the Bag.

Not Working


Grr. I have tried to use a Blanket Stitch to Seal the Material but it is not working. This is because the Material is Fraying as I Sew it. Time for a rethink.

Old Faithful


Okay I have an Idea in mind. First I am going to start by making one of my Knitted I-Cords.

Clean Cut


I have Knitted and Cast Off the I-Cord. I had a hairy moment as some of the Yarn had split and I had to Trim it. If I had gone wrong here I would have had to start again. Fortunately I made a Clean Cut.

Sunday, 2 March 2025

Knitting Doll 2024 Part 6

Knitting Doll 2024 Part 6

Hurray. All the difficult bits have been done.

Slide on Arm


After creating the Slip Knot Slide it on one Arm of a Pair of Glasses. This can be done straight away after finishing the Slip Knot. Or alternatively you can make the Slip Knot on the other end of the Cord first.

Sew In Place


Slide the Knot to the Far End near the Lenses. Once happy with wear it is thread the Tail and Begin to Sew it in Place. Repeat with the other end of the Cord on the other Arm and Trim off any Excess.

Glasses Chain.


Voila!. The Corded Chain can now be used. Even though Sewn in Place it can be Slipped off and used on other Glasses like Sunglasses.

I have returned my Knitting Doll back to the Charity Shop so someone else can have a go. 

I have decided that although it has its use it is far better off with somebody with smaller fingers like a Child. Also I can Knit an I-Cord far easier or even braid one with my Lucet.

Saturday, 22 February 2025

Knitting Doll 2024 Part 5

 Knitting Doll 2024 Part 5

Have to confess I am not looking forward to writing this Blog. It is trying to split down a task that I do automatically and then stop at try and photograph whilst holding it. If all else fails google Slip Knots.

Pinch Loop


Taking one Tail End I am going to make a Slip Knot. However in order to show you I am having to make it Higher up. Therefore afterwards I will redo it at the correct point.

First form a Loop with the Tail End and Pinch it between Finger and Thumb. After that I Wrapped the Yarn around the Back of the Loop and brought the Tail around. See Photograph.

Double Wrap


I am Creating a Double Loop though it is not strictly necessary. It is helping me keep it in place whilst photographing.

Lift Bottom Loop


Lift the Bottom Loop using either your Finger of a needle. I recommend the Latter. Don’t Catch part of the Yarn like I have done.

Push Through Top


Push the Loop you Have through the Top one.

Pull and Slide


Then pull this Loop firmly then Slide up. This one was made deliberately High up for photographing purposes.

Loop at End


I have redone the Slip Knot. I started it nearer the End of the Cord so I could Slip it into its Correct Position at the End of the Cord.

The Major Problem I found doing this is that normally I do it at speed and often using a knitting Needle. Since doing this I found a Youtube video with a great description.

https://www.youtube.com/watch?v=oj21JDDSrgM

Here are some more methods of making a Slip Knot

https://www.youtube.com/watch?v=P4yMvLONsY0

These describe various methods. Not one of which was the one I was taught lol.