Saturday, 30 March 2024

Autumn Cape Bag 2022 Part 59

Autumn Cape Bag 2022 Part 59

Now the Pocket is Cast Off I can start Embroidering the Details.

Tidy the Grey


Before I can start adding Detail, I need to do the usual boring Tidying up. I begin Sewing in the loose Ends. Some of the Ends are long enough to Straighten Up some of the Grey Outline.

Eye


I have added the Eye. This is so I can use it as an Anchor Point. If I know where the Eye is, I can better work out where to place the rest of the Embellishments.

If you look carefully at the above photograph near the Eye, you might spot a divot in the Nose. It is the result of changing a round drawing to a chart. I have to change it back again.

Secure Tail


I Secure the Wool for the Tail at the back. I have chosen a Dark Grey colour. I will be doing a small part of the Tail before I continue with the Light Grey.

Add Legs


I have Embroidered enough of the Tail to work out how far it will go down the Pocket. I can now add the Legs knowing that they will not be interfered with by the Tail.

Rat Tail


That is the Tail finished. I have also been around and completed the Outline of the Light Grey.

Friday, 22 March 2024

Autumn Cape Bag 2022 Part 58

 Autumn Cape Bag 2022 Part 58

I have reached the part where I need to start really concentrating.

Begin Grey


I Begin to add the Grey Wool that will form the Basis for the Rat.

Shorten Rat


As soon as I started to add the Grey Wool, I could see that the Pattern needed to be Altered. I am having to Remove a good five Stitches from the Chart. I note this in Ink so I will not make a mistake in Counting.

More Shortening


After Removing five Stitches towards the Rear of the Rat, I realise that I am also going to have to Remove some towards the Head. Again, I highlight this in Ink.

It is getting very complicated to keep track of the number of Stitches to be Knitted in which Colour. I may have to do some adjusting by eye as well as using the Chart.

Cast Off Pocket


I have finally managed to finish the Chart and Cast off the Pocket. How well I have done will be discovered when I start adding the details.

Friday, 15 March 2024

Autumn Cape Bag 2022 Part 57

 Autumn Cape Bag 2022 Part 57

Now I have Picked Up all the Stitches I can begin Knitting.

First Row


Knitting the First Row was difficult as the Stitches were very Tight. I found that sometimes I had to Tug to get the Needle through.

Loose Yarn


All that Tugging has loosened some of the Yarn that was Sewn in. If I do not sort this, first it is possible that it will Unravel.

Colour Rat


As I am Knitting, I am Colouring in the Rows on my Rat Chart. It does not really matter what Colour I use as long as I can see what I have already done.

Rat Bottom


In the above photograph, you can see how the Knitting Compares to the Bottom of the Rat Chart. In addition, if you look carefully you will observe a curious Fan Shape where I Picked Up. This is a problem I will have to sort out later.

Green Cut Out


After Checking my Knitting against the Chart, I have decided that as it stands the Pocket will be too High. Therefore, I am Cutting Out some Rows. I have highlighted this in Green.

Friday, 8 March 2024

Autumn Cape Bag 2022 Part 56

 Autumn Cape Bag 2022 Part 56

Still not sure, what is up with my phone/laptop. At present, I am having to message my boyfriend and he sends them back to me so I can edit them. This is going to slow down things considerably. In addition, there is the risk that one or other may die.

Bag Width


Before I can do anything, I need to check the Bag Width. I want to make sure that I start Picking Up in the Centre.

First Pick Up


Having measured and found the Centre point. I needed to work out how High up the Bag to start. I need the Pocket to be a reasonable Size. What I do not want is it to fail to leave room for the Flap

Tough Work


Picking Up is far Tougher Work than I anticipated. The fact that all the Colour Changing I have done has made the Stitches very Tight. I am really struggling to try and Pick Up any Stitches.

Wonky


As predicted things did not go well. If you look at the above photograph, you will see a distinct Slope in the Stitches I have picked up. This means I will have to start again.

Half Stitches


I have redone what I had originally Picked Up. There is still a slight Slope but I feel that it is the best I am likely to get. Now I have to add the other Half of the Stitches.

Friday, 1 March 2024

Pig-Mailing On 2023 Part 4

Pig-Mailing On 2023 Part 4

Now I have got my I-Cords sorted I can move on to the Ears.

Ear We Go


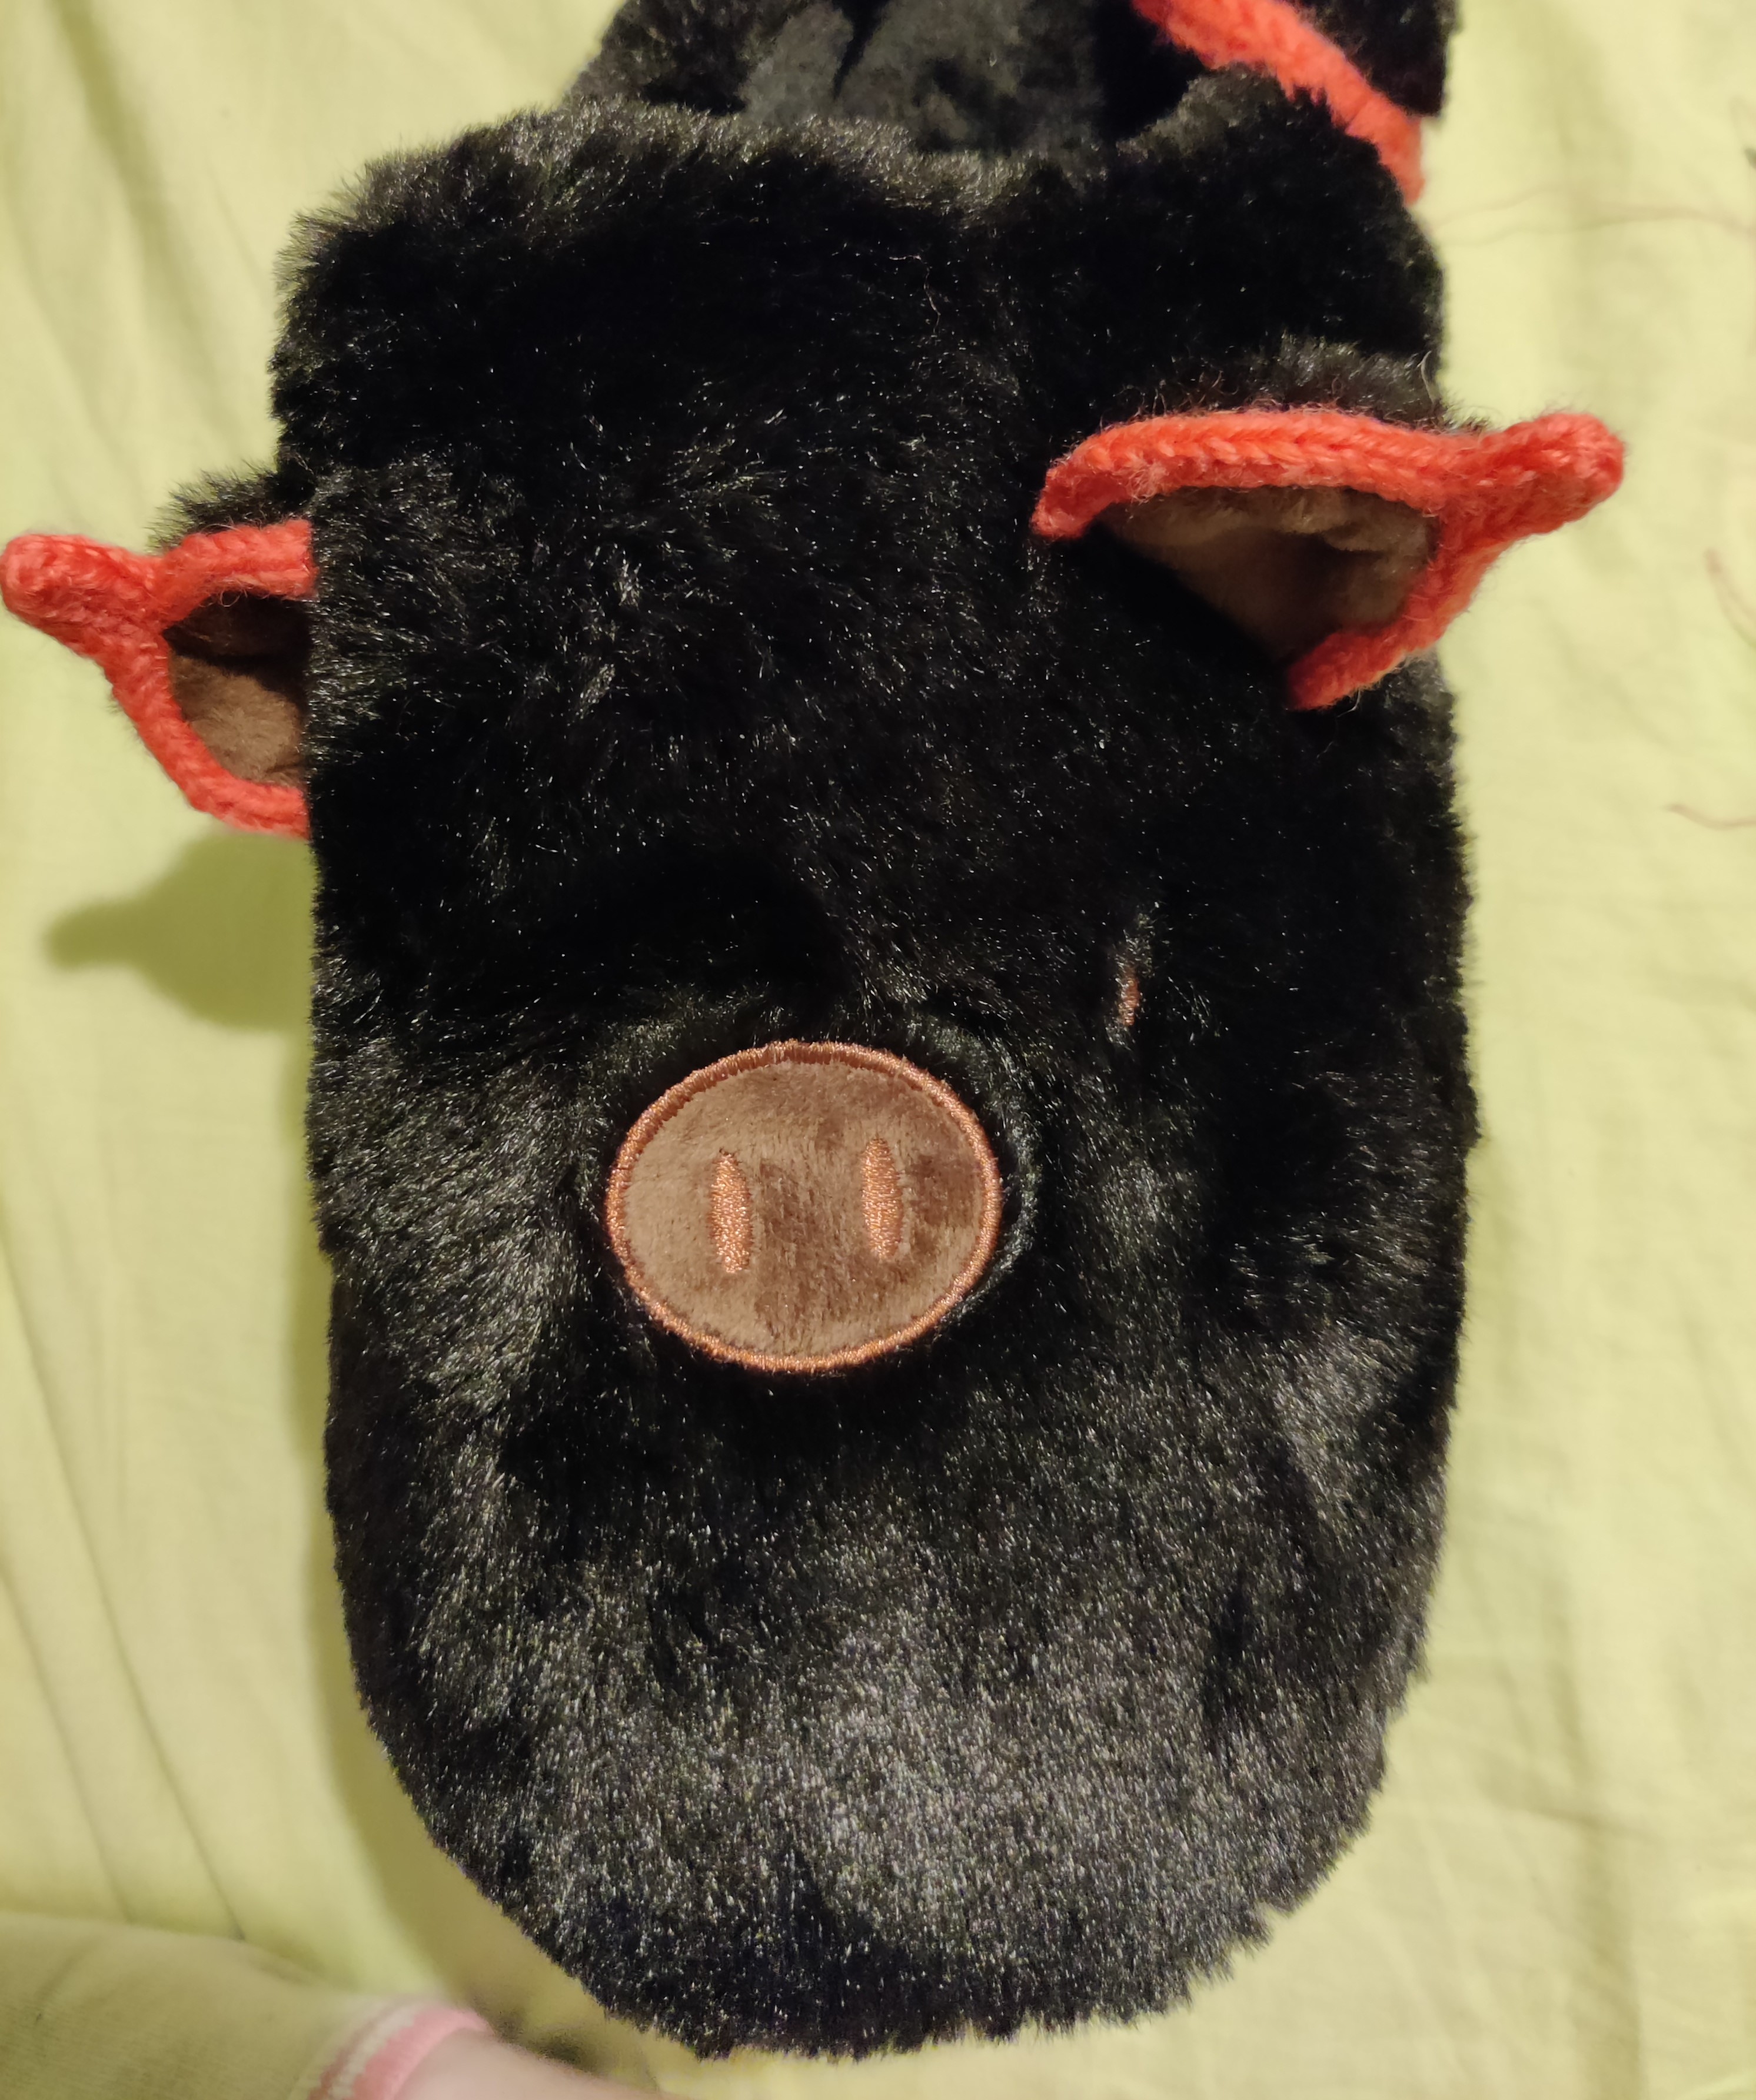
I Sewed One End of the Cord to the Inside of the Ear. I carried on Sewing for about a Fingers Width.

Round Ears


I attached the other End of the Cord to the Outside of the Ear and Sewed for the same amount.

Pinch, Sew Together


I carefully carried on Sewing up both Sides until there was only a relatively small Loop left. I then Pinched the Loop together. I proceeded to Sew across.

Made a Pigs Ear


I repeated this process with the other Ear. This was much better at least they looked more Piggish. I then had to do the same with the other Slipper.

By Pinching and Sewing together I had not only made the Ears more Pointy but had also created Depth. This made the Ears more realistic.

Piggy Perfect


One final touch was to add some Googly Eyes. Pigs Eyes seem very small so I found some tiny ones. I Glued them on Top with some Fabric Glue.

Voila! Piggy Perfect. I hope he likes them.

Friday, 23 February 2024

Pig-Mailing On 2023 Part 3

 Pig-Mailing On 2023 Part 3

Now I have finished the Back I can move on.

Start at the Front


The main part of the Slippers is obviously the Front. I wasn’t happy about the lack of Pigness. Therefore I needed to improve the look. The thing that was irritating me the most was the Ears.

The Ears were completely the Wrong Shape. Since when did Pigs have round Ears? These looked more like a Hippopotamus than a Pig.

2.75mm Needle


I again decided upon using an I-Cord. This would echo the effect of the Back. I therefore found a smaller pair of 2.75mm Needles to use.

Too Big


 Even though I had dropped several Sizes when I came to make the Cords I found that they were Too Big for my purpose. Therefore I had to start again.

I found a pair of Needles that 2.5mm. Though still slightly larger than I would have like they would do as I didn’t have any smaller.

Sew I-Cord Ends


I finally finished the I-Cords and Sewed in the Ends.

4 I-Cords


This time I needed 4 Cords. I realised after I put them on I hadn’t measured them. At a rough guess I would say they were all 3 Thumb Lengths Long.

Saturday, 17 February 2024

Pig-Mailing On 2023 Part 2

 Pig-Mailing On 2023 Part 2

This is more fun. Creating the Tails.

Pin Tail on Slippers


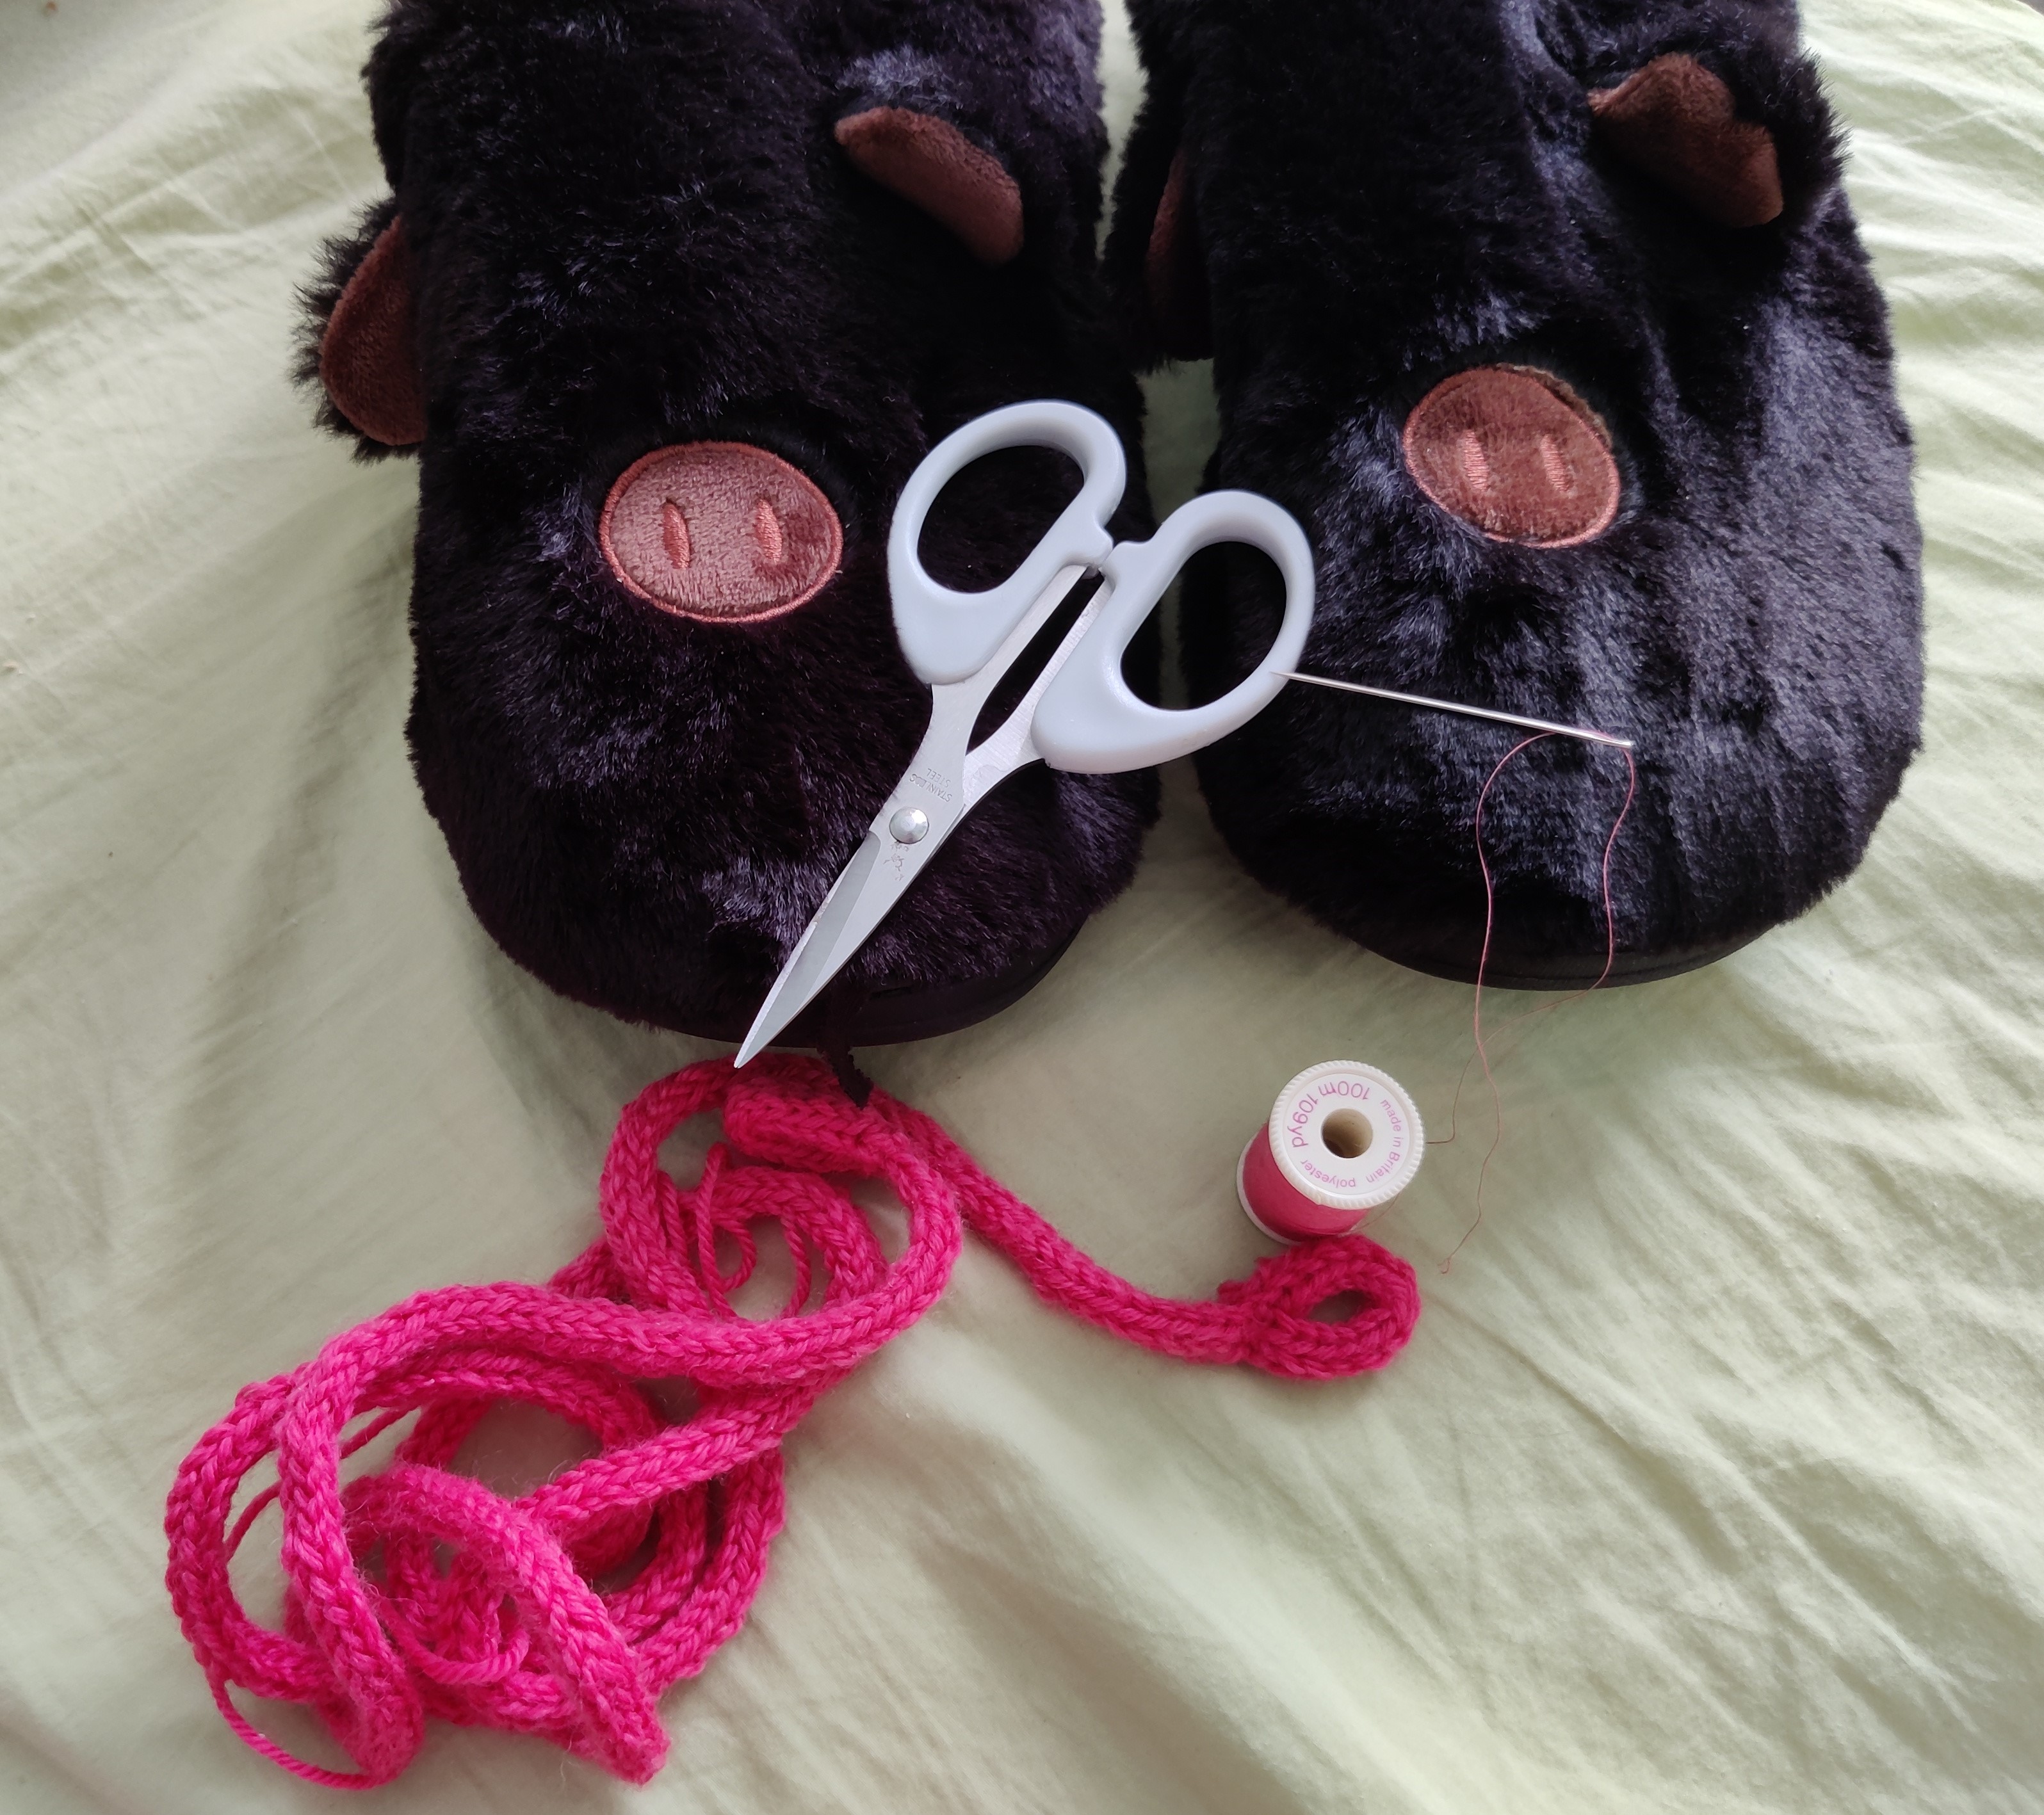
I have Sewn the I-Cords into a Loop. They are big enough for me to put my Finger through. I Have Sewn them in Opposite Directions as they are going to Curve different ways. I then Pin them on to the Slippers at the Back using the Rear Seam as a Guide. 

Tail Curl


I Sewed the first Curl on the Seam. I didn’t Sew it all the way up as I wanted slight movability at the Top. I then Sewed about a Fingers Length of the Cord to the Right.

I then began to Curl the I-Cord into another Loop. I Pinned in Place then Sewed all the way around. Once Again I left some Cord Unsewn at the Top.

Three Little Curls


I Repeated this process until I had Three Little Curls in my Piggy Tail. I then Sewed along for another Finger Length before starting to Curve the Cord Upwards.

All Curled Round


Now apart from making the Tail to increase Piggyness I had an alternative motive for this Tail. The Size of the Slippers are actually a couple of Sizes too large for my boyfriend.

I am going to put some insoles into them but still thought they would be a bit too big. Therefore I am going to use the Tails as Straps. I Curve the Strap over the Ankle area in a Circle. Then I Weave the Cord through the Loops.

Pair of Curly Tails.


I now have a couple of Pigtail Slippers.

Friday, 9 February 2024

Pig-Mailing On 2023 Part 1

 Pig-Mailing On 2023 Part 1

I know it is a terrible pun but I couldn’t resist. I ordered so Pig Slippers from Online for my boyfriend. Here is what I did next.

Pair of Slippers


The Slippers arrived but I didn’t think they were Piggy Enough. This was reinforced when I showed them to a classmate and she didn’t even know they were supposed to be Pigs.

Time to start Crafting.

4.5 Needles


Pigs are generally a Pink Colour so I found some Pink Wool I had left over. I also got out some 4.5mm Double Ended Needles.

Double I-Cord


As I need 2 I-Cords I am Knitting them Side by Side so can tell length easily

25 Inch


I carried on Knitting until the I-Cord reached 25 Inches. I needed quite a length for what I intended to do.

I-Cord Ready


I have finished both the I-Cords and Cast off. I have found some Thread that is a good Match. Therefore I am ready for the next part.

Thursday, 1 February 2024

Autumn Cape Bag 2022 Part 55

Autumn Cape Bag 2022 Part 55

On to the next design.

Original Concept


After searching for lots of pictures, I ended up Drawing something that I do believe looks like a Rat. This is my Original Concept. It will take several stages for it to become usable.

Rough Rat


Next, I transfer my Rat onto Graph Paper. This never seems to look as good as the Original.

Cubed Rat


Once I have Drawn my Rough Rat I then have to alter the Rounded Lines into Squared ones. I have Cubed my Rat Drawing. This stage always reminds me of Picasso.

By the Numbers


Now my Rat is Cubed I can do the next part, which is adding the Numbers to my Chart. This is so I know how many Stitches and Rows I will be doing.

If you notice in the above photograph I haven’t Cubed the Ears, Legs or Tail. This is because they will Embroidered on after Knitting.

Humpback Rat


After counting, I have found that the Rat is far too big for what I need. Therefore, I have reduced its size. Unfortunately, this has Squashed it so much the Rat now looks like it has a Camels Hump.

The thing to remember is that this is a Rough Chart. Unlike Cross-Stitch where you can copy the Pattern, exactly Knitting has different sized Stitches and therefore a certain amount of adjusting has to be done whilst Knitting.