Wednesday, 13 January 2021

Mademoiselle Medic 2020

Mademoiselle Medic 2020

2020 has not been a good year for anybody. Queueing, Social Distancing and Face Masks have become the new norm.

They say necessity is the mother of invention and I have been coming up with a few nifty Face Masks. So I thought why just stop at friends and family?

Mini Mask Outline

I have decided to make a Mini Mask for our old friend Mademoiselle Marionette.  This isn’t as easy as you think as it is not just a case of scaling down.

Mademoiselles Face is different to a Human one both in shape and of course firmness. Neither does she have ears. I will have to sort problems as I come across them.

Hemmed Mini Mask


I have found a small lid to make a rough outline. It wasn’t rectangle but it doesn’t matter. First of all I make a Hem to prevent Fraying.

Elasticated Mini Mask

After the initial Hem I make a second one but only at the Vertical Sides. I leave a gap large enough to thread through some Elasticated Cord which I then Knot.  This will enable me to have something to put a small pin through so she can wear it.

Cut Out Apron


Once I had completed the Mini Mask I thought why stop there. I drew a template for an Apron, folded it in half and Pinned so both side would be equal when I Cut Out.

Apron Hemmed


Once again it is back to the Hemming. I seem to do more of that than anything else these days.

Completed Apron

When the Hemming was finished I found some White Ribbon and after Hemming the ends to prevent Fraying I attached them to the Apron.

Friday, 8 January 2021

Another Evening - Another Mask 2020 Part 4

Another Evening - Another Mask 2020 Part 4

Time to Accessorise.

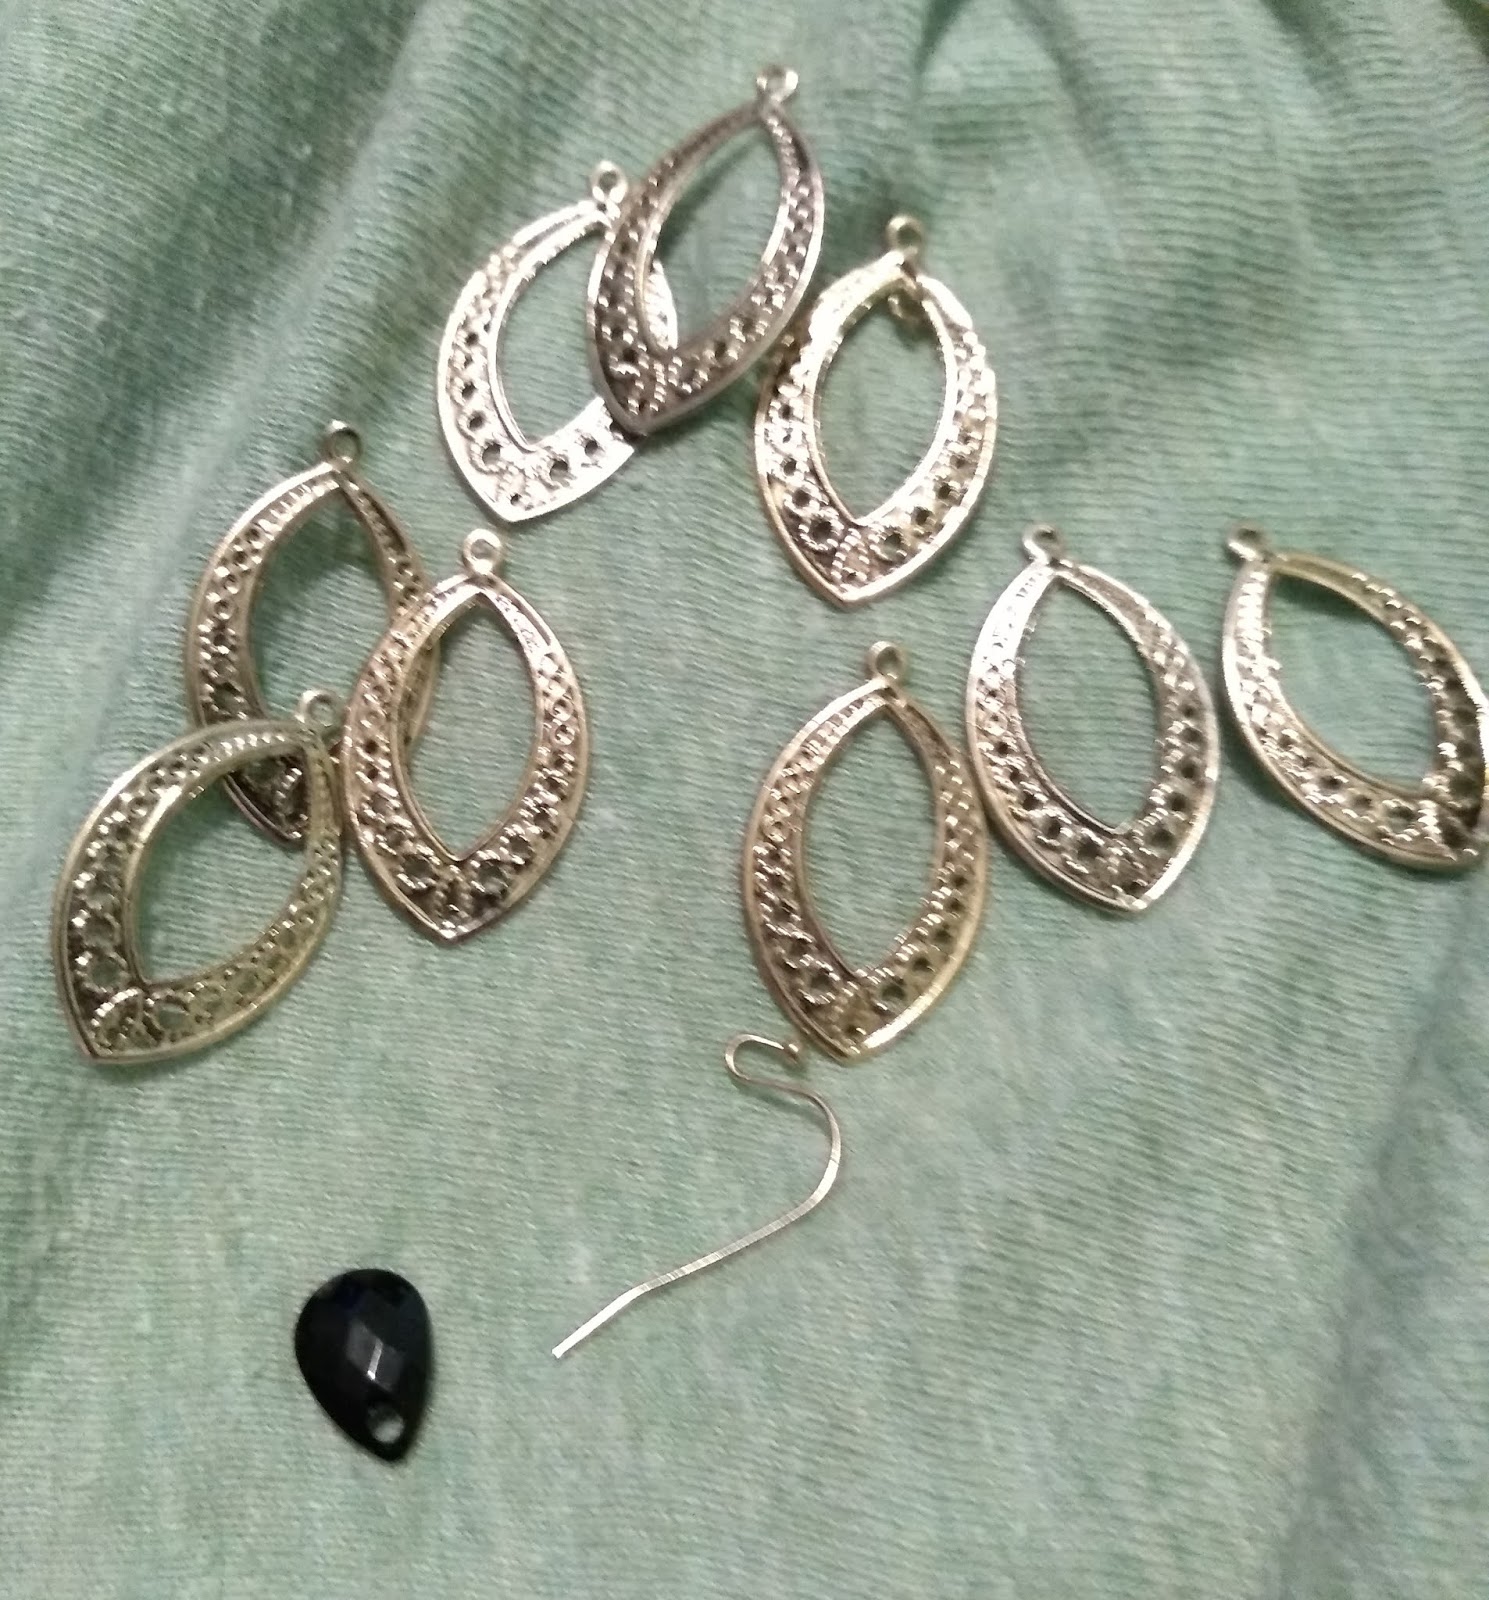
Equipment for Threading


To make the Accessories I needed a Needle, Gold Thread, Oval and a Sequin.

Double Thread

I Doubled the Thread and Pulled through the Hole Hanger.

Pull Through


I Pulled the Tail through Loop.

Looped


Once through I Pulled the Thread Tight.

Pull Through Sequin


Next I Threaded the Needle through the Sequin

Top Hole


I then passed the Needle through the Smaller Hole at the Top which was directly underneath the first one. This wasn’t as easy as it sounded.

I had to hold the Sequin whilst Pulling the Thread because when I didn’t it shot up to the Top.

Bottom Hole


After doing the Top I did the same process (including the holding) with the Bottom.

Secure Front


I originally wanted to Thread through on the Left and Right. However when I tried I found that those Holes were merely decorative.

Therefore I Pulled through the Holes next to the Bottom instead.

Secure Back


Once I had Pulled the Thread through a couple of times I Secured it at the Back.

Gurkha Night


I made three of the items and slipped onto a cord and the others onto Earring Hooks.

Duchess


Here I am with Accessories and Mask. That is the Another Night – Another Mask Completed.


Thursday, 31 December 2020

Another Evening - Another Mask 2020 Part 3

Another Evening - Another Mask 2020 Part 3

On to the difficult bit.

Add Sequins


I couldn’t leave the Ovals as they were because it lacked something. Therefore now I had all the Ovals in place I had to add the Sequins.

This was exceptionally difficult as I had to work out wear the Sequins need to be placed.

Oval and Round


It took a great deal of time and patience to get the Sequins so they looked as if they were joined to the Ovals. I was quite happy with the end result.

Add Back


I already had a Hemmed cloth that I intended to use as another Mask. However I decided to use this as the Back.

Black Pouch


This is a different way of creating a Pouch for the Tissues. Rather than two pieces of material I am only using one. You can see in the above photograph that I have not Trimmed the Material to fit.

Envelope


Instead of Trimming and Re-hemming I have decided to make a Flap. I Folded the Corners and Sewed in place.

Perfect Back

I then Folded the Flap inside to make a Perfect Back

Wearable Mask


I now had a Wearable Mask.

Thursday, 24 December 2020

Another Evening - Another Mask 2020 Part 2

 Another Evening - Another Mask 2020 Part 2

Continuing with Another Evening Mask

Bottom Ovals


I have now Sewn on 9 Ovals at the Bottom of the Mask. It is time to add some more.

Ovals Pinned


I have added another layer of Ovals and Pinned. As you can see from the above photograph this is not easy to try on.

Sewn Ovals

I have now sewn the Ovals in place. However it looks a little sparse under the eyes.

Oval-ly Done

I added all the Ovals I had Sewed on and looked in the Mirror. I am surprised it didn’t crack. Therefore I decided to Unpick most of them and rearrange.

I have taken off some of the lower Ovals and moved them higher up. I tried it on and it still looked dreadful.

Better with Less


I needed a major rethink. I thought that if I moved in the Bottom ones and kept it to a maximum of five that would be Better. I could then arrange the upper ones so things were more Central. Remember the old adage Less is More.

Thursday, 17 December 2020

Another Evening - Another Mask 2020

 Another Evening - Another Mask 2020

One Evening Mask is not enough so here is another one.

Pin Original Mask


I am using the Original Evening Mask as a Template. I Cut around it giving it extra room for Hemming.

Hem Evening Mask

I Hem the Mask. It seems larger than I thought. I may have to reduce it later.

Ribbon Added

I Fold a Ribbon over the Edge of the Mask and Sew to make the Straps.

Pin and Reduce

As I mentioned previously I thought the Mask looked a little large. When I tried it on it drowned me. Therefore I decided to Fold the Top of the Mask over on itself to Reduce it. I then simply Sewed across.

Pin in Place

I could now start adding the Embellishments. These are the Ovals that Beads from the last Mask came from. I started Pinning in place. I wanted to make sure they were evenly spaced.

Gold Oval Sewn

After I Pinned the first three Gold Ovals I Sewed them in place. I then added some more to the Ends.

Thursday, 10 December 2020

Evening Masks 2020 Part 3

Evening Masks 2020 Part 3

With the Ribbon added I can continue with the Embellishments.

Dismantle Earrings


I bought some Earrings but lost one of the Beads. Therefore I have decided to Dismantle them and use them on the Mask.

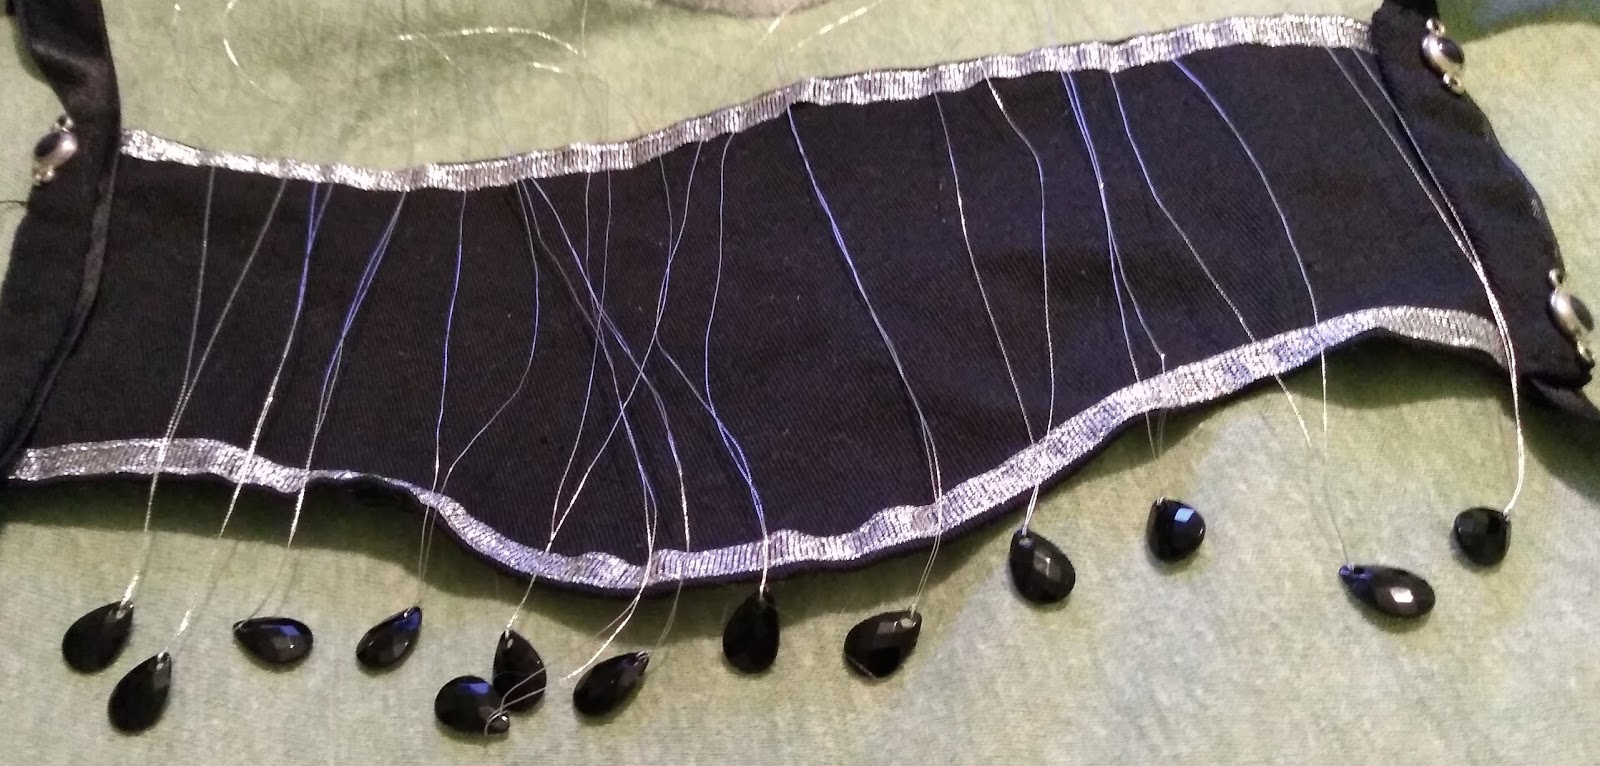
Single Strung Bead


I take a Single Thread, double it and Knot it through the Bead leaving a long double strand.

Strung Beads


I then continue to Thread the rest of the Beads.

Sewn Beads


I Sewn the Beads on starting at the Centre and the Two Edges. This will help me check the spacing.

Matching Earrings


I found that I had some spare Beads. I removed the Thread and slipped them onto the Hooks that I had fortunately saved.

Front Mask View


The above photograph shows the Mask along with the outfit I wore for my Birthday.

Side Mask View


Here is the Mask viewed from the Side. As well as being nicely shaped it is quite comfortable. It certainly made an impression on the Manager of the Mount Gurkha Restaurant.

When he found out that I had actually made it he asked if I had a shop. I think he was hoping to buy some for the ladies of his family. I was so proud. In all it was a wonderful Birthday.


Thursday, 3 December 2020

Evening Masks 2020 Part 2

Evening Masks 2020 Part 2

Now I have my basic Mask design I can start adding to it.

Add Embellishments


I have found some parts of an old watch strap or bracelet that was given to me. I am going to use some of them to decorate the Mask

I Sew two to each side of the Mask. Since they have holes in I might be able to thread a cord through.

Silver Lining


Next I add a Silver Lining or more accurately a Silver Edging to the Top and Bottom of the Mask. I think that I got this from off a Christmas Gift Box.

Unpick Silver


Darn. When I try to fold the Ends of the Mask back on themselves to cover it I find that the Edge of the Silver juts out. I am going to have to Unpick it and Resew.

Shorten Silver


I have now Shortened the Silver. I wasn’t an easy job because the Edging is actually not a complete block but more of a ladder structure.

Folded Ribbon


Finally I can Fold and Sew the Ends of the Mask. I decided against cord through the Embellishments and instead have added Black Ribbon at the sides.