Thursday, 11 November 2021

Clay-time Playtime 2021 Part 3

 Clay-time Playtime 2021 Part 3

I am continuing working with my Clay.

Rough Star


I have finally managed to get the Star Shape that I wanted. All I have to do now is Elongate it.

Too Long


Well that didn’t work out too well. Not only is it too Long but I am not happy with the Shape either.

Fold and Thicken


I Fold over the Ends and Roll them back into the main Body of the Star.

Star Inside


As you can see in the above photograph the Shape is very different. I accomplished this by placing the Star into the Dish then slowly began to Pinch the Clay from the sides making it both Longer, Thinner and Higher.

As I Pinched the Clay I also Curved the Arms into position and Pressed down the Clay as hard as I could into the Base. I was really beginning to struggle to get the Clay to stick because it was drying out quickly.

Forked Star


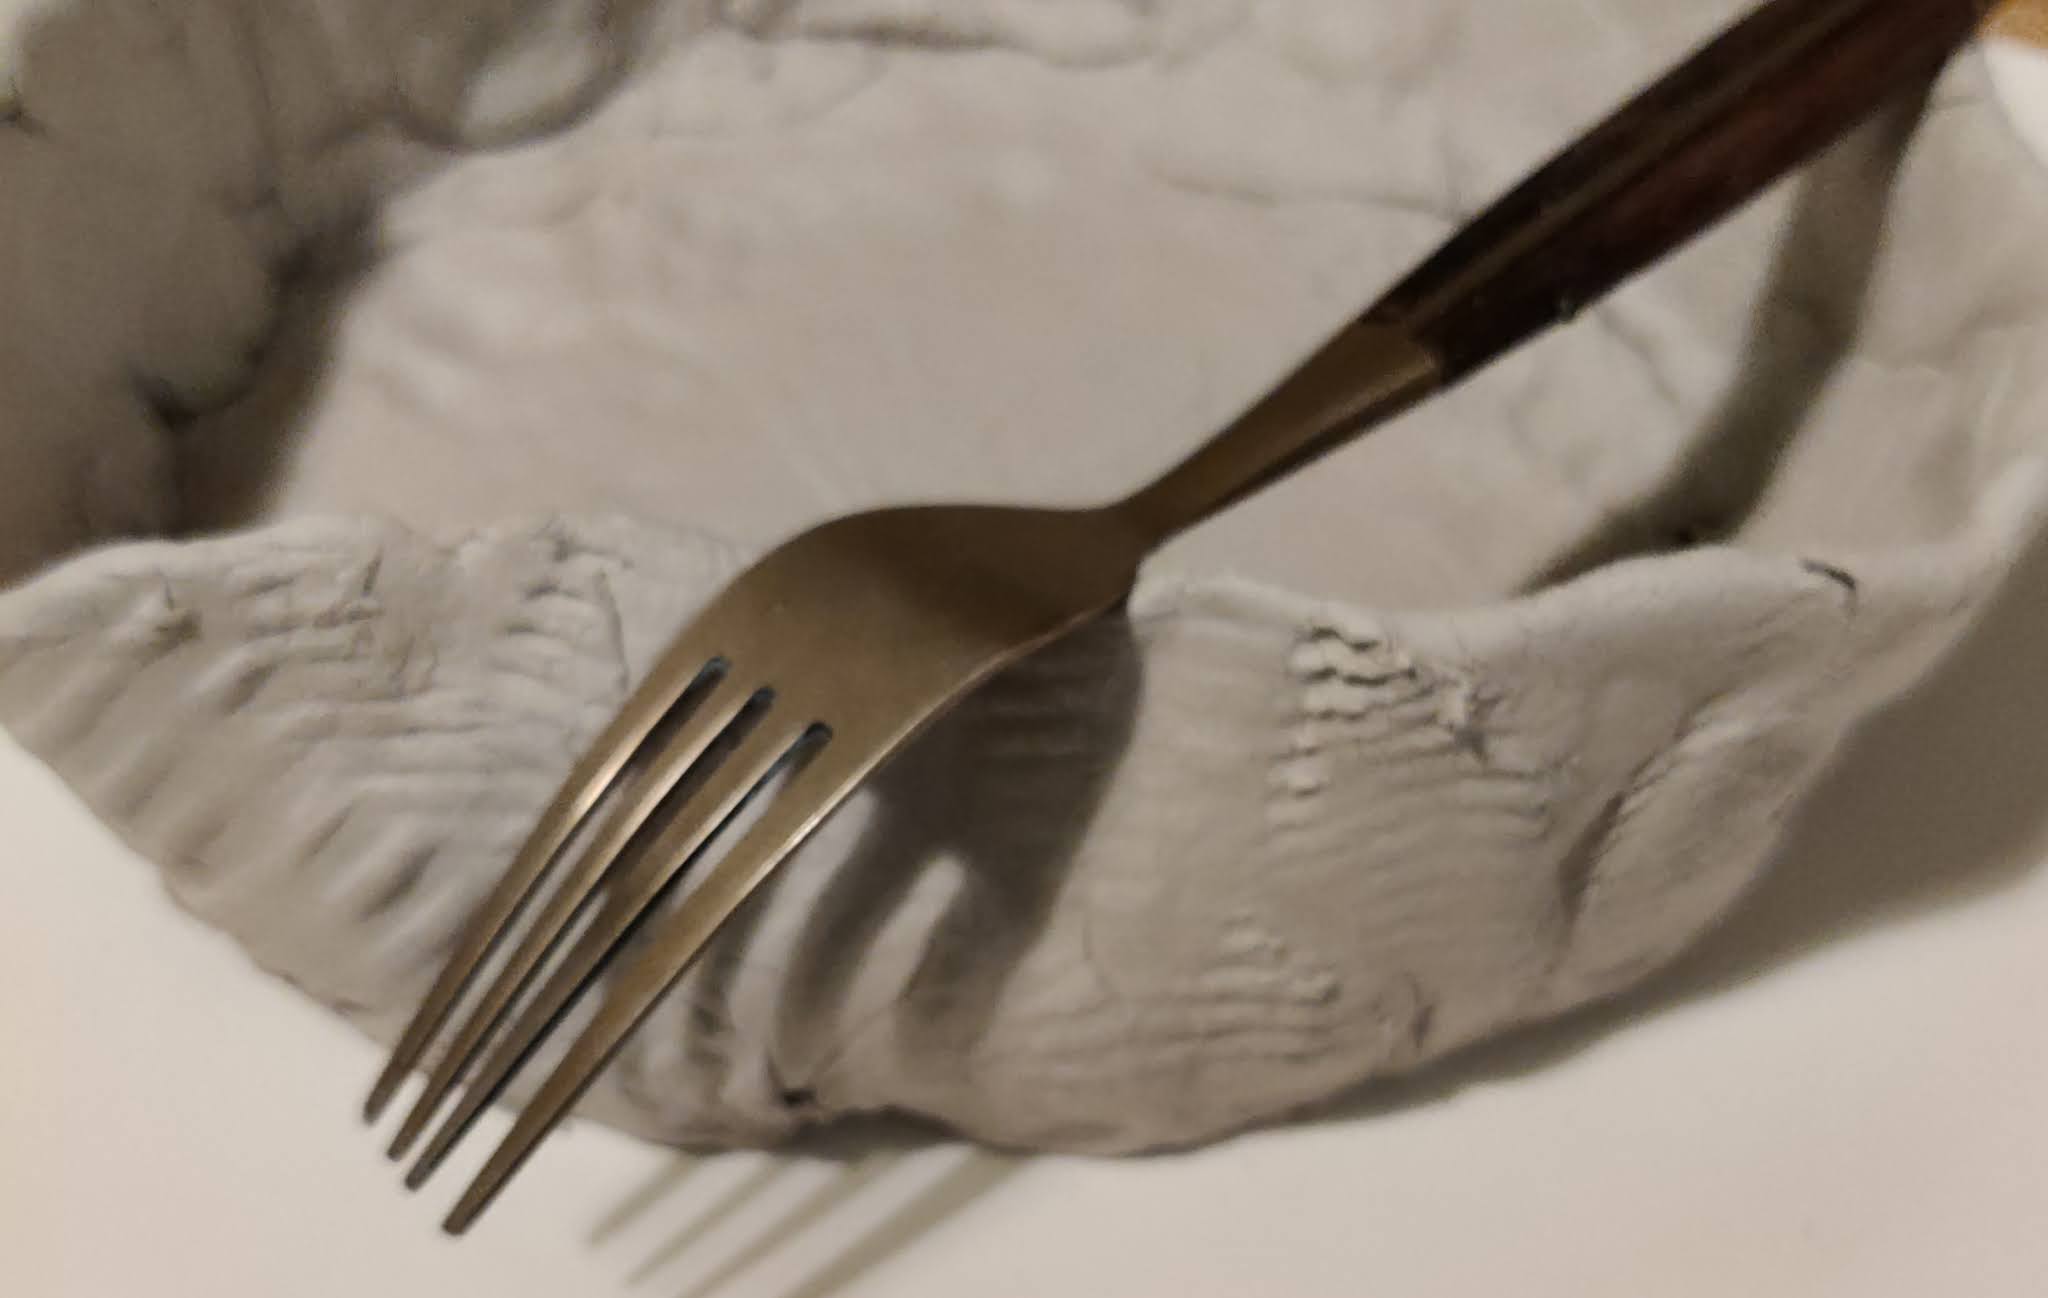
To Embellish the Starfish which is what of course it is supposed to be I again used the Fork.

Hole Star


After doing one Arm I continued on to the others. I then used a Knife to draw a line from the Tip of the Arms to the Centre. There we have it a Hole Starfish.

Thursday, 4 November 2021

Clay-time Playtime 2021 Part 2

 Clay-time Playtime 2021 Part 2

I had my Dish. Now I want to add a Pattern

Clay-time add Pattern


My first attempt didn’t go well. My Brush decided that it was going to disintegrate as soon as I put it to the Clay. I tried both Sides of my Comb but that didn’t work either.

Fork Pattern


Eventually I had to resort to using a Fork to try and add a bit of Pattern on the Sides.

Clay-time Shells


The reason I wanted a kind of Wavy Pattern was because I had been given some Shells and I wanted to make it look like Sand.

Naturally the photograph showing the Shells in place didn’t come out. Let us just say that it was really hard work trying to push them in and getting them to hold. I think that with the Temperature being so hot in the Kitchen the Clay was drying too quickly.

Clay-time Triangle


With the Temperature in mind I had to work fast to do the next bit. I started by using what was left of the Clay and Beating it into a Triangle Shape.

Clay-time Shape


I used the End of the Roller to push the Bottom of the Triangle up towards the Middle.

Clay-time Squeeze


I had lots of photographs but thought it would take forever to read the blog so I have skipped sections. In the picture above I have Flattened and Elongated the Legs.

I then used the End of the Roller to Push in the Sides like I had at the Base.

Clay-time Spread


By continuously Rolling and Pushing I have Spread out the Clay into the above Shape whilst keeping the Height of the Clay even.

Clay-time Man


Finally I have managed to get to the stage where I have a little Man.

Thursday, 28 October 2021

Clay-time Playtime 2021 Part 1

 Clay-time Playtime 2021 Part 1 

I am about to attempt another Challenge. I haven’t really done any Pottery since school and never with this Air Dry Clay.

Clay-time Tools


I collected all the Tools that I thought I would need. This includes Tray, Foil, Knife, Scissors, Ruler, Comb and Brush, Wooden Roller and of course the Air Dry Clay.

Clay-time Piece


I opened the Packet and Sliced off a Large Chunk ready to Roll. I Wrapped the rest of the Clay in Foil. Apparently it has to be Foil and not Cling Film.

Clay-time Initial Roll


The first thing to do was to start Rolling it out. I can’t remember where I got the Wooden Roller from. It is either a bit of old Dowling or a miniature Rolling Pin with the handles broken off.

Clay-time Roll Flat


I am Rolling it Flat in the Tray as I don’t want any loose crumbs that might be lurking on the work surface to get into it.

Clay-time 2nd Piece


What I was hoping to make is a Box with a Lid for the Bathroom. However once I Rolled it out I realised I didn’t have enough Clay so I had to add some more.

I then had to Re-Roll the Clay. Even with the added amount it wasn’t going to be enough so I had to rethink what I was going to make out of it.

Fold Up


I decided that it was going to have to be made into a Dish. I therefore Rolled the Clay into a Large Circle and I started to bit by bit Fold up the Edges.

Fold Over


This Project isn’t going well. I found that the Sides of the Dish were too Thick and the Base too Thin. Anything remotely Heavy would probably break it straight away.

I order to sort the problem I felt that I had no option but to Fold the Sides down into the Base and Reroll and try again.

Thursday, 21 October 2021

All Steam Ahead 2021 – Mad Hatter Preparations Part 7

 All Steam Ahead 2021 – Mad Hatter Preparations Part 7

This is the Final blog on this Project.

Adding Feathers


The Final touch was to add the Feathers. I tucked them in a little behind the Badge.


Badge Side


I wondered how best to Display the Final Result. With no Mannequin handy a Stool had to suffice. In this photograph you can see the Badge and Feathers.


Rear Vail


In this photograph you can see the Full expanse of the Rear Veil. You can also see how I have wound the Chain back on itself rather than continuing on to the Badge side.

Chain Side


This photograph gives a great view of how the Chain dangles down and then comes back up on itself.

Veil Over


One thing that I didn’t mention about the Front Veil is that it is Long and Wide enough to Fold over Diagonally so you can see, eat and drink.

Spot the Badge


Finally the whole collection. The Hat, Mask, Earrings, Belt and if you look very carefully the Badge that I made is Pinned to my Coat.

A splendid Outfit for going to the Theatre.

P.S.

I couldn’t resist adding to the overall Ensemble by leaving my glasses at home and watching the performance with a pair of Opera Glasses.

Friday, 15 October 2021

All Steam Ahead 2021 – Mad Hatter Preparations Part 6

 All Steam Ahead 2021 – Mad Hatter Preparations Part 6 

This is one of those blogs where I have to think hard how to put in order as often I work on different parts at the same time. 

Sew Vail to Brim


I took another piece of Net to use for the Front Vail. I didn’t double it this time as I wanted to be able to see where I was going.

The Length of the Vail was from the Brim of the Hat to roughly chest Height and the Width went all across the Front. I Folded the Top of the Net to make it easier to Sew on to the Brim.

Add Copper Cogs


I now began to add the Copper Cogs to the Design. I spread them out around the Hat and Sewed in Place.

Sew Chain


I wanted to add some Chain around the Cogs to make it look like they were actually doing something. I started by Tacking the Chain to the Copper Cog nearest the Brim on the opposite side to the Badge.

This would hold at least one part of the Chain in place whilst I worked out what to do with the rest.

Pin and Wind


This was probably the most complex part of the whole project. I put in and took out so many Pins whilst working on the Design I am surprised it didn’t end up looking like a Sieve.

I worked from the Brim Cog around to the Back. I had something else in mind for the Front

Sew Chain to Badge


I pulled the Front Vail up and proceeded to run the Chain in a large Loop under it and across to the Badge on the other Side.

The idea was use this Chain like a Strap if the Hat ever blew off. I Sewed the Loose End to the Badge.

Sew Vail to Back


With the Chain all done I could finally Sew the Fan Vail to the Back of the Hat.

Thursday, 7 October 2021

All Steam Ahead 2021 – Mad Hatter Preparations Part 5

 All Steam Ahead 2021 – Mad Hatter Preparations Part 5

Back to Preparations. As one part is so short I have lumped it together. Feathers and Net Preparation.

Forage Feathers


I needed some Feathers to add to my hat so I went on a Forage around town picking up all the Pidgeon Feathers I could find. It seemed that I had a great many but once I had sorted them I found very few were suitable as they were damaged.

I had also forgotten that Feathers from opposite Wings would lean different ways and since I only wanted one direction that diminished the collection further.

Feather and Ink


Here is a trick I learnt from lovely Laura. I wanted Black Feathers so I used a Permanent Black Marker Pen to Colour them in. I also had the foresight to put paper underneath so I didn’t mark the table.

Double and Secure


I Cut a Length of Net. I wanted it slightly Thicker so I Doubled it over and Secured it with some Thread.

Right Fold


I took roughly a Fingers Width of Net from the Right Hand Side and Folded it Back on itself towards the Middle. I then Secured it with a few Stitches.

Second Fold


I moved across to the Right and Duplicated the Process. I now had my second Fold. I kept doing this till I reached the End and Trimmed any Net left over.

Completed Fold


I then proceeded to repeat this technique on the other side only this time I was Folding to the Left. Once finished I spread out the Folds a little.

This particular piece of Folded Net is to go on the Back of the Hat.