Thursday, 1 March 2018

Autumn Cape A long Term Project 2018- Owl Nest

Autumn Cape A long Term Project 2018- Owl Nest

This blog is going to touch on some embellishments that I needed to do regarding enhancing the Back of the Cape.

Back Of The Cape


This is how the full length Back of the Cape looks at present before any embellishments are added.

Owl Close Up


This is a close up of the section I will be concentrating on first of all. As you can see directly around the Owl and Hollow it is quite plain.

Leaves For Use


I had a pile of knitted leaves left over from earlier usage. Before I started to try and add any I sorted the leaves into sizes. I want the larger leaves at the Bottom of the Cape

Roughly Pinned Leaves


I pinned the sorted leaves roughly around the bottom of the Owl’s Nest in the Hollow of the tree. I tried to make sure that none of the leaves placed covered up the Owl’s Talons.

Owl Nest Sewn Leaves


I tried to arrange the leaves in a natural formation so it looks like the Owl is nestled snuggly amongst them.

Too Much Brown Right Side


At the side of the Owl and along the Bottom of the Daytime piece is far too much Dark Brown. Therefore I added more leaves to break up the mass.

Less Brown Right Side


I have used the brighter coloured leaves to lighten up the area to the Right of the Owl. I may need to do more but I will have to knit more leaves first.

Too Much Brown Left Side


This area was more difficult to do as the Night Time Side is supposed to be naturally darker. Unfortunately when I knitted the Back Piece the idea of a Day Side and a Night Side hadn’t occurred to me. Therefore the colours are the same both sides of the trunk.

Less Brown Left Side


I needed to choose the colours carefully. I made sure that the new leaves I was adding to break up the Dark Brown were dark colours as used on the Night Time Side. I also extended the hanging branches a little so I could add a leaf to break up the mass of orange and red.


I will want to add further leaves but I need to make some more in smaller sizes before I can start.

Thursday, 22 February 2018

More Crafting Odds and Sods – Past and Present

More Crafting Odds and Sods – Past and Present

Over the years I have had go at various crafts. I decided a while ago I would try and keep a record of what things I have created. Unfortunately since a few were presents and I had no camera at the time some are forever lost.

However a few of my friends have kindly supplied me with a few photos. Here are a few things that haven’t been included in previous blogs.

Braids 2018


I have a Medieval Braid Wheel and last month I was showing a few friends how to make Braids. Afterwards I carried on making Braids using odd bits of wool and donated them to Ophelia Originals as tags. - https://www.facebook.com/OpheliaOriginals/

Teapot Cross-Stitch 2017


This Cross-Stitch was a pattern in a magazine bought by my mother for me. Therefore I decided to make it for her. I think it came out quite well

Pretentious Pyrography 2012 Front View
Photograph Copyright Chris Johnson


This is a joke present known as a Pretentious Stick. The Large P stands for Pretentious and the Bow and Arrow motif stands for Robin Hood

Pretentious Pyrography 2012 Back View
Photograph Copyright Chris Johnson


This was made to commemorate a talk given at Nottingham Empyrean. - http://nottinghamempyrean.co.uk/

Pyrography for Yule


I cannot exactly remember when this was made. It was a Pyro graphed wheel of the year for a group to use as a religious platter.

Knaughty Knitwear
Photograph Copyright Daniel Homes


This was another joke present made for a friends 21st Birthday. I believe that this was my first ever attempt at knitting an item without a pattern.

Woollen Willy Warmer
Photograph Copyright Daniel Holmes


As you can see I knitted this in his favourite colour – purple and embroidered both sides. My only regret is that I was unable to get a photo of his face when he opened his gift.


I still have quite a few items that I would like to get photos of so if any of my friends have any please send them to me.

N.B
Thanks to Chris and Daniel for sending in the photos and giving me permission to use them.

Thursday, 15 February 2018

Two Tone Blue Beret 2018 -Chock full of mistakes

Two Tone Blue Beret 2018 -Chock full of mistakes
  
As you know by now when I write a craft blog I try to include all the mistakes I have made and how I overcame them. Well this blog is full of blunders.

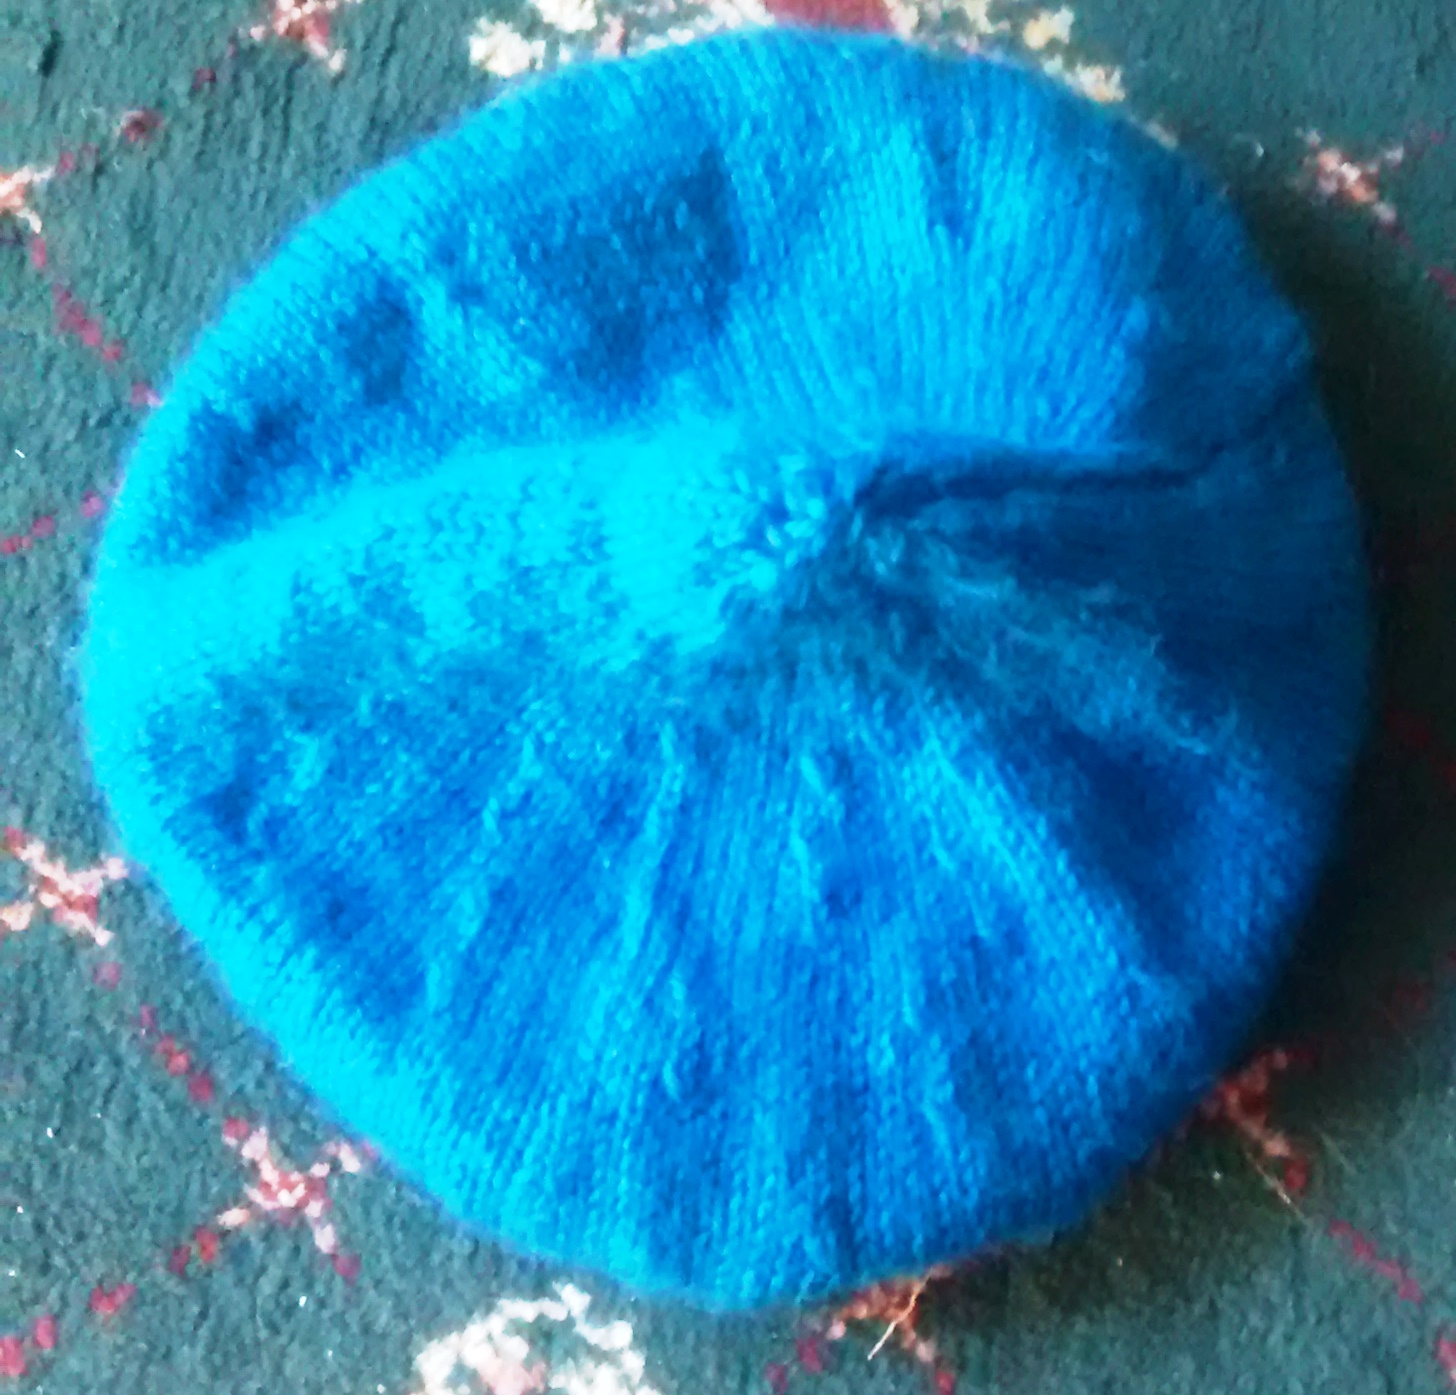
Two Tone Blue Beret Underneath


On a trip to my favourite wool shop Knit Nottingham https://www.facebook.com/knitnottingham/
I purchased some more wool – no surprise there. Unfortunately there wasn’t enough in either colour I liked so I thought why not knit a Two Toned Beret for a change.

Two Tone Blue Beret Mistake


The wool shades in question were called Petrol (main colour) and Kingfisher (Rib colour). I have found the last few Berets I made have been wrong on the stitch count but not as bad as this one. Instead of being flat this one looks – well I will leave that to your imagination.

Two Tone Blue Beret Corrected


I unravelled quite a few rows and tried to compensate – it still isn’t right but far better than before. I worked out where I had been going wrong. Instead of counting how many decreases I was supposed to do on each row I decreased to the end. This led to losing stitches and having to compensate.

Two Tone Blue Gloves


The last pair of gloves I made was uncomfortably tight. It was like the thumbs were in the wrong places. When I got to the thumbs on this set I could have kicked myself. As with the Beret I had just gone on my merry way instead of Checking The Pattern!

There is more than one way to add stitches KFB (Knit through front and back of loop) and M1 (Make a stitch by picking one up). I hadn’t checked which it one it was. Therefore I didn’t have enough stitches in the right place.

Two Tone Blue Scarf


I had no technical problems with this scarf. I started with the Petrol then added Kingfisher then carried on with the Petrol. The Scarf is a little shorter than I would like so hopefully I will pick up some more wool the next time. I would prefer more Kingfisher but Petrol will do.

Blue Brooch


Since I had more Petrol than Kingfisher I used that to make the Brooch. I may make one in Kingfisher if I get some of that to finish the Scarf.

Purple Bamboo Cotton Brooch


Whilst I was sorting out some craft stuff I came across something I had completely forgotten. I had knitted a Purple Brooch in Bamboo Cotton a long while ago and had put it aside, with the bead tin at hand I finished this one off too.


Hopefully the next time I knit one of these sets I will remember to Check the Pattern!


N.B

I ended up making an unexpected trip to Nottingham Bus Station to retrieve my mobile phone which had fallen out of my pocket on the bus. So whilst there I took the opportunity to nip into my favourite shop.

Unfortunately after Eleanor rang the suppliers we discovered that the Kingfisher has now been discontinued. Therefore the Scarf will have to be finished in Petrol Blue.


So now I have to wait for it to come into stock and be posted to me. On the bright side I have bought additional wool to carry on with my ever growing collection of Beret, Scarf and Glove sets.

Thursday, 8 February 2018

Autumn Cape A Long Term Project - Inside Toggles Part 2

Autumn Cape A Long Term Project - Inside Toggles
Part 2

The Toggles I ordered have now arrived so I can carry on with the inside fixings.

Daytime Toggle Pinned and Looped 


I pinned the Rib Bottom together and then proceeded to Loop around the Toggle already sewn from last time. This meant that I had a secure point to work from.

Inside Daytime 4 Toggles Pinned


Next I looked where the Loops fell and placed the Toggles in the corresponding area and marked with pins.

Inside Daytime 4 Toggles Sewn


I then began to sew the Toggles in place. Each time I finished sewing one I put the Loop around it to make the next one easier.

Inside Night Time 4 Toggles Sewn


Once I completed the Daytime side I repeated the process with the Night Time side.

Now you might be wondering why only 4 inside Toggles have been sewn when there are 6 Loops? This is because the 5th Loop on the outside is very near the armpit. I think it would be very uncomfortable to have a Toggle here on the inside so therefore I will have to come up with something a little different.