Autumn Cape 2016 A long Term
Project Part 6
In the previous blog I ended on
the pros and cons of one of my bright ideas (heaven help us). This one is how I
put the said idea from theory into practise. First of all the idea I had was to
enrich the design by adding a squirrel, A Red Squirrel obviously being a bit of a
traditionalist.
Much as I like the Grey Squirrel (an
American invader) whenever I think of Squirrels I automatically think of
Squirrel Nutkin. For those not familiar with him he is a character from the
Beatrix Potter stories.
Now I am not much of an artist
especially when it comes to drawing real things. Indeed if people can recognise
what I have drawn I count it as a success. Therefore I needed to do some
research. Since Red Squirrels are hard to come by in my area and even if they
were they would be unlikely to sit still long enough for me to draw, books and
the Internet were my fall back.
Rough Red Squirrel

The picture above shows my first
Rough Red Squirrel. Don’t be fooled there was a hell of a lot of rubbing out
and redrawing before it got anywhere near this stage.
Rough Red Squirrel on Chart Paper

After I was satisfied with my
original rough drawing I next had to transfer it onto some chart paper – NOT the
same piece as my tree.
Red Squirrel on Practise Chart

Once I had my rough drawing
transferred on to the chart paper I had to square off all the curves in order
to make it suitable for a knitting pattern.
Red Squirrel Measurements

Before I transfer this picture
onto the real Chart I wanted to measure it. I need to check the picture for
scale. Not only that as I am getting near to the bottom of the paper I am using
I wanted to make sure that there was enough room for the whole Squirrel. I am
making things difficult enough for myself without the added problem of trying
to transfer one drawing on to two pieces of Chart and getting them lined up
correctly. It might seem simple just counting the squares but believe me after
a while they start blurring and merging into one another.
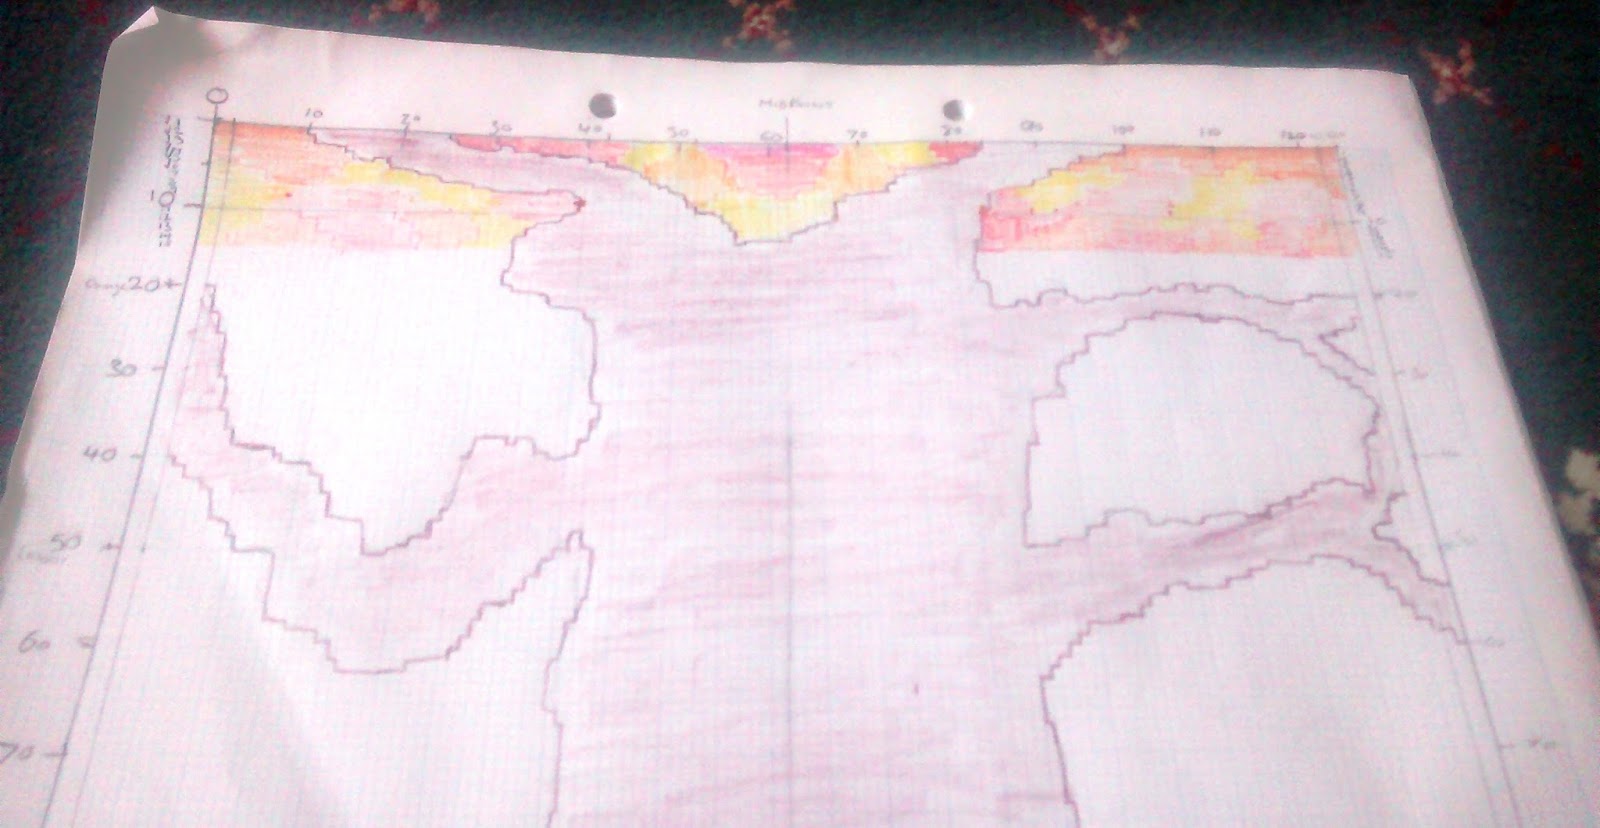
Red Squirrel on Pictorial Chart

The
above photograph shows the Squirrel finally inserted onto the Pictorial Design
Chart. I meant to a take a picture before colouring in but I forgot – sorry folks.
Most of the Squirrel will be coloured in for the knitting pattern. However the
outlines of the arms/hip etc. will need added afterwards in the fine detail.
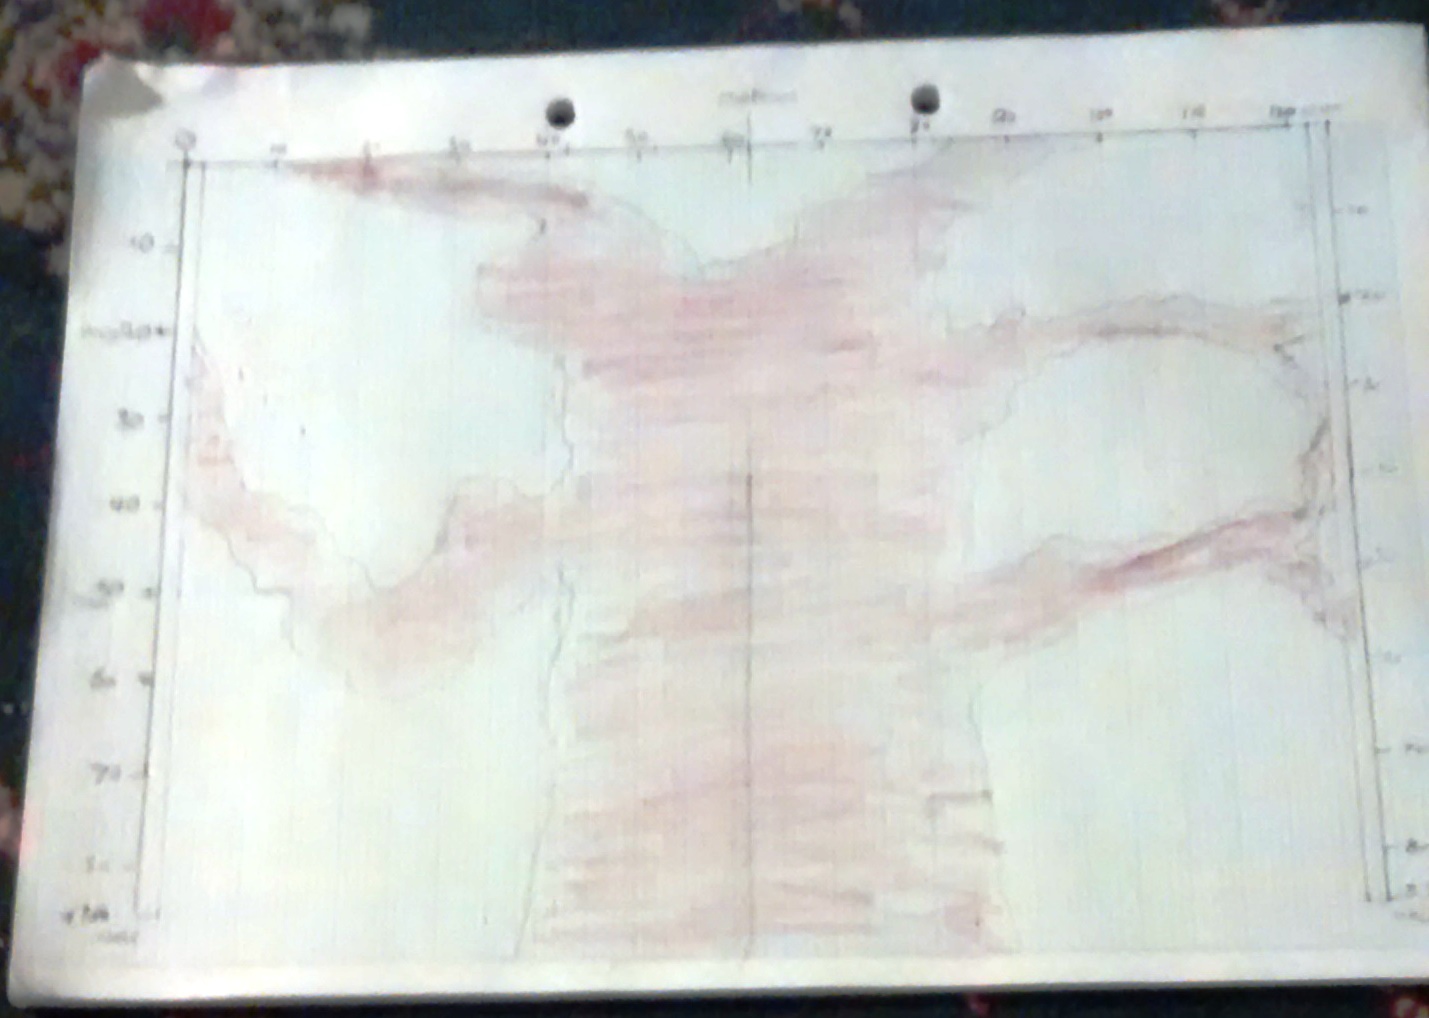
Red Squirrel on Pictorial Chart
Full Colour

Since Squirrels Red or otherwise
rarely levitate in mid-air it needed to sit on something. Consequent after
adding the Squirrel I drew in a branch on which it could rest then added the
background leaves. I tried to wherever possible place yellow around the
Squirrel in order for it to stand out once knitted.
Now I have the Pictorial Chart I
can begin to transcribe that into my Written Chart. I won’t actually be able to
do much Knitting until I get my wool for the Squirrel but then that means you
get a break from my excessive blogging : )