Thursday, 28 April 2016

Autumn Cape 2016 A long Term Project Part 4

Autumn Cape 2016  A long Term Project Part 4

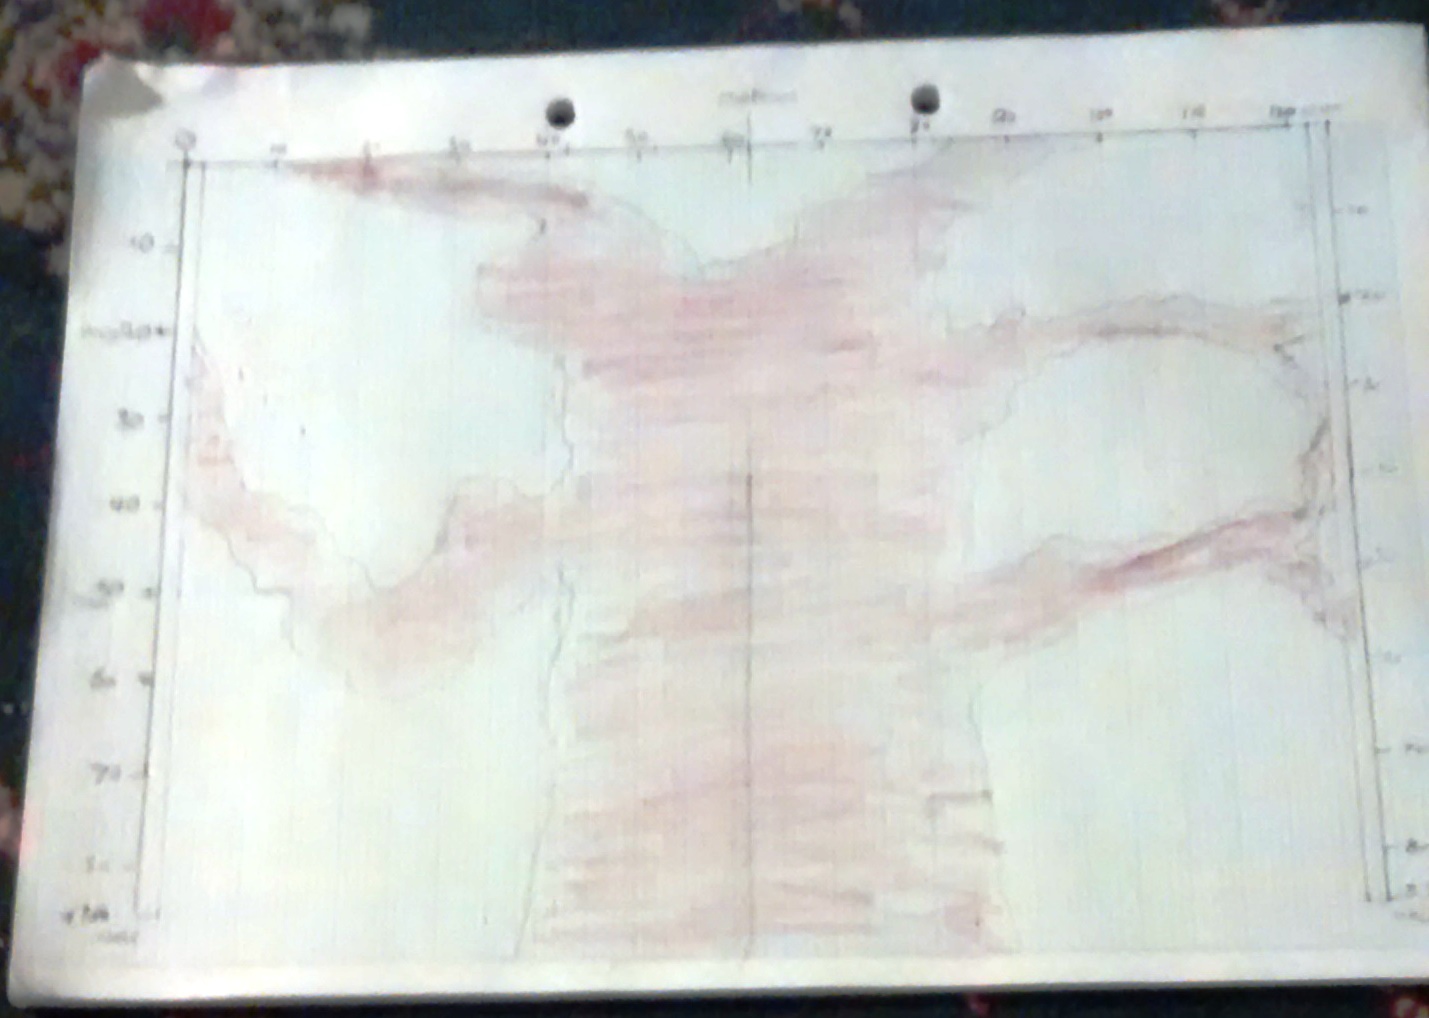
Time for an assessment. I have now finished one complete page of A4.


A4 Written Chart 60 Rows


Since I have only been translating the knit rows this is the equivalent to 60 rows (30 Knit and 30 Purl). I have found the way I have designed the Written Chart with Coloured Numbers a great way to keep track of what colour changes are needed. 

However 1 snag is I found that at times I had more colour changes than boxes and therefore ran out of room to write them down. This means on my next A4 page I must make the boxes smaller to accommodate this.

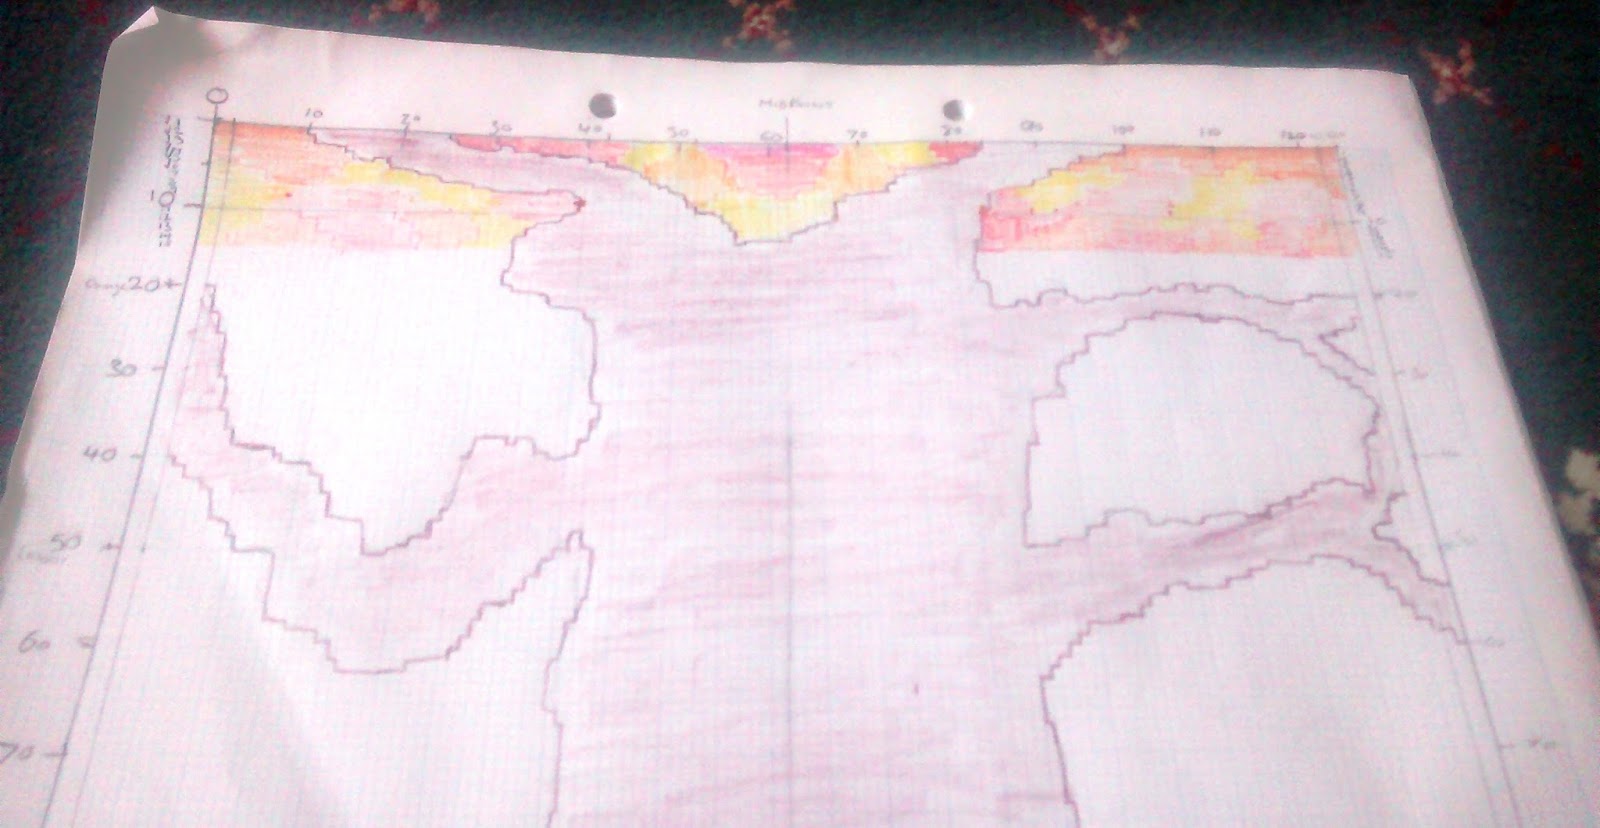
Coloured Pictorial Chart Design 30 Rows


In the photograph above you can clearly see the point when I began to make the colours bolder. This was a definite improvement to the first section. However I found unless I kept sharpening the pencils the colours tended to run into one another.

In order to combat this on the last few rows I began marking the edges of the colour changes. This made a huge saving in time when I was transferring it to the Written Chart.

Autumn Cape Back  Rows 1 to 60


This is what the Back piece looks like at present. As you can see the pattern is beginning to emerge. One thing that I haven't yet worked out is for some reason I keep losing stitches. I believe this happens when I have added a new piece of wool and because it is not as yet completely fastened it slips out. My solution is to leave slightly longer tails. Hopefully that way if my contention is correct it should solve the problem.

The other result of the loss and re-addition of stitches means that the pattern I transcribed and the pattern I ended up with isn't quite the same. Annoyingly this means that in places I have bits of trunk and bough in the middle of nowhere. A bit of embroidery after it is finished should mask it.


Width of Back Approx 60 cm


With 124 stitches (more or less) it works out roughly 60 cm wide. This includes the selvedge so it will lose a little in the sewing up.

Length of Back Approx 19 cm


The Length is roughly 19 cm. The above ruler is 15 cm. The photo didn't come out to well which I put down to lack of tea! Now I have both length and width measurements I can calculate how the finished back section will look. I also have a better idea of the amount of different coloured wool I will use. Might need another trip to Knit Nottingham.

Autumn Cape Bobble Texture


One completely unsolicited thing I found was the texture of the knitted piece. With the constant change of colours and consequently the amount of ends I have to sew in it has created an uneven texture.

Frankly this is an unexpected bonus as I think it makes the effect of the leaves more realistic and gives the whole piece a more rustic look.

Next job more colouring in : )


Tuesday, 19 April 2016

Autumn Cape 2016 A long Term Project Part 3

Autumn Cape 2016  A long Term Project Part 3


First of all I would like to add something I omitted from the last blog. As you have read in previous blogs I am quite picky from where I get my wool. I choose to buy from independent retailers when I can.


I would like to point out that my wool shop has recently moved into new and bigger premises a short distance away from where they were originally located. Their new address is 9 Trinity Walk Nottingham NG1 2AN


http://www.knitnottingham.co.uk/


Will they win again. Nominate now! *


http://www.letsknit.co.uk/britishknittingawards/


Phew - now I know I will be allowed in the shop I will carry on where I left off. I had discovered that the way I had been writing my chart for the test piece would not work on the real Cape due to the fact of too many colour changes. Therefore I had to come up with a new idea.


After dolefully looking at my heap of wool I had an inspiration. Instead of putting Ball 1, Ball 2  with the corresponding colours etc why not write the Chart in colour! Now I had the idea I had to try it out.  


Written Cast On Colour Chart 1


Written Cast On Colour Chart 2


Yay it seemed to be working - apart from the fact that my felt tip pens kept deciding to die on me. Since the yellow didn't really show up I went over it in pen to make it easier to see. I apologise for the poor quality of the photographs. I am not much of a photographer but I hope you get the general idea.


At this point I think I better make clear an important point. As I said in my last blog I am uncertain how to transfer the Pattern Design into stocking stitch. So taking this factor into consideration there is a difference between the Pictorial Chart and the Written Chart.


Picture Design


The Design which I drew has been numbered down the side in blocks of 10. 1 square is equal to 1 stitch. Bearing in mind I am making this up as I go along this is what I have in my minds eye. However since I am not sure how to transfer this onto the opposite side I decided to keep it simple and hope.


Every line across the Design is equal to 1 Row in Plain or Knit Stitch. Then on the Purl Row I just repeat the stitches but in the reverse order.


Written Chart Rows 1 to 19


As you can see above I have labelled the Knit Rows from 1 to 19. So Row 1 on the Written Chart is the same as Line 1 on the Picture Design. Row 3 is Line 2 and Row 5 is Line 3. Therefore each Line on the Design equals 1 Row of Knit and 1 Row of Purl.


Why haven't I just put Row 1, 2, 3 etc and included the Purl Rows? Well the answer is easy. It was about 2 o'clock in the morning and I had a headache. I was planning on doing another Written Chart with the even rows on separately after I had done a few rows. 


Unfortunately with felt tips not working and coloured pencils breaking, not to mention rubbing my nose up against the Design to try and make out what colour it was because it was too faint to see I felt that I had enough to cope with.


Also the knitting might be okay but with the amount of balls and loose ends I had all around me the yarn was more like Macramé. Think I am joking? Oh what a tangled web we weave!


Tangled Web Front


Tangled Web Back


The pictures above only show the yarn attached to the knitted piece. What you cannot see is somehow I had managed to weave myself into the Cape as well. I balls on my lap, in front and behind me. I had also sat on yarn and managed to wind some balls around me with the effect of when I stood up it looked like my dressing gown came equipped with giant multicoloured pom-poms!


Having taken some time to extricate myself from the mess I came to the conclusion that there needed to be drastic action taken before I carried on knitting or there would be the possibility that I might never be seen again. Or on the other hand I could possibly be the first woollen wrapped mummy ever to be discovered.


Mulling the problem overnight I decided that I would take the unusual step (for me at any rate) to start sewing in the loose ends from the Cast on then work upwards. The theory being there would be fewer tangles if there were fewer dangling yarns in the first place.


I began sewing, trimming long pieces of yarn (which I kept for sewing up later) and untangling. Talk about a long job. It took me the entire afternoon or putting it another way the DVD of THE MUMMY and its' sequel THE MUMMY RETURNS to get it finished.


Untangled


This was the result. All the ends sewn in and the long ends wrapped into small balls and threaded on to a couple of Bamboo Chopsticks. It was a battle but I had learnt some valuable pointers.


1 If making lots of small colour changes but they are too far apart to stretch across easily - divide one ball of yarn of each colour into smaller ones. You might lose a little bit of yarn but the hours saved untangling are well worth it. In addition to this  slightly longer threads can be used for sewing later.


2 When making a Colour Chart make sure the colours are clearly divided. That way you won't waste time poring over the darn thing (darn thing? unintended pun) trying to work out which colour you are on next.


I am going to work these points into my next go at the Pattern. Once again I am going to take it slowly. I have added another five lines of colour to the Design which equals another 10 rows of knitting.


Colour Design 15 Rows


Hopefully you can see that the colours are far bolder and therefore more distinct. It should make it much easier, not to mention quicker to transfer to the Written Chart. Which since it is now about 1.55 am I intend to leave to a more conducive hour.


* Yes they did!

Tuesday, 12 April 2016

Autumn Cape 2016 A long Term Project Part 2

 Autumn Cape 2016  A long Term Project Part 2

In the first post I covered how I began designing the Cape and made a prototype. Now I have finally managed to make a start on the Autumn Cape project using the real yarn which is mostly 100% Pure Wool.

A quick reminder of how the draft drawing concept looked.

Draft Picture


I found when looking at the finished piece that I was going to have to seriously rework both the Pattern Design and the written Chart. The Chart needed rewriting as the knitted piece was too big and I didn't like the symmetrical look.

Therefore I needed to take what I had already done and then make adjustments. First I wanted to see how much the back piece need to lose. Previously I had cast on 175 stitches on a 5 mm circular needle. I decided to keep the needle size the same and merely reduce the amount of stitches.

I reduced the cast on to 120 stitches plus 2 either side of the piece to add a selvedge. This meant 124 stitches in total. Once I had decided on the amount of stitches I could redesign the Pattern concept.

First stage was to redraw the Basic Pattern Design. I made the choice to draw the outline on Chart or graph paper rather than plain. That way I could account for each stitch as I drew the Design.


New Pattern Design 1


I redrew the initial new outline and coloured the trunk of the tree in a reddish brown (should have been dark brown but I picked the wrong colour due to bad lighting).  I was intended to draw the Design in sections rather than from top to bottom. This way I would have more control over its development. 

Therefore if you compare the New Pattern Design with the original one at the top of the page you will find that only the top half of the tree has been designed so far. The Pattern shows the first 80 rows.

However the drawing had a curved outline. In order to make it suitable for translating into a stitch I could use in the Pattern I squared off the Design.

New Pattern Design 2

 New Pattern Design 3

 New Pattern Design 4


Once this had been done I began to add the background colour. Rather than have huge blocks of colour I added small amounts. I knew this would greatly increase the difficulty of what I was trying to do but hey nothing ventured nothing gained!

New Pattern Design 5


As you can see I have only coloured in the first 10 rows of the Design. This is deliberate as I want to see how the Design develops once knitted.  My next step was to transfer the Pattern Design into a working written Chart otherwise I would forever be trying to count the coloured squares.

I started to transfer the pictured data into a written Chart using the system I had devised for the Test Piece described in the Autumn Cape 2016  A long Term Project Part 1.

Written Chart 1


Written Chart 2


Written Chart 3


I got as far as Row 3 when I discovered a major problem. Unlike the previous Pattern where there was a finite number of balls of yarn this Design being more realistic had far more yarn changes and for fewer stitches at a time. 

So yet again I had to go back to the drawing  board and come up with a new system of Charting the Design into a written form that I could follow.

Sometimes the best way to find a solution is to step back from the problem. Therefore I thought I would have a look at what I had to work with and maybe an idea would formulate.

Equipment
As previously stated I had based the Design using a 5 mm Circular needle. I also had a variety of types of yarn - mainly 100% Wool in a selection of colours. I decided to get them out and take a look.


Yarn 9 Full Balls 50g

Yarn 13 Full Balls Mixed Weight Discontinued Lines


I selected the balls I was intending to use for the Casting On and put them in the order that was shown on the Chart.

Balls in order for the Cast On.


I then proceeded to Cast On 124 Stitches in the following order

Copper (Orange) 10
Dark Brown 15
Red Berry 20
Gold 4 (Yellow)
Copper(Orange) 3
Red Berry 16
Copper (Orange) 4
Gold 6 (Yellow)
Red Berry 6
Dark Brown 16
Copper (Orange) 24

Cast On 124 Stitches


The Cast On would reverse the Pattern so I then knitted a single row to correct it making sure that I secured the change of colour by wrapping around the previous yarn.

The next step was to untangle all the balls. If anybody has a good idea how to stop them ravelling up like Spaghetti Junction I would much appreciate it.

Untangled


After I had untangled them all I sat looking at them and the Chart I had an inspiration. Wait for my next blog to see if it worked!

Friday, 18 March 2016

Autumn Cape 2016 A long Term Project Part 1

 Autumn Cape 2016  A long Term Project Part 1

I have to do this blog in sections due to the nature of the project. It is a long term project and therefore it needs breaking down. In 2015 I made a cape especially for Pagan Pride. It may be worth referring back to my blog - Cape for Pagan Pride 2015 to put things into perspective.

I was so pleased with the cape I made that I wanted to make another one. Instead of being a summer cape in Bamboo Cotton I wanted to make a woollen cape. As the last cape were summer green colours this new project would be Autumn colours such as red, orange and gold.

Ok so far. Now I need to try and work out how to do this blog in some kind of order because as anybody trying to do something creative knows that ideas don’t always arrive in a logical sense.

Summer Cape
Copyright Shani Oates


The above picture showing hooded cape was what I was going to use as a template. So my first priority was to measure the cape.

Measuring Old Cape


However I wanted the new one to be more elaborate. Unfortunately I had one of my bright ideas! Why not make my Autumn Cape in the form of a tree? Enter a lot of hard work. First make a design.

Rough Tree Design Ideas


This was my first rough design. A tree with a hole in it with the sleeves as branches

Rough Tree Design 1


Now I had my preliminary design I needed some rough measurements.

New Cape Rough Measurements 


However I had a slight problem the last cape had a boxed pleat in it. If I was going to put a design on the back I couldn’t really have the pleat. Also I wasn’t entirely sure how many stitches to cast on due to the fact that the yarn was different to what I used previously. In addition to this I had never tried to do a coloured pattern before let alone a complicated one that I was trying to design myself. Time for more thinking, first add measurements to tree design.

New Cape Measurements


Next add colour to tree picture bit by bit

Adding Colour


I now had a design and some rough measurements. The next part was trying to turn the design into a pattern. I decided the best way to do this was to simplify the design and divide into stages. So forget about everything but the central panel or in other words the tree trunk. In order to get some idea of concept of gauge, cast on etc. I would make a test piece. This test piece I would document as I went along. I would be using different yarn and only doing the top half of the trunk.

Cast On


Looking at the design I divided the colours into groups. I was using various coloured acrylics on a 5mm needle. I cast on 175 stitches in total using 9 different balls of yarn.

9 Balls of Yarn


As you can see it is quite a tangled mess but you have to remember I really hadn’t got the faintest idea what was doing. At this point I began what was quite a long process of documentation.

First Written Chart 


The above chart shows across the top the number of stitches which colour used and its order. Since the pattern was symmetrical I did not bother changing the colour numbers on the reverse as I thought that would be way too complicated. Besides I had enough to cope with as it was.

Vertically down the chart it showed which numbered row it was and whether it was a Knit row or a Purl row. After I had knitted a couple of rows I got the hang of keeping the balls of yarn tidy.

Tidy Yarn


In the picture  above you can clearly see the order of coloured yarn and the way it is beginning to create the top part of the pattern. I continued knitting and slowly changing the amount of stitches.

Written Chart 2


When I finished row 18 which was a Purl row I recorded the first major change in the pattern.

Written Chart 3


I continued recording every change and the pattern eventually covered 5 pages of A 4.

Complete Written Pattern


As I stated previously this was a test piece and I was only doing part of the trunk. This extended to underneath the hole in the tree trunk but not down as far as the roots.

Tree 


You might be wondering about the colours I used. Well the yarn I was using was free and I knitted this not only as a draft but also with the idea in mind to make into a blanket for my mum. The photograph didn’t come out as well as I liked. However you can probably tell that it has turned out very wide. Since my back isn’t nearly as big as a single bed I guess some drastic reworking is required.


Sunday, 6 March 2016

Knitting - Please don't blame me for the weather

 Knitting - Please don't blame me for the weather

Oops. We have suddenly had a brief cold snap this week including snow on Friday. I have felt slightly guilty about this due to the fact I happened to comment the other day about it might be getting a little late in the year for knitting Scarves. - Sorry my bad : (

I was unexpectedly given some more yarn so along with what I had left I thought I might as well make a few more knitted items for The Salvation Army.

Garter Stitch Knitted Scarves Continuous
 

Theses scarves are knitted in the same fashion as the previous ones with short pieces of yarn adding together to make one continuous and colourful mixture.

You probably cannot tell from the photographs but third one is slightly different from the rest. Whereas most of scarves have been 30 stitches cast on 5 mm needle (I am still using a circular needle for easy of knitting on the go) the last was only 25 stitches. This was because otherwise I may have not enough yarn to have knitted a sufficient length,

Garter Stitch Knitted Scarves Square


These Scarves are made in a different fashion. They are knitted in Garter Stitch but instead of being knitted continuously from start to finish they are made up of rough squares sewn together. I know they look a bit lopsided but that is because I was rushing to take a photo and didn't lay them out properly.

The cast on is 30 stitches on a 5 mm needle. Each square is roughly 50 rows (25 each side) not including casting on and off, though I have to admit that I did it more by eye than ticking off each row.

The reason I made the Scarves in this fashion is because they were the remains of another project - a blog for another time. I photographed them together so you could see that if desired they could changed from scarves to a blanket simply by sewing them together.